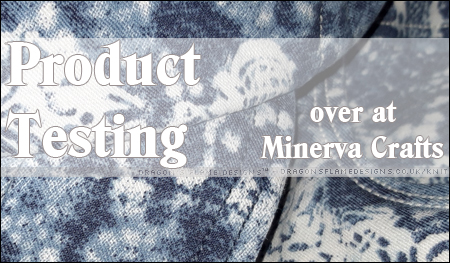
I’m over at the Minerva Crafts Blog again today with a product test of this super stretchy denim! Head on over to see what I made – I’ll give you a hint, this time I made two items!
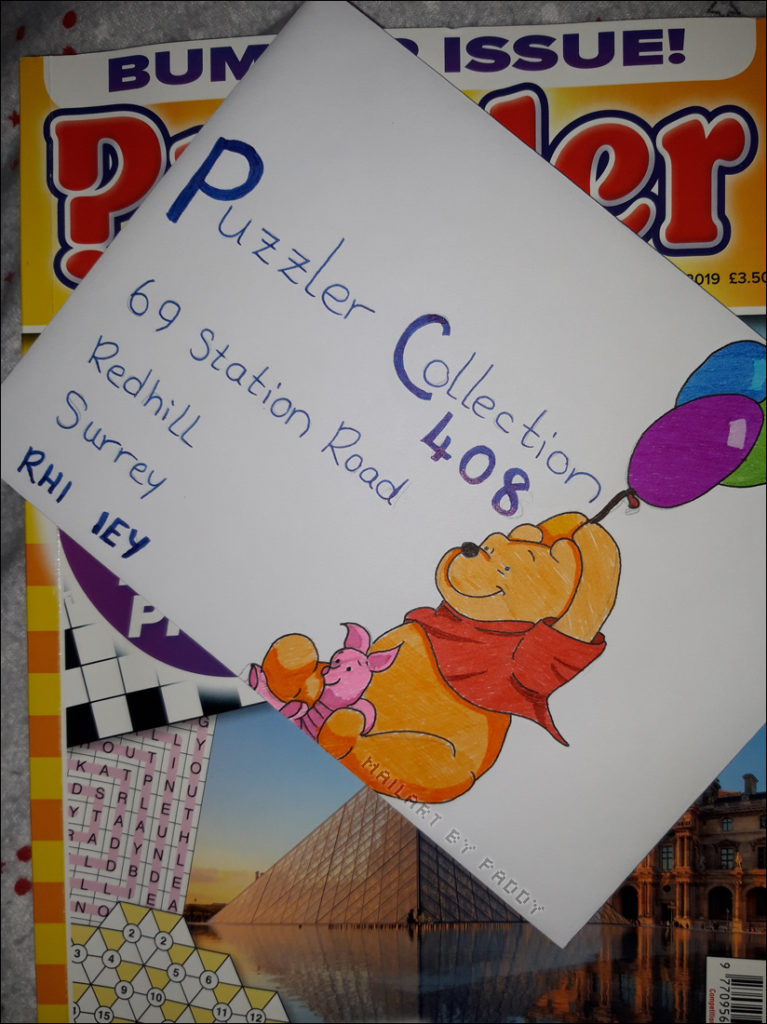
Just for a bit of variety, I decided to draw a picture on my Puzzler competition entry this month. I google searched pictures of Winnie the Pooh until I found one I thought I could copy without too much trouble.
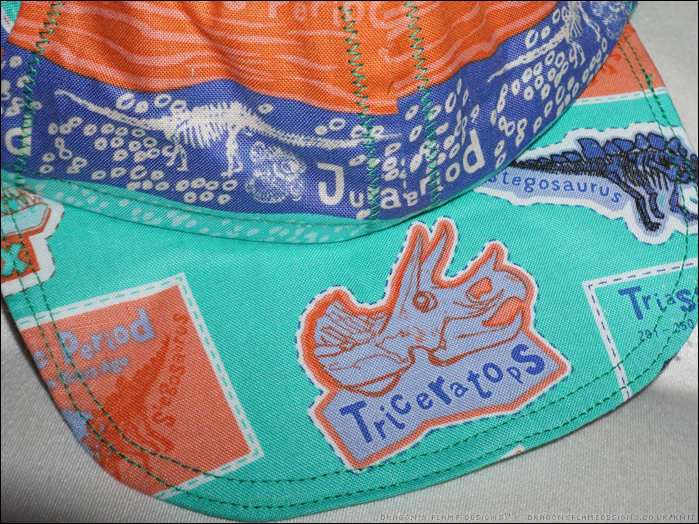
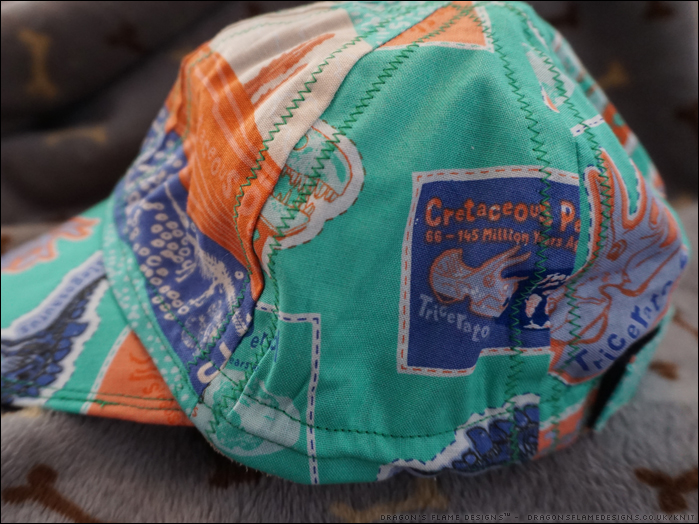
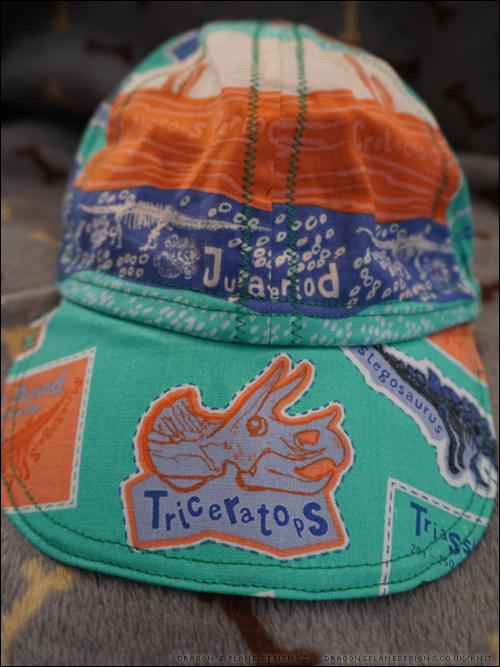
I wasn’t too sure if the Clovelly Cap would work for a child – the pattern is designed for adults after all. But after checking the head sizing against the pattern, I realised I could just grade down to make an XS size which in theory would work for a child.
I was pleasantly surprised that I could fit the pattern onto one and a half fat quarters – I used one for the front two panels, and another for the rest of the cap. The underside of the peak is also patterned, while the inside of the cap is a plain black polycotton.
I cheated with the topstitching, using a zigzag stitch to ensure the biasbinding was caught with the stitches on the inside. I found it too fiddly to manipulate the layers to get my stitches accurate enough for a straight stitch.
Unlike the caps I made for myself, this one has buckram fused on the inside of the peak for stiffness. It actually gives a much better feel to the peak, so I think I’ll be using that for any hats I make in the future too!
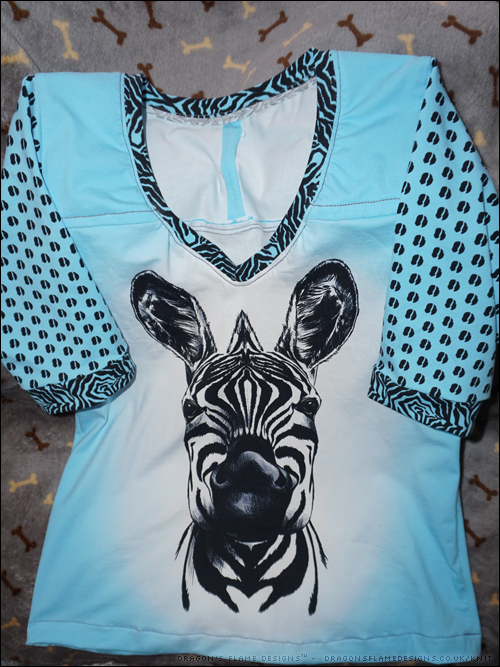
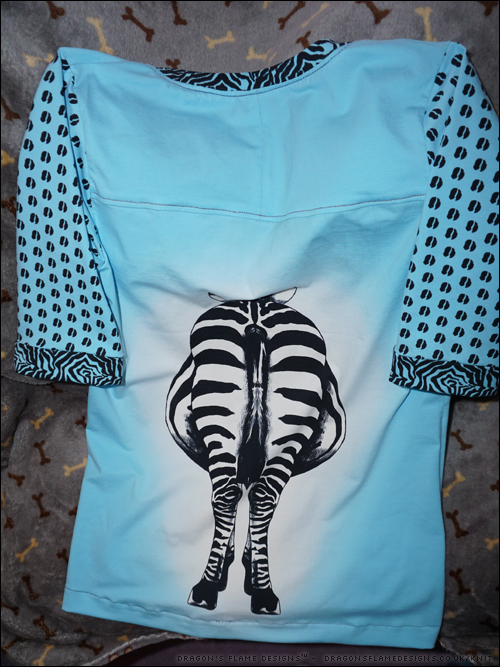
…no, wait that’s not the right joke is it? Anyhow, I bought this Zebra jersey panel ages ago and was scared to cut into it in case I messed it up. While I was sorting through my bag of UFOs, I rediscovered it and decided to take the plunge and cut myself a Union Street Tee before I could scare myself off again!
The panel came as one piece with four different sections, and I’d calculated that the sleeves would work from the hoof print and there should be just enough of the zebra pattern for the neckline and sleeve cuffs. What I hadn’t calculated correctly, was the height of the t-shirt itself, as I had to piece a couple of plain sections on the shoulders to make it work. But that could easily be a design feature, especially now it’s topstitched for added strength.
Of course the real draw of the panel was the ‘rear view’ of the zebra – it definitely makes the back of the t-shirt more interesting than normal. I just wish they had more panels with other animals on as well as the zebras – I’ve love a little zoo of animal panel t-shirts!
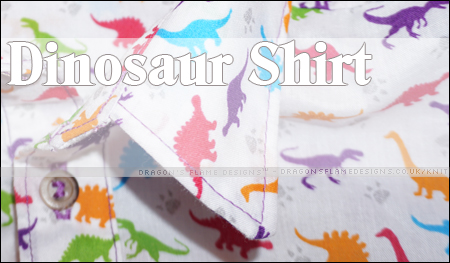
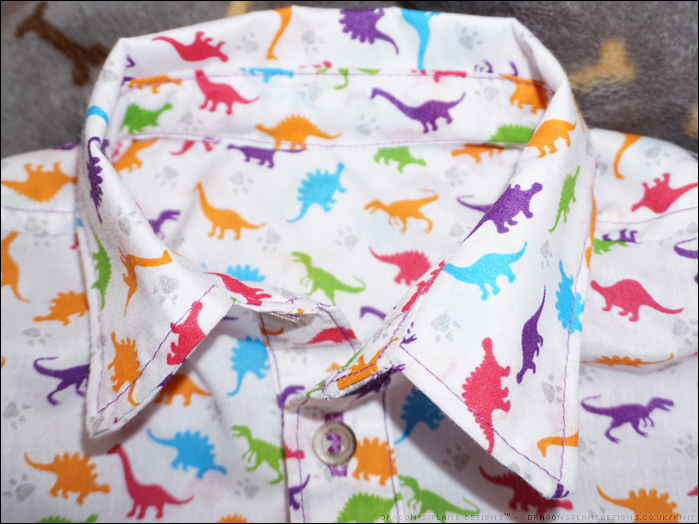
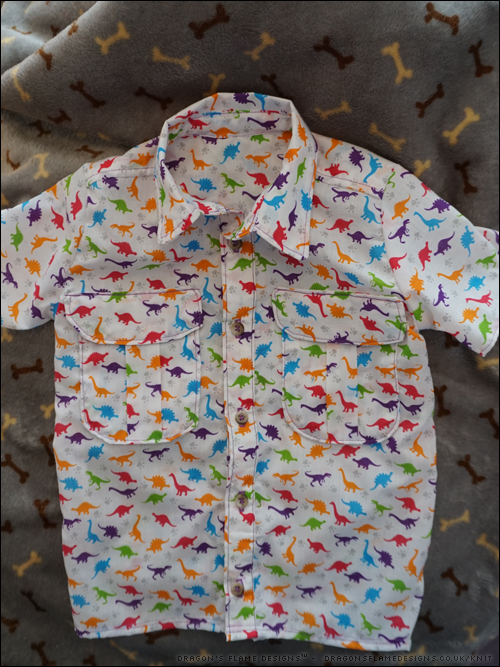
I found this polycotton fabric in the Sewing Studio last year, and bought a metre of it to make into a child’s shirt. I thought it would be perfect for K’s birthday. Of course things never work to plan on timescales do they? A month after his birthday, and I still had only got as far as cutting out the shirt pieces and starting a Clovelly cap for him.
I thought it was time I actually sat down, blocked out all the distractions, and finished his shirt – and much to my amazement, it worked!
I decided to not have the top button on the collar – K is only 4, so I didn’t think he’d really need a formal feeling shirt just yet. And having that top button slightly lower made the button placement slightly easier to work out too!
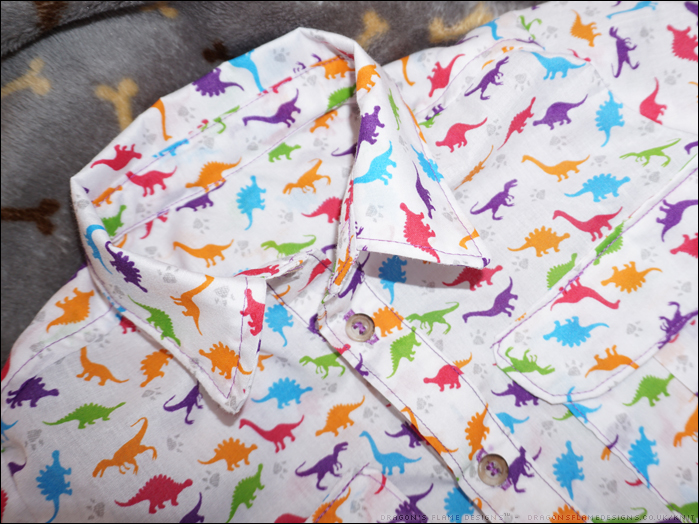
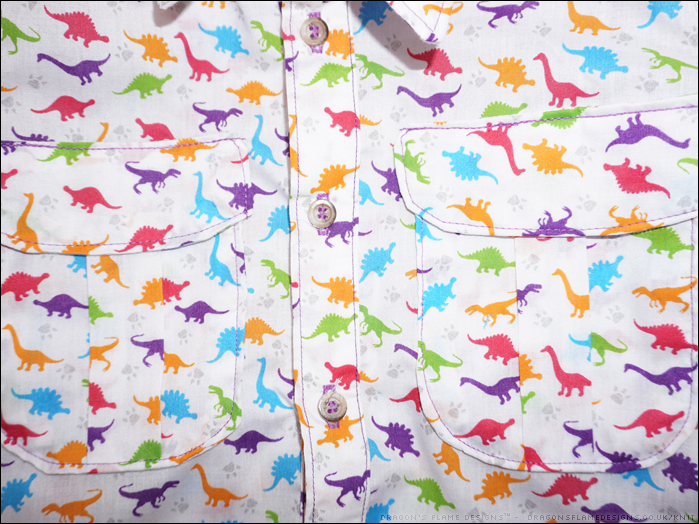
This was my first attempt at pleated pockets, and they actually came out looking almost exactly as they should do! I think maybe one pocket is slightly smaller than the other, but who’s going to notice? I did skip the pocket flap buttons and buttonholes, as I thought that would be way too fiddly for a four year old to undo just to stash things in his pockets.
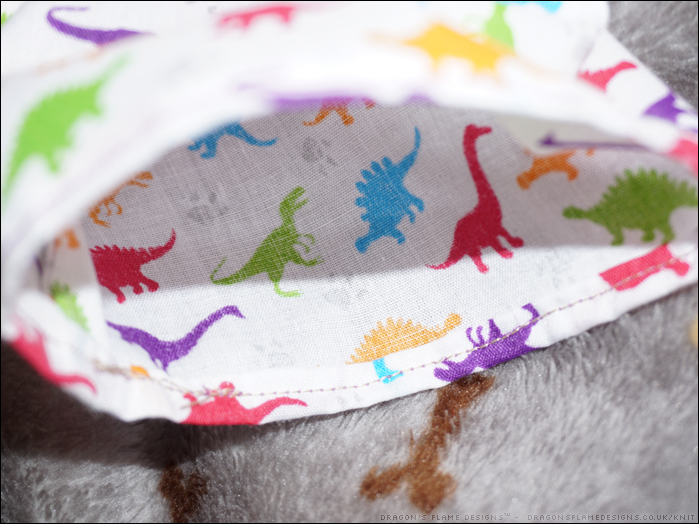
The base and sleeves have a simple double turned hem. I used purple thread for the needle, and had a beige thread for the bobbin. Thankfully I had the thread tension set perfectly, so the beige doesn’t show on the right side of the fabric.
Add the shirt to the baseball cap I’ll be blogging later in the month, plus a hand drawn dragon card, and you have the perfect belated birthday present!