Category Archives: Clothing

Sleeveless jacket for the allotment

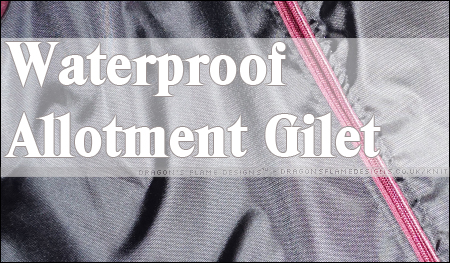
It hadn’t ever dawned on me to try making a showerproof jacket to wear on the allotment, but each time I’m working there, it’s almost guaranteed the weather will be either blazing hot sunshine, or showers. I had considered buying a showerproof coat, but after looking at the prices, they all seemed way too expensive for something which would most likely end up covered in mud after the first time I wore it, and no doubt would get snagged on the raspberry thorns!

I didn’t want to attempt a sleeved jacket, as non-stretch fabric potentially wouldn’t allow me the range of movement I would need to be gardening. However, I’d had my eye on the Aspen Fleece Vest* from 5 out of 4* for a while, and after asking if it would work in a non-stretch fabric, decided that I would try making my own showerproof gilet.

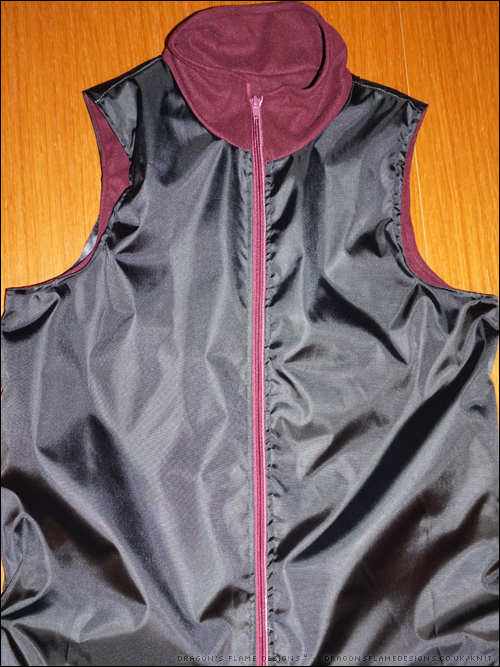
I was advised I could go up a size to allow for the lack of stretch, but after making this one, I think I’d be tempted to actually go back down a size for my next one, as this seems roomy enough.

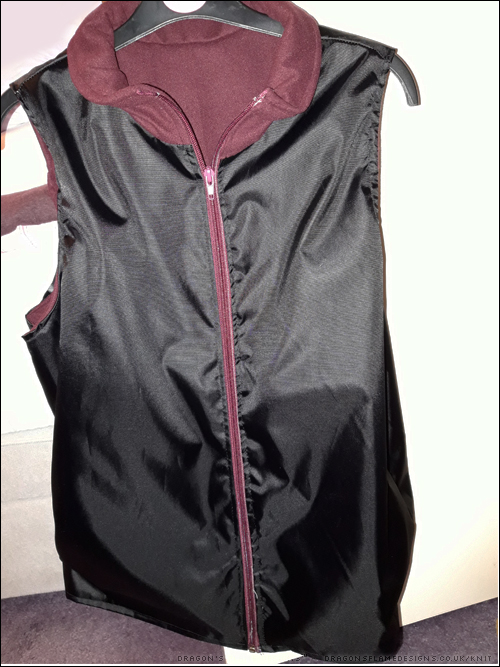
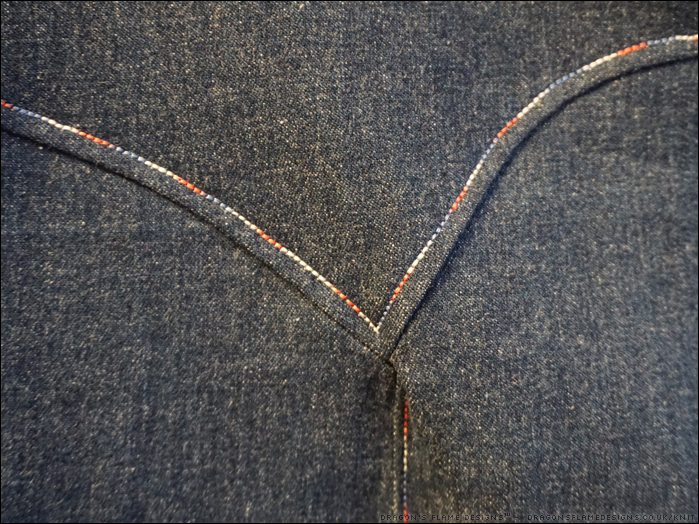
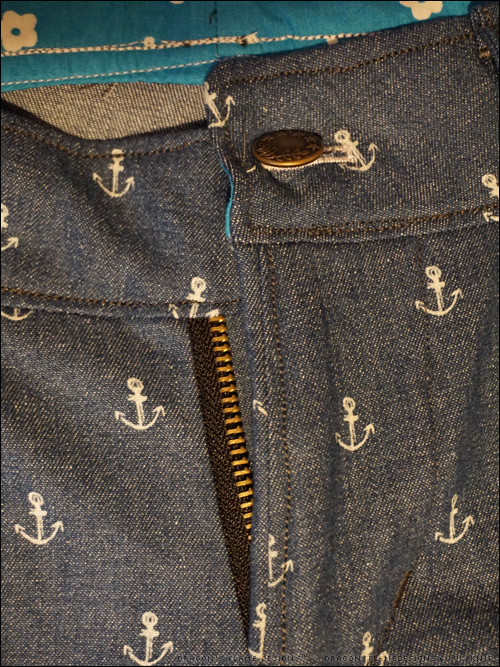
I used ripstop for the outer, so in theory if it gets snagged on the thorns then the hole won’t spread. The lining (which isn’t part of the pattern itself, but was just made to the same size as the outer, then stitched together at the armholes, neckline and base hem) is a plain microfleece. I used the fleece for both sides of the collar, so it makes it more comfortable to wear.


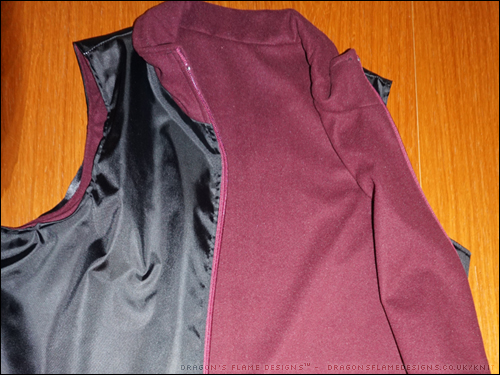
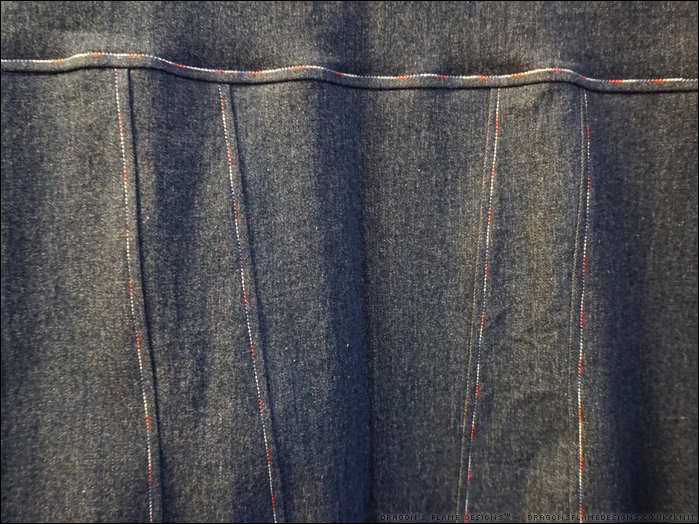
The stitching isn’t perfect (the lining seems a bit big compared to the outer on the side seams), and I know I messed up trying to sew the armhole seams…. I really need to learn the burrito method! But the jacket is perfectly usable – it’s really comfy, and all I need to do now is go out in the rain to test out how waterproof it is!


* affiliate link
Pattern: Aspen Fleece Vest*
Fabric: Ripstop and Microfleece from Sewing Studio

Fruit Polo Polar Bears – finally finished!

Ok, I will admit I finished this Knot Your Average Top* late last year, but I realised I hadn’t ever blogged the finished top! Back in May, I had got to a sticking point with this Polar Bear Knot top, when I wanted to add in a shelf bra style part that isn’t in the pattern, but wasn’t too sure how to make it work.

After what felt like hours of instruction-less fabric origami, I wrangled the shelf bra into place, but had to unpick one sleeve as I’d made a basic error in attaching that to the shelf bra armscye. But that was mostly user error, and trying to add in a shelf bra for the first time, on a pattern that doesn’t include that option.

I won’t be sharing how I eventually achieved adding it in, as I made it ultra complicated – I need to try adding it into a few other patterns to perfect my method, before feeling confident at sharing it!

As with my other Knot your Average tops, the bust section has folds where it appears there’s too much fabric. It’s still there even when I change the cup size on the pattern (even on the smaller cup size top I made from scuba), so I’m assuming that it’s down to either the fit on the shoulder, or maybe needing to take out some height between the shoulder and underbust (that’s not an adjustment I’ve ever tried doing).

So ok, it’s not perfect but then if I’d bought a ready to wear top in a similar style, that was never going to fit me perfectly anyway. I had fun sewing this top, and learnt quite a bit in trying to add in the shelf bra, and that’s what matters!


* – affiliate link
Pattern: Knot Your Average Top* by 5 out of 4 Patterns
Fabric: Cotton Elastane from Fashion Fabrics

The first UFO of 2019

Ok, I will admit that I did the very first part of my WinterWear Designs Fashionista* last year, but because I filed it away over Christmas and New Year, I’m counting this as my first UFO for 2019.

The Fashionista* has a shaped front yoke which looks really good, but did prove a little challenging to sew accurately. I know there’s a slight catch in the front section below the yoke, but there’s a matching one on the other side so I’m calling it a design feature rather than a mistake 😉

The back still needs pressing from where the middle panel was stored folded, but it’s looking like the variegated topstitching thread was worth buying. I chose to only do one line of topstitching instead of two, but I’m using a triple straight stretch stitch so it shows up more than a regular stitch.


That’s the front and back panels complete, so I’ll be working on the shoulder seams next, before diving into the sleeves. Denim jackets normally are unlined, but I spotted this ex-designer fabric on the Minerva Crafts website and thought it could make an interesting addition to my Fashionista. Once I’ve got the sleeves attached, I’ll then work on the lining, before adding the front plackets, cuffs and waist band…. or at least that’s the plan – it might well end up unlined if I can’t figure out how to add a lining!


Starting the Denim Fashionista (this post) – Part way through the Denim Fashionista – Finished Denim Fashionista


* affiliate link
Pattern: Fashionista * by WinterWear Designs*
Fabric:
Denim and topstitching thread from Sewing Studio
Lining fabric from Minerva Crafts

Dinosaur Hatteras Hoodie

What do you make for a young relative who loves dinosaurs, when you’ve already made him a cuddly dinosaur before?

I settled for my tried-and-tested Hatteras Hoodie, and went to find some suitable fabric… which was harder than I’d first thought! Eventually I came across this dinosaur sweatshirt fabric at Sewing Studio, and despite the main stretch being vertical rather than horizontal, the random positioning of the dinosaurs meant I could still use it

I’d purchased some black ribbing fabric to use for the hood lining, waistband and cuffs. Unfortunately (the disadvantage of buying online) this fabric was a lot thinner than I’d anticipated. The hood lining didn’t need to be heavy, so I used the ribbing for that, but it wasn’t going to work for the cuffs as it was.

I had part of a pack of cuff ribbing left over, which worked for the cuffs on this hoodie, but there wasn’t enough for the waistband. 

Playing around with the original ribbing fabric, I tried holding two layers together and realised that might just work to give enough stretch and strength for the waistband. This hoodie is an age 6, but made for a child who wears an age 4 at the moment. It should give him a nice long time to wear it before he grows out of it, but it does then need a decent rib for the waistband to help hold it in until he grows more!

I cut four waistband pieces instead of two, and just used the additional ones inside the main waistband pieces to give it more strength. To me, that feels strong enough, but we’ll have to see how well it holds out – he won’t have the chance to try this hoodie on until Father Christmas delivers it next week, so I won’t know for certain just yet!

Another pair of jeans, another mistake

I really don’t know how I’m making so many mistakes with jeans at the moment – my first ever pair of denim jeans came out as I expected, but since then my jeans have been going wrong!

First let’s start with the positives on these Real Deal Jeans*. I decided to do some decorative top stitching on the back yoke, and also for the back pockets. The yoke stitching isn’t overly visible unless you look closely, but that doesn’t matter as the anchor pattern is quite bold anyway.

So the back was a definite success, which means the front must have the disaster, right? I don’t know if it’s just the way I put the zip in, or if I’m missing something in the instructions, but the left side is a different height at the waistband to the right-hand side.

This is the same pair of jeans – I didn’t use the flash for this photo, so it came out a bit darker than the real shade of blue

What seems to happen, is that the zip moves (despite being pinned), and ends up slightly higher on the second side. I had this before with my Penguin RDJs but while my Dawn jeans didn’t have this mistake, these anchor jeans have a more noticeable difference between the left and right at the waistband.

Not only that, but I had a disaster with the button – when I hammered it in, it ended up skewed. 

So before I get on and sort the hem to finish these off, does anybody have any recommendations for how to remove the hammered-in button, and also to resolve the waistband problem, or will I be stuck with that lopsidedness forever?


* affiliate link
Pattern:  Real Deal Jeans* by WinterWear Designs*
Fabric: Anchor denim from Sewing Studio

Baby Tee

I hardly ever make baby clothing, but when a neighbour was expecting I decided it was a good excuse to try out a Patterns for Pirates free pattern to make a tee.

I will admit I made several mistakes in the sewing, most of which came about because it’s a much smaller size than I’ve ever sewn before! The lap part of the tee (where the back panel laps over the front) isn’t quite sewn into the seams fully… but it’ll be perfectly wearable until the little’un grows out of it!

And of course, I had to make a card to go with it. I just hope the tee fits little J!


Pattern: Wee Lap Tee by Patterns for Pirates
Fabric: Jersey from Sewing Studio
Card: graphics from FreePik.com

Penguin RDJs

After wearing these Real Deal Jeans* for several weeks, I realised I hadn’t blogged them! The fabric is stretchier than the pattern requires, so I added in some elastic to the waistband to stop it stretching out of shape. I didn’t stretch the elastic as I added it in, so it will hopefully hold the shape without pulling the waist in at all.

The pocket bags are a plain black polycotton I found in my fabric stash, and although the length of the jeans looks a little short in these photos, I wanted to ensure I could comfortably wear them barefoot without standing on the hem.

I made these from the grand total of 1 metre of fabric, so they were a cheap make – I do need to practise the zip, as the waistband isn’t entirely level but they’re really comfy to wear and that slight error on the waistband isn’t really all that noticeable when I’m wearing them!


* affiliate link
Pattern:  Real Deal Jeans* by WinterWear Designs*
Fabric: Cotton Elastane from Fashion Fabrics

Why do jeans always go wrong?

The front of my latest Dawn Jeans came out near enough perfect – the front left lines up with the front right, and the button hammered in exactly straight.

However, when it comes to the back, it all goes wrong! In top stitching the waistband down, I seem to have a bunch of denim, but no corresponding bulk for the waistband lining.

Of course I thought it was a good idea to top stitch using a triple straight stretch stitch, which is one of the most challenging stitches to unpick.

So before I reach for the seam ripper, does anyone have any hints or tips for the best way to unpick my mistakes?


Pattern: Dawn Jeans by Megan Nielsen 
Fabric: stretch denim from Mibs Fabrics
Inner waistband & pocket bags – polycotton from Fashion Fabrics

Going Rogue

If you were to tell me a couple of months ago that I would have made a pair of socks, I’d have jut laughed and pointed out that I never got the hang of knitting in the round… it wouldn’t have dawned on me that sewn socks were even a thing!

But they are, and I’ve tried making a pair!

The front looks quite accurate, but I think I need to work on the heel insert a little more – the base of the heel looks quite rectangular to me, although that could just be down to the recipient’s feet not quite being the same size as the socks!

My next pair will be without the heel insert, to see how comfortable that is – I don’t usually wear heel-less socks, but if they’re comfy then it’ll be a much faster sew!


Pattern: Going Rogue Socks by The Wolf and the Tree
Fabric: Jersey remnants from Fashion Fabrics