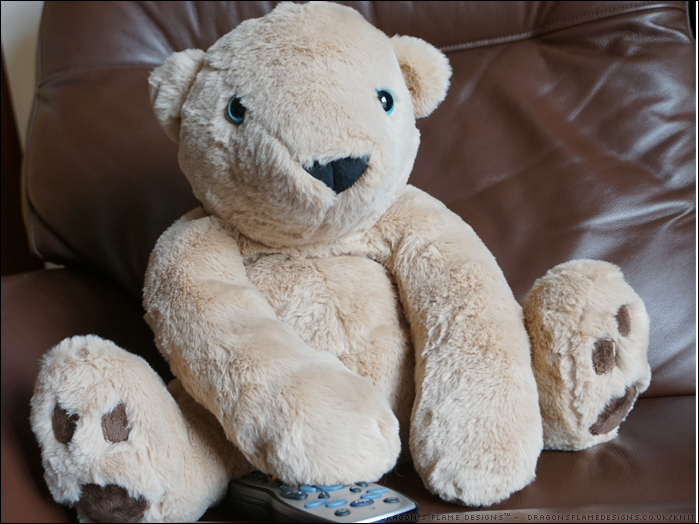
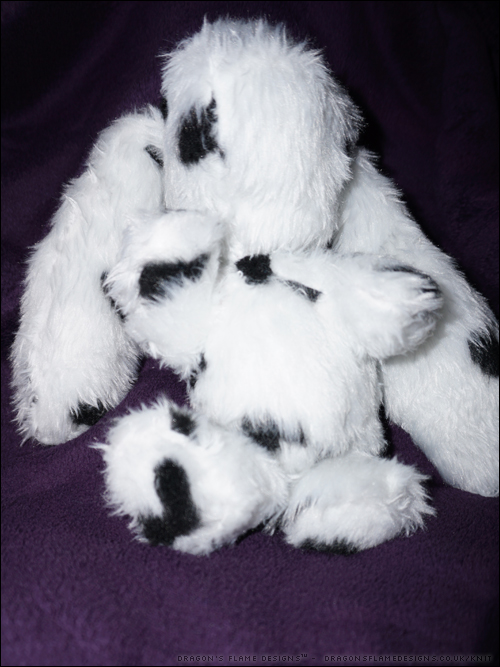
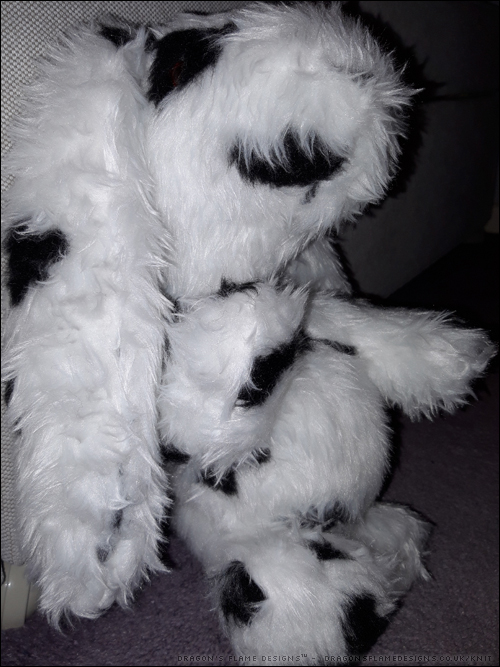
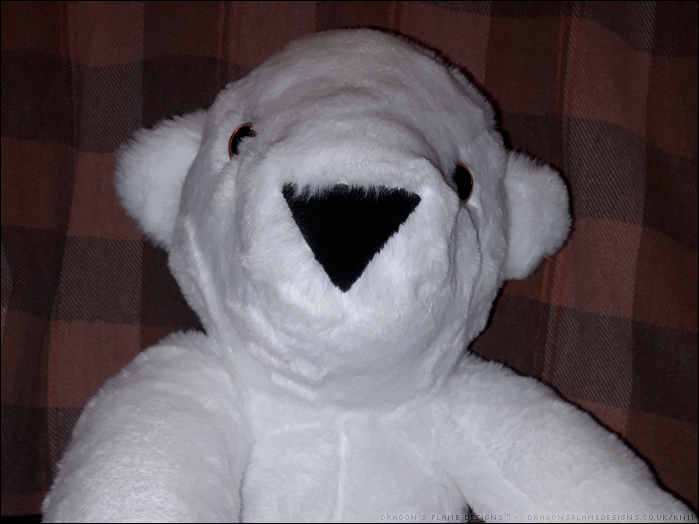
When you think of polar bears, you probably think of snow, ice, and generally cold weather. But this particular polar bear wanted to enjoy a hot summer – or at least as hot as the weather gets here in England! So here is Martin the Polar Bear, who has taken a liking to watching cookery shows on tv.
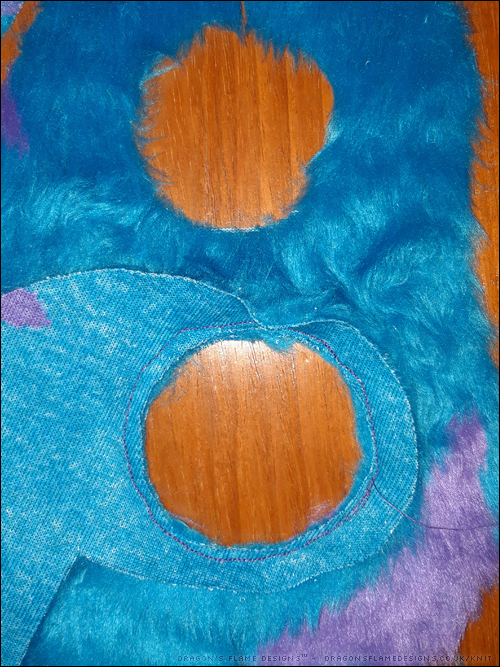
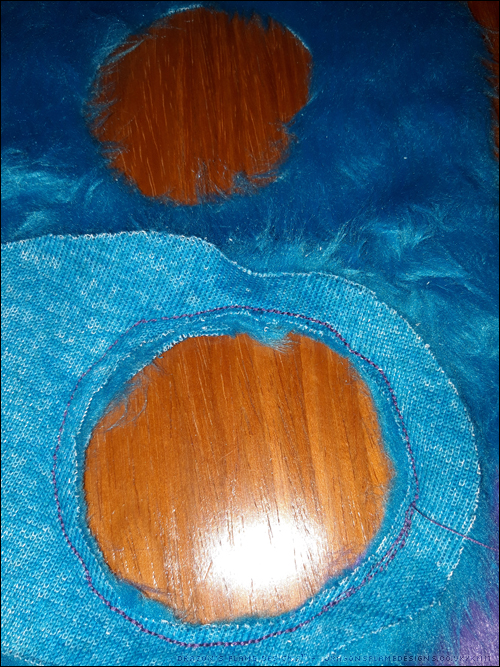
Usually when sewing with faux fur, it’s recommended to trim the fur in the seam allowance. This makes the seams easier to sew as the fur isn’t sliding about all over the place, but also it means it’s easier to stop the fur getting caught in the seams.
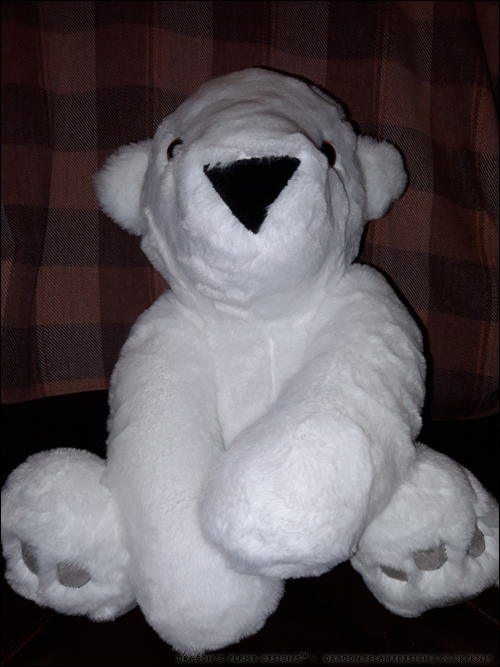
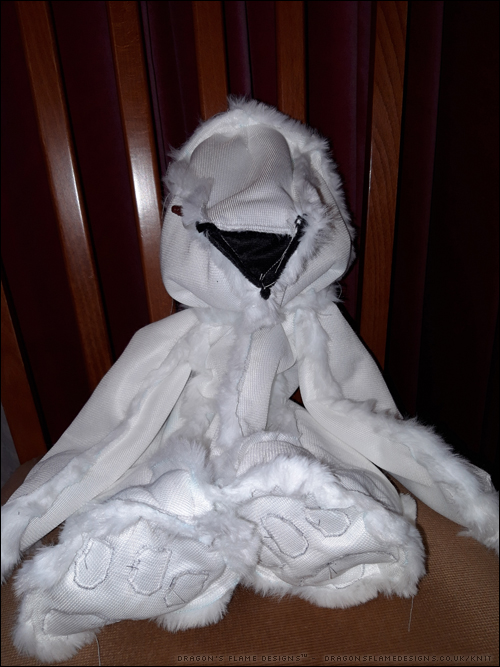
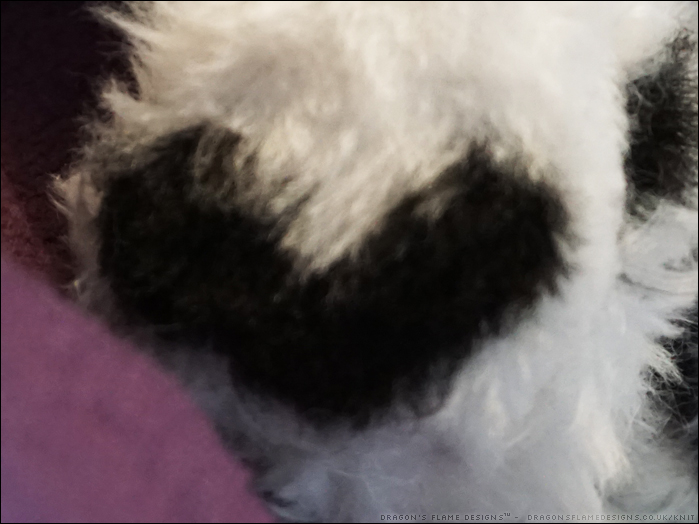
I didn’t bother with trimming the fur, as I didn’t feel the pile on this faux fur was long enough to need that. I got on fine, apart from one point on Martin’s neck where I’d not actually caught the backing fabric in the seam. If I make another polar bear from this fabric, I think I would just trim down the fur in the seam allowance on both sides of the neck seam, and leave the other seams untrimmed.

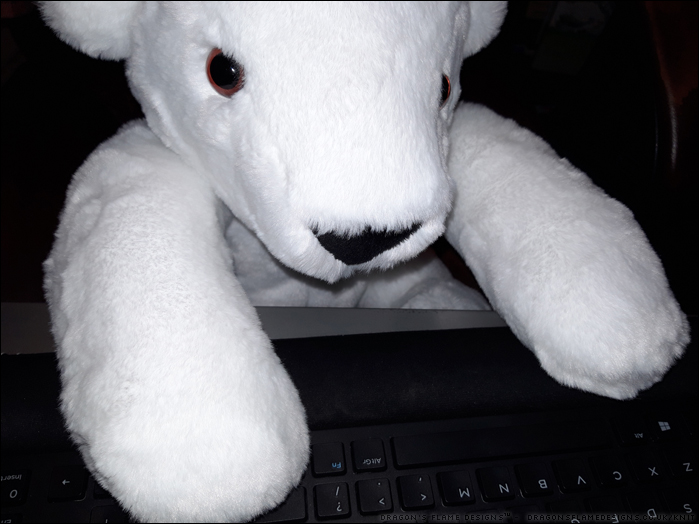
As you can tell, Martin made himself at home quite quickly – I hadn’t realised he could reach the computer keyboard from the chair… think he was trying to find some recipes he could cook.
Pattern: Polar Bear from issue 24 of Simply Sewing magazine
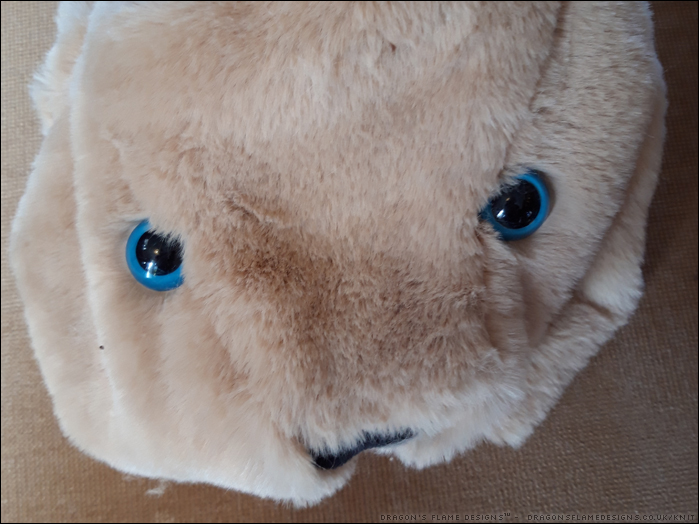
Fabric: White Premier Faux Fur from Fabric Land
Brown Safety Eyes from Hobbycraft