
Back in May, I signed up for the Simplicity Sewing Challenge – the two sewing patterns arrived in early July, and once I finished my skirt dress, I set to work on my second pattern – Simplicity 1458 for the “best dressmaker” category.
It’s the first time I’ve even looked at princess seams, let alone an “amazing fit” pattern, so this dress was going to be a nice challenge! I started off by making a muslin but unfortunately my choice of fabric wasn’t that helpful – I’d picked a cheap polyester duvet cover, but the polyester meant the fabric slipped all over the place.
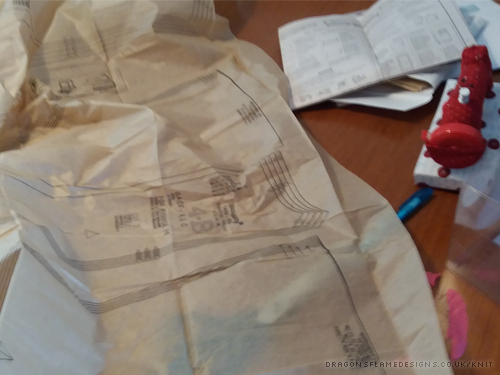
So I scrapped plan A, and moved on to plan B: start again, and trace off the pattern pieces onto my new favourite sewing tool – brown paper! Ok, that probably sounds really weird, but I can’t get cheap freezer paper over here, and tracing paper is stupidly expensive. I have tried using greaseproof paper, but that doesn’t stick together at all, so I can’t make it wide enough for some of these pattern pieces.
Using some dressmakers carbon paper, a blunt pencil and the brown paper, means I can trace the pattern off, without risking cutting the original – really useful when you aren’t 100% certain of the size you’ll need, and don’t want to cut into the original.
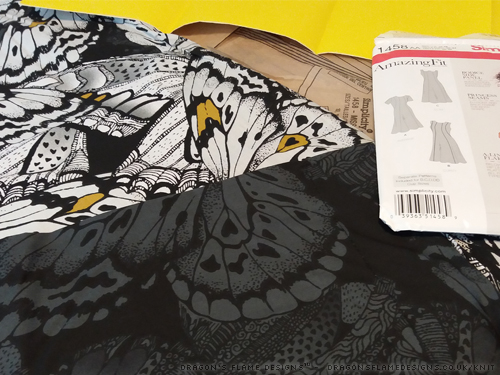
I wanted the middle panel on the front and back of the dress to have a contrasting pattern to the sides and what better way to achieve that, than using a duvet cover? A double cover gave me plenty of fabric to play with, and I should have enough left over for a second dress too!
Tracing the pattern markings onto the fabric
The only trouble is, cutting out all the brown paper pattern pieces and trimming the seams to separate the duvet cover pieces does tend to mean there’s a large pile of rubbish lurking under the table….

but that aside, I can finally get sewing these pieces together.
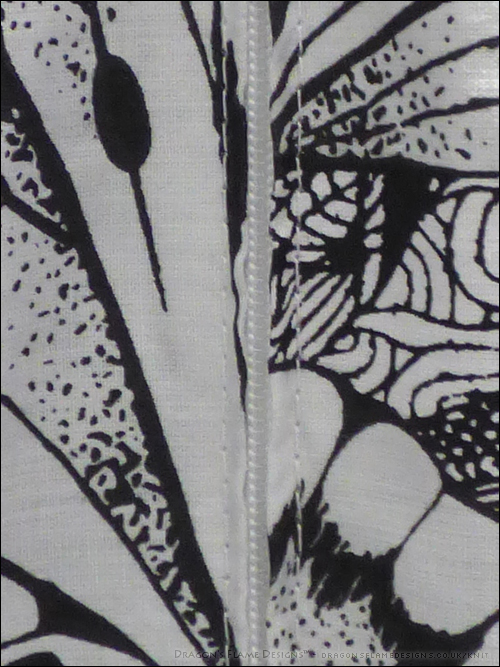
Generally speaking, I do not get on with sewing curves, particularly with opposing curves, as the concept of “easing” in fabric just sounds like a foreign language to me. But I wanted to make the seams as neat as I possibly could, so I made sure to machine tack all the seams and try the dress on several times before doing the final seam stitches.
The instructions are really informative, with instructions on how to let out or bring in the seams to suit your overall fit. Surprisingly, there wasn’t much I needed to do to get the fit just right for me – I just had to let out the side seams and also adjust a couple of the curved princess seams.
I did my usual trick of using a regular zip rather than a concealed one, so I stitched the base of the centre back seam, and put the zip in before doing anything else. It’s so much easier to put in flat! I decided I wanted to add in the sleeves from view A, even though I would normally avoid them like the plague, but cheated slightly and stitched them in flat before I stitched the side seams. That meant the sleeves were easier to put in, and there was a lot less chance of the seams puckering.
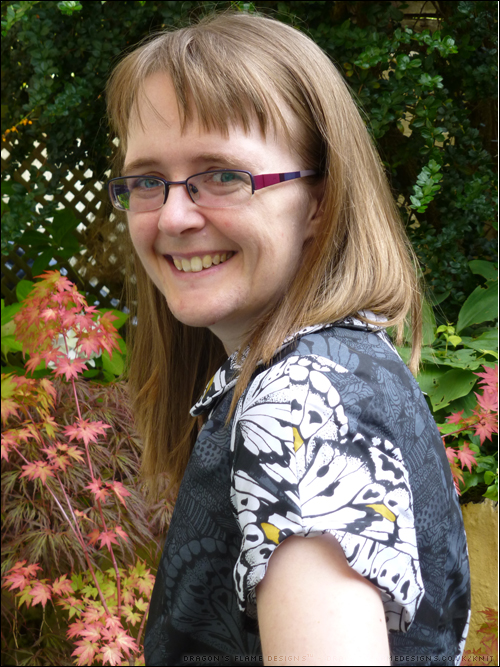
I’m pretty sure my V notch in the sleeve is wider than on the pattern, but I think it makes a nicer shape. I was very good and followed the pattern for the hem, stitching it by hand rather than cheating and using the machine.
Not content with adding sleeves from view A, I also decided to add in the collar from view C. This had to be unpicked a couple of times, as I’d managed to sew it in slightly wonky, but overall it gives the neckline a really good look.
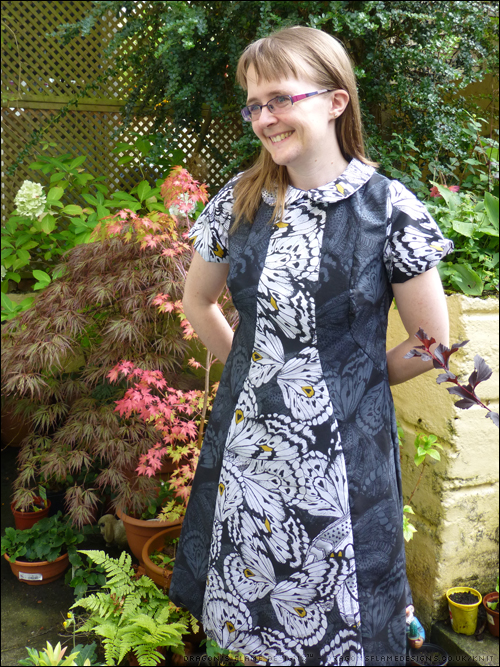
So there you have it – a finished Amazing Fit dress, that actually does have an amazing fit!