Tag Archives: bear

A Delight in Fleece

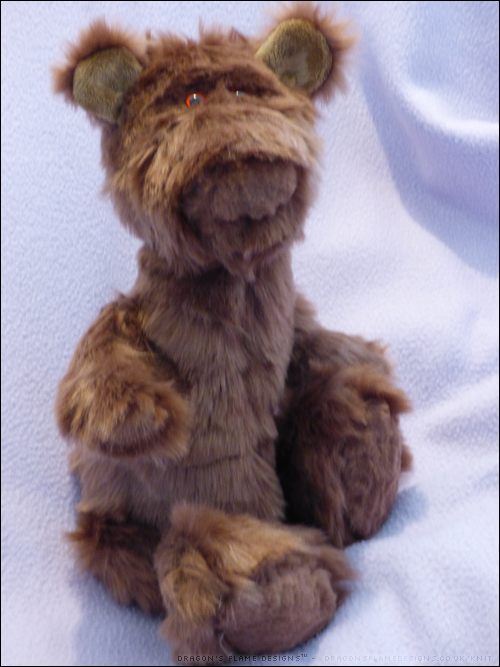
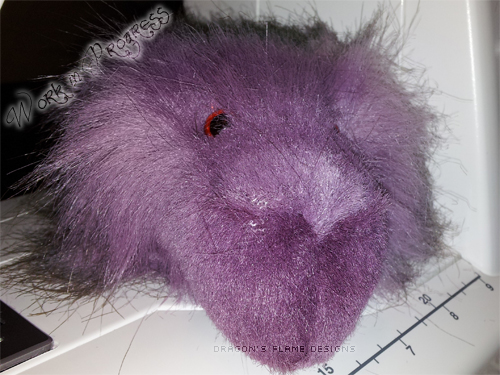
Whenever I’ve tried making a bear out of a non-pile fabric, they haven’t come out looking quite ‘right’. Usually it’s the head or muzzle that just seems to be the wrong shape compared to the faux fur example picture. Delight, however is specifically designed for faux for or calico, so the head shape should look perfect regardless of the fabric I use.

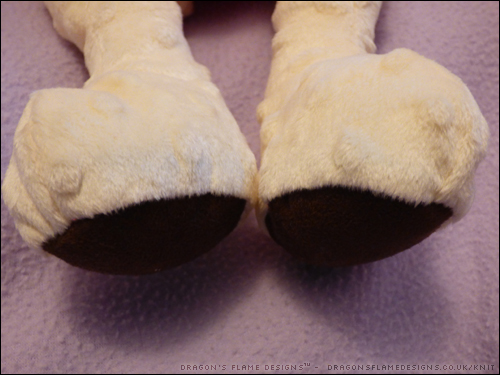
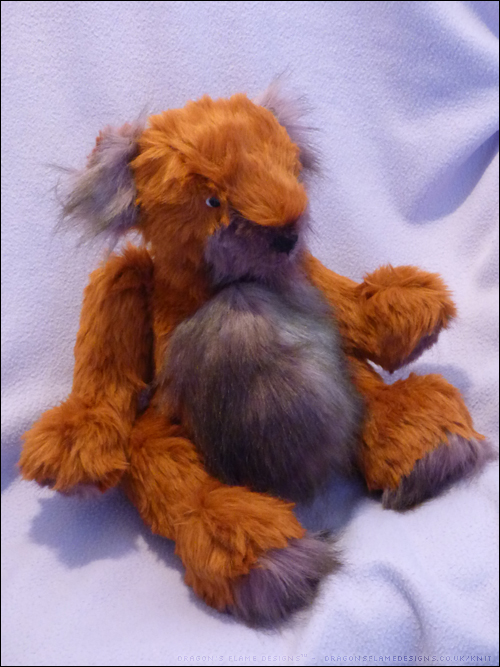
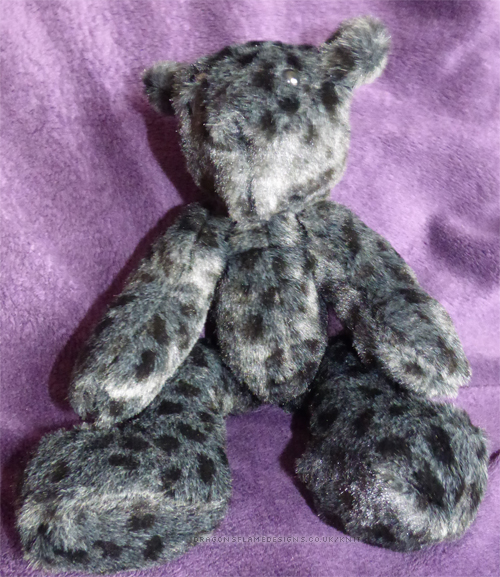
I decided to test it out with some remnants of a fleece blanket (the same one I used for the reindeer a couple of years ago) and made Delight entirely unjointed.

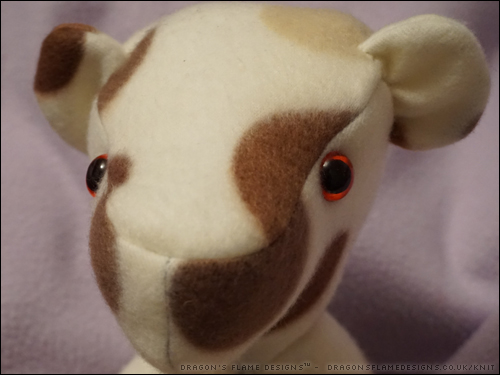
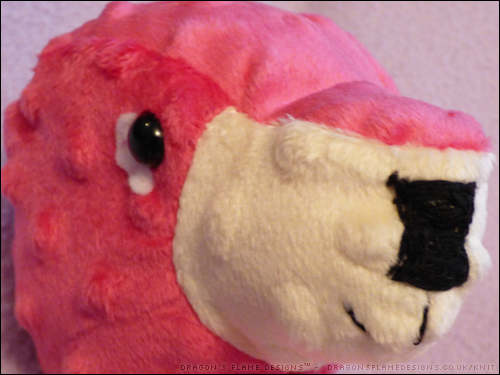
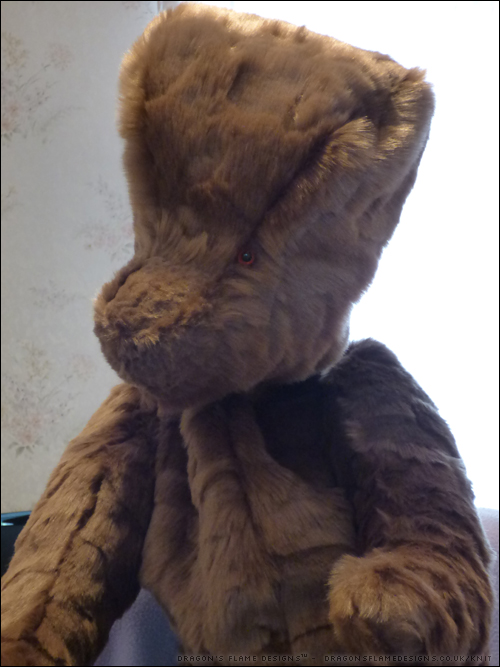
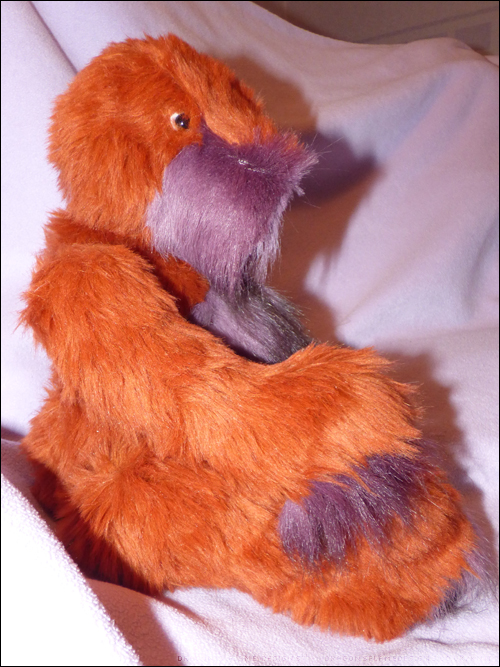
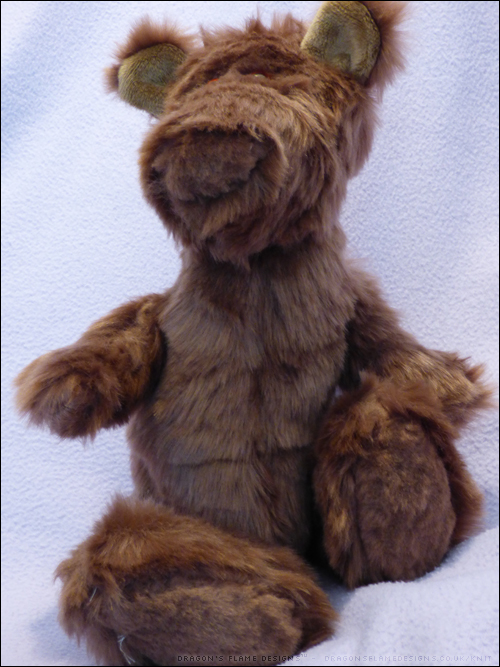
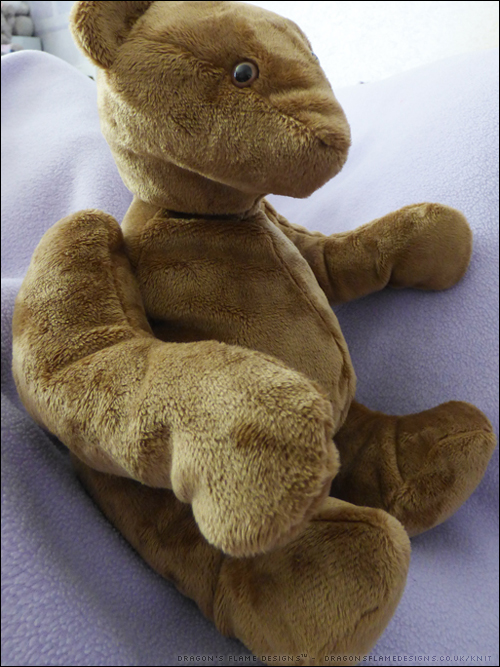
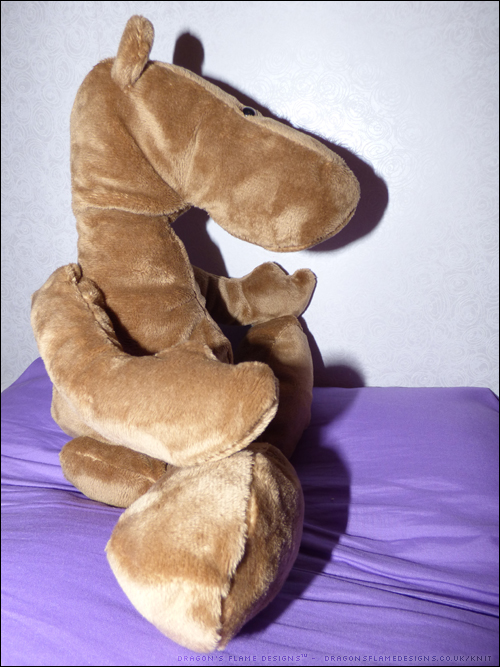
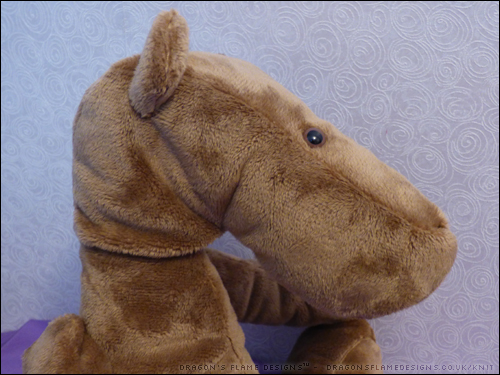
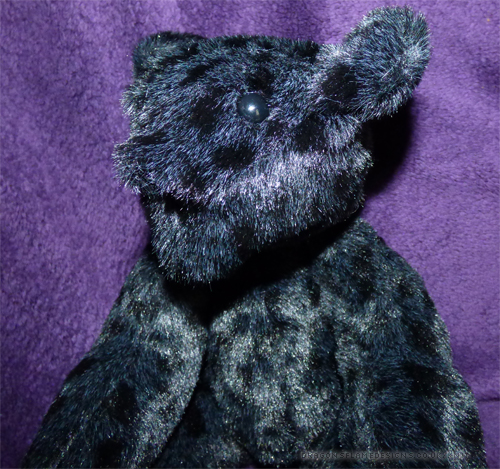
The head was a struggle to align, so I think Delight would benefit from a scarf or ribbon just to cover up the shoddy stitching! I used a combination of plastic pellets and toy stuffing to make Delight as cuddly as he looks. You may notice that he’s missing a nose and mouth – that was done on purpose, as I felt that the stitching would detract from the spotty details of the fleece ….that’s my excuse, and I’m sticking to it!

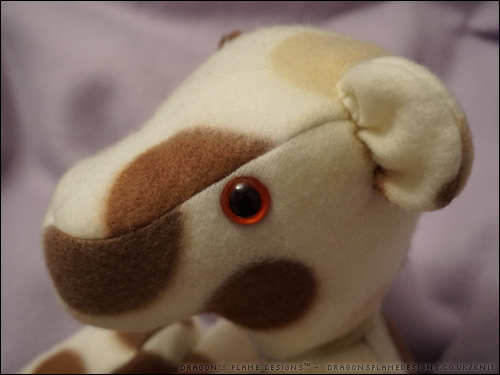
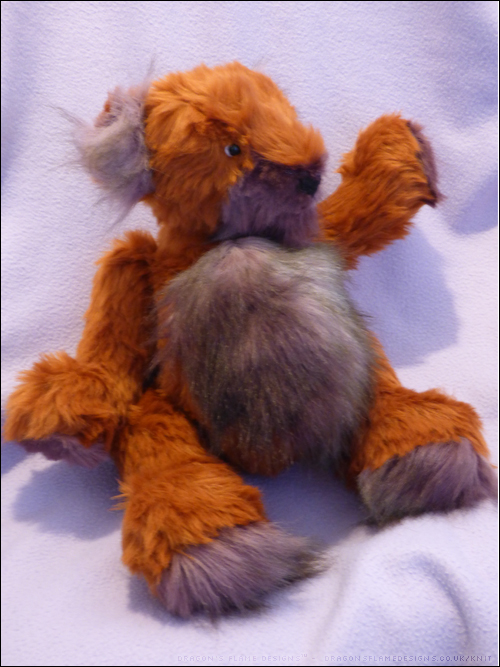
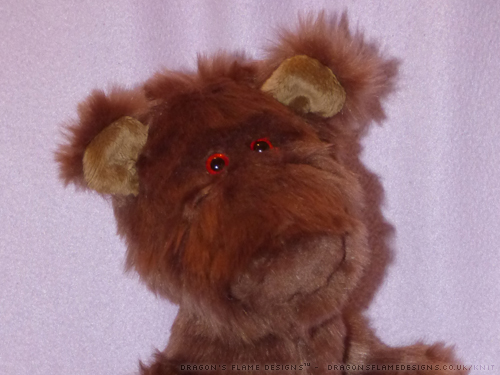
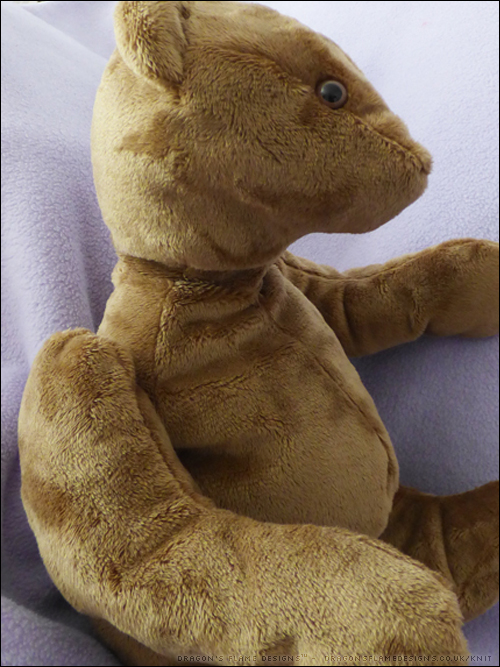
I do love the overall look – it’s a much better head shape than the other patterns I’ve tried before. I think the next Delight I make will be in faux fur, but as Delight is designed as a signature bear maybe it would also work to have a calico version which has an embroidered design on it (or if that fails, just a hand drawn design instead!).

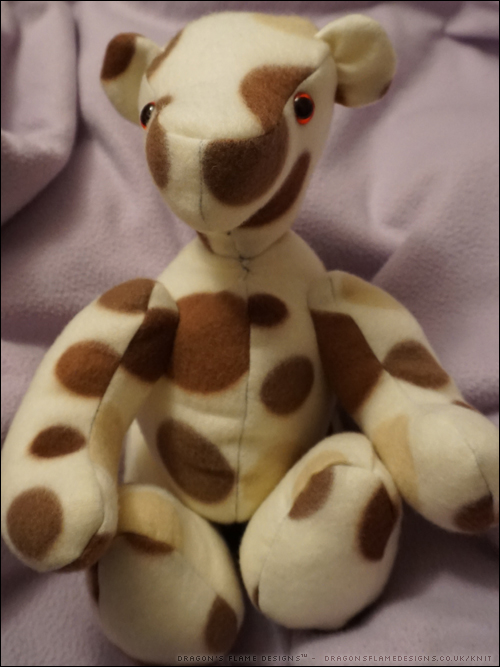
And yes I admit I used a darker thread than was advisable with such a light coloured fleece!


Pattern: Delight
Fabric: Fleece blanket from Shaws

Raspberry Ripple Bear (UFO)

After a mini shopping spree at Hobbycraft, I found myself with some dotty cuddle fat quarters. I thought they would make a lovely soft squishy bear, using the “Happy” pattern from Emma Bear’s.

I was originally going to use the pink and yellow for this bear, but the yellow looked a little harsh so I plumped for cream instead. It gives the bear a raspberry ripple look, and that was the fastest I’ve ever named a bear!

So far I have his head stitched (although he still needs ears), and his legs finished. The paw pads are faux suede just to add a different texture to the sleek dotty fabric.

Jumbo Bear (UFO)

I loved the look of the bear’s paws in the Emma’s Bears Jumbo pattern, but unfortunately, Happy didn’t come with those “pulled toe” instructions. Jumbo lives up to his name, using an entire metre of fabric, and potentially multiple bags of stuffing!

I was going to machine sew the seams for strength, but the weight and bulk of the fake fur was pulling it away from the needle as I stitched, so the majority of the seams ended up being hand sewn. For added strength, I used 4 strands of thread twisted together, and backstitched the seams.

I did use slightly smaller eyes than the pattern suggested, as I only had 11mm eyes to hand at the time, but I don’t think that’ll be too noticeable once his ears are added, and he’s fully stuffed. There’s a couple of seams that I need to finish and I want to redo his neck seam to make his neck slightly shorter…. but there’s no major rush, as at the moment I’ve run out of stuffing anyway!

Happy Bear (now with ears!)

It’s amazing how different a bear looks once it has ears! Instead of looking like some strange furry alien, you suddenly realise it’s actually a cute and cuddly bear.

The long purple fur made the nose and mouth embroidery a little more challenging than I’d anticipated, but it did help to hide any mistakes.

I trimmed Happy bear’s paw pads on the arms, just to make them look a little tidier, although I left the foot paw pads long, just for a bit of variety. This is the first bear that I’ve added eye whites to (that was just a small piece of white felt positioned underneath the eye before I added the safety backing), but I think it gives him some extra character.

Happy Bear (who will be getting a new name soon), was made from an Emma’s Bears pattern, using fake fur from my local fabric shop.

Happy bear (UFO)

I was struggling to find any free “real” teddy bear patterns – there are lots of free patterns out there, but none that look like a true collector’s style teddy bear, so I decided to buy a pattern from Emma’s Bears. I picked Happy Bear, as I liked the idea of being able to make a two-tone bear.

I already had the rusty red and purple fake fur left over from previous projects, and knowing how the fake fur tends to slide around while machine sewing, I decided to be reckless and hand sew all the seams!

My hand sewing skills are somewhat limited – they tend to be a source of humour in the family, as I seem to have inherited my Great Gran’s skills…. the stitches don’t tend to be overly neat, and I always use a contrasting colour so they’re more visible against the fabric.

I used two strands of sewing thread to hopefully give enough strength, and backstitched every seam. I will admit I used a contrasting coloured thread, simply so I could see the stitches if I needed to unpick any! But with the stitches being on the inside, nobody would be any the wiser for which colour thread I actually used.

“Happy” is jointed to allow him to pose better, but I think he will look even cuter once he has ears, nose and a mouth.

Funky Furry Bear

After a couple of recent attempts at making bears from other people’s patterns, I decided it was time I tried making a pattern of my own. I wanted to use furry fabric, as that gives the muzzle a better shape, and can also help conceal any lumps in the seams, but fake fur can be expensive and I didn’t want to spend too much on something that might not even work.

Luckily, Abakhan had a sale which included some brown fake fur for just £3.99 a metre, so that made the perfect fabric choice.

The fur is shorter than the purple I used before, and is also trimmed at certain points, so it isn’t all the same length. The small size of this bear doesn’t really show off this multi-length fur to its best, as it does look like I’d just trimmed it myself and made a pretty bad job of it….

But considering this is a first draft of a self-made pattern, I’m pleased with how it came out. I think I would lengthen the arms on the next one, and possibly shorten the body, as he does seem quite thin and lanky.

The inner ears are made from scraps of minky left over from the previous bears, and so far I’m undecided if I should embroider a nose, or if he looks ok with a brown furry nose.

The round muzzle is a particular favourite feature, as most of the patterns I’ve seen have a pointy muzzle with the head gusset reaching all the way to the nose. This bear doesn’t actually have a head gusset at all!


Ping Panda

Meet Ping the Panda! Although he doesn’t really look like a panda, because I used the same fabric throughout. Ping the Panda’s pattern came from a back copy of Sew Magazine. It was designed for mohair fabric, so like the long neck bear, Ping does look a little different to the picture in the pattern.

Ping’s neck doesn’t seem to be elongated which is a bonus, although his paws look like they aren’t quite attached at the right angle. I think his arms are positioned a little too far back, which makes them splay out at the front, rather than being held straight down by his side.

Taking out my never ending quest for perfectionism, Ping is perfectly cuddly and would make a great bed time buddy for someone.

Long Neck Bear

It’s taken a while to get this bear finished, but here’s my first “minky” bear! I can’t remember where I got the pattern from, but I think it’s the same one I used for my purple furry bear a while ago.

The lack of fur length gives this bear a totally different look – his muzzle seems much longer than the purple bear’s. The only real difference other than the fabric is this bear is unjointed, whereas the purple bear has movable joints.

I think I need to improve my sewing skills when it comes to the neck of unjointed bears though, they always seem to have an elongated neck, which does give them a rather unusual appearance. Maybe this one just needs a scarf to hide that a little….

Purple Bear

Following on from Leopard Bear, I had also bought 50cm of some longer pile fake fur – this had been sitting in a box for a few weeks, while I plucked up the courage to try cutting out the pattern pieces.

Purple-head

Rather than using the same pattern, I found a different one for this bear. The muzzle is longer (this one doesn’t have a chin), but I want to try something even more challenging for this bear – an open mouth! So far I have the head made and trimmed around the muzzle, in readiness for the lower jaw and nose.Once I’ve tackled that, I can add in his ears, then work on the paws!

purple-body

This fabric sheds even more than the black did, but I hope that once the bear is completely stitched up, that he won’t shed any further!

Leopard Bear

I was browsing the shelves in the fabric shop and came across their small selection of fake fur fabric – it was black but with dark patches, almost like Leopard spots. I decided to take the plunge and buy 50cm to try making a jointed plushie…. my first time of using fake fur, and also the first time I’d ever even looked at bear joints!

Apart from the fur shedding everywhere, and the mistake of using black thread (have you ever tried unpicking black stitches from black fake fur fabric?), I think he came out pretty well! I didn’t trim the muzzle, so this particular bear has no nose…. but from a distance, you wouldn’t know 😉1

His eyes are a little lopsided, but that just gives him a cute, slightly quirky look.

2