I’m over at the Minerva Crafts Blog again today with a product test of this super stretchy denim! Head on over to see what I made – I’ll give you a hint, this time I made two items!
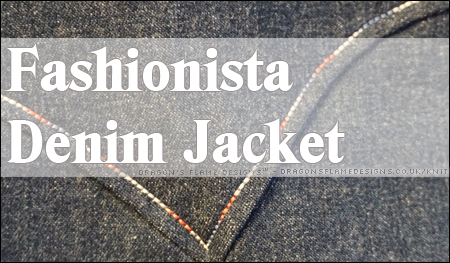
It’s taken a while, plus some unpicking when I accidentally stitched the sleeve to the neckline… (yeah, don’t ask how I managed that!) but my denim Fashionista* is looking less like a pile of pieces, and a lot more like a jacket now!
You can see the stitching on the left sleeve where I accidentally made a hole in the fabric was I was unpicking my mistake. It’s not visible from a distance though, and nobody should be looking that closely anyway!
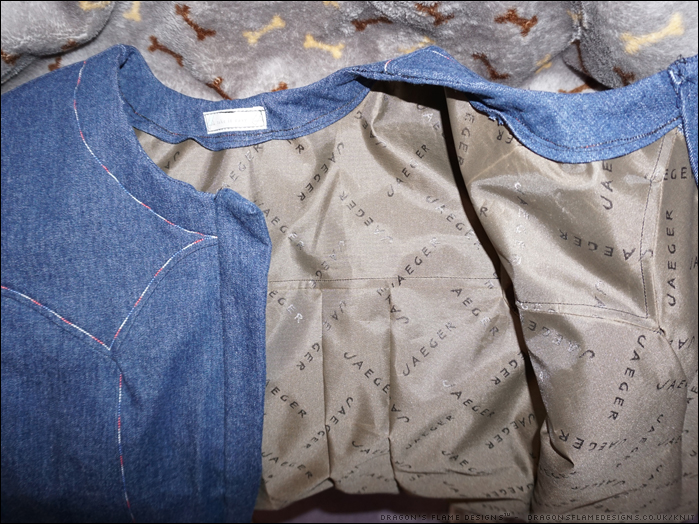
The lining was where I came unstuck when I shelved this project last month, but I decided I ought to just get on and try it again. I didn’t unpick the seam where it caught up, but to be honest I don’t think you’d know now it’s all sewn together!
I hadn’t expected to find branded lining fabric, but when I came across this Jaeger lining, I knew it would work really well for a jacket lining. It does make the jacket a lot more structured – the jacket looks like it’s still being worn when it’s on a hanger!
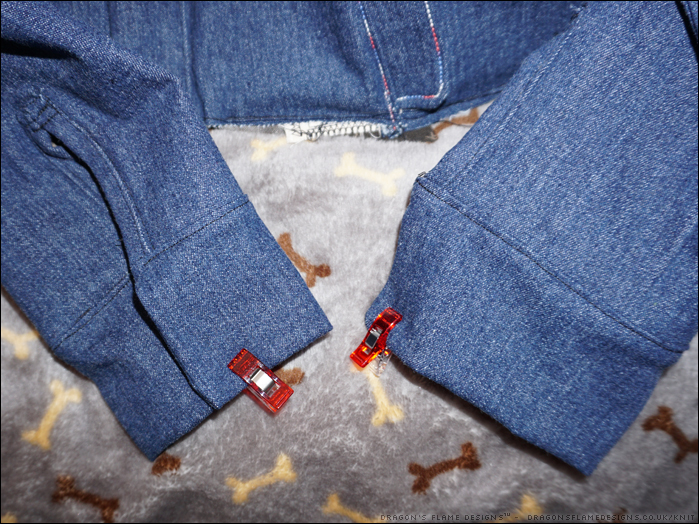
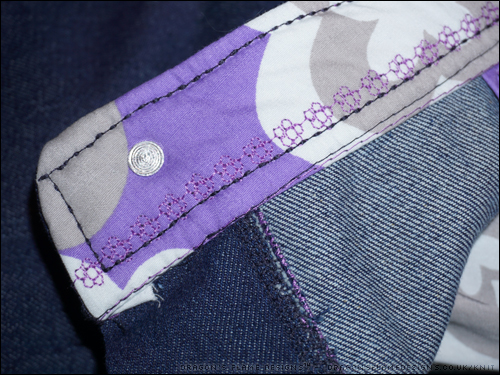
The sleeves need a little hand stitching just to catch the lining into the side of the placket, but other than that they were sewn exactly as the pattern suggested. Eventually the cuffs will have buttonholes and denim buttons, but I want to test using my Prym pliers to attach the buttons as I think that might work a lot better than hammering them.
I decided to stay with just one line of topstitching but deviated from the pattern to top stitch the sleeve seam as well. I thought that would help to strengthen the seam after I had to unpick it.
Although the jacket looks mostly finished, as you can see by this photo, I still have the waistband to attach, and the buttons to add. As with my Showerproof Fashionista, I chose to sew the facing as you would normally expect, rather than adding it like bias binding as the pattern suggests. That was I was able to use my ‘take it easy’ ribbon piece on the back as a label.
Ok, I will admit that I did the very first part of my WinterWear Designs Fashionista* last year, but because I filed it away over Christmas and New Year, I’m counting this as my first UFO for 2019.
The Fashionista* has a shaped front yoke which looks really good, but did prove a little challenging to sew accurately. I know there’s a slight catch in the front section below the yoke, but there’s a matching one on the other side so I’m calling it a design feature rather than a mistake 😉
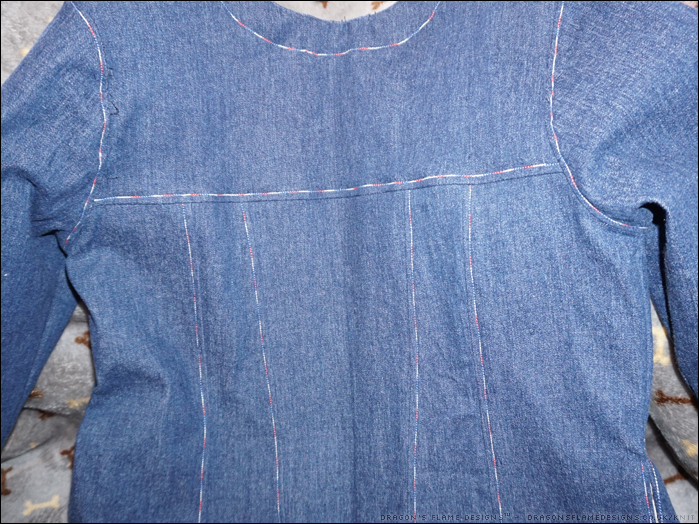
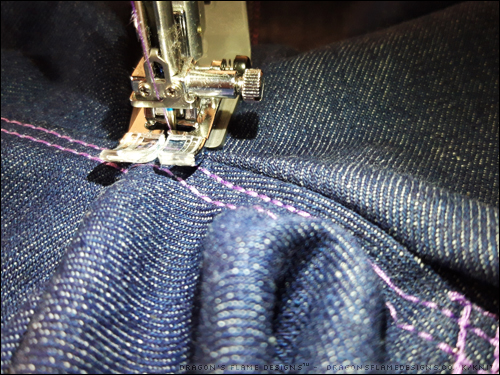
The back still needs pressing from where the middle panel was stored folded, but it’s looking like the variegated topstitching thread was worth buying. I chose to only do one line of topstitching instead of two, but I’m using a triple straight stretch stitch so it shows up more than a regular stitch.
That’s the front and back panels complete, so I’ll be working on the shoulder seams next, before diving into the sleeves. Denim jackets normally are unlined, but I spotted this ex-designer fabric on the Minerva Crafts website and thought it could make an interesting addition to my Fashionista. Once I’ve got the sleeves attached, I’ll then work on the lining, before adding the front plackets, cuffs and waist band…. or at least that’s the plan – it might well end up unlined if I can’t figure out how to add a lining!
I really don’t know how I’m making so many mistakes with jeans at the moment – my first ever pair of denim jeans came out as I expected, but since then my jeans have been going wrong!
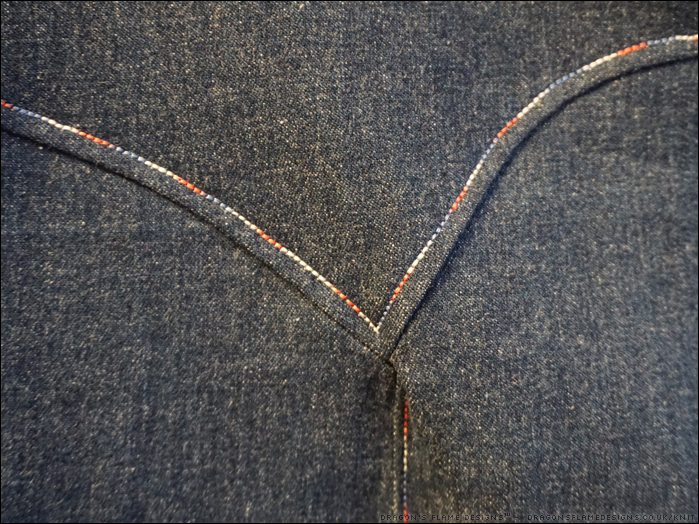
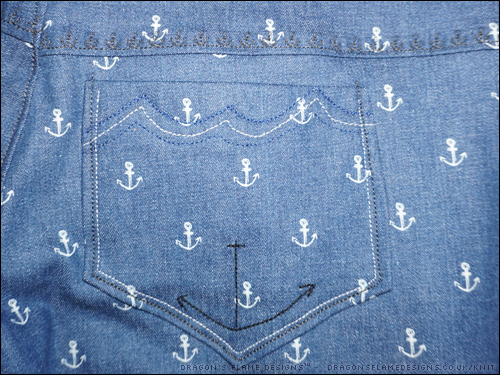
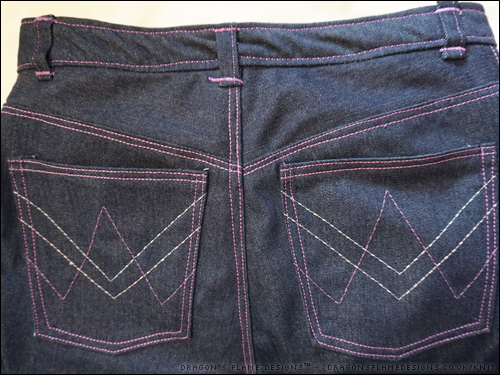
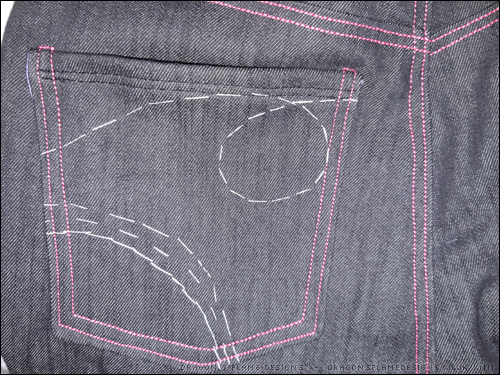
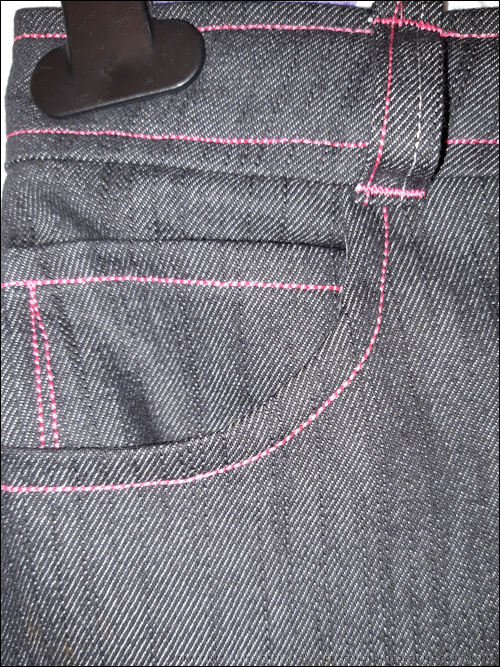
First let’s start with the positives on these Real Deal Jeans*. I decided to do some decorative top stitching on the back yoke, and also for the back pockets. The yoke stitching isn’t overly visible unless you look closely, but that doesn’t matter as the anchor pattern is quite bold anyway.
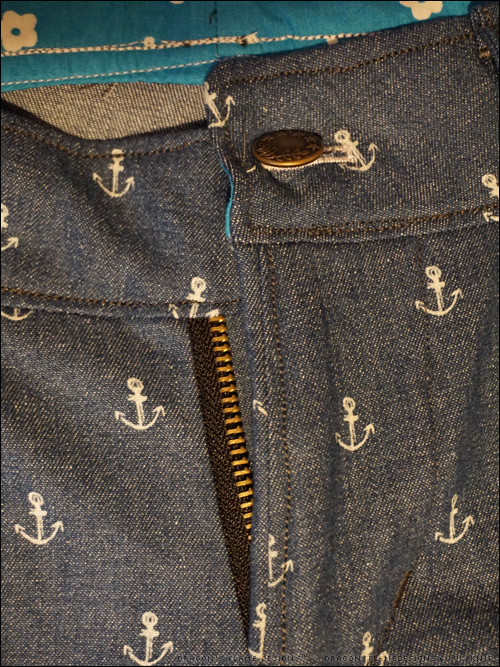
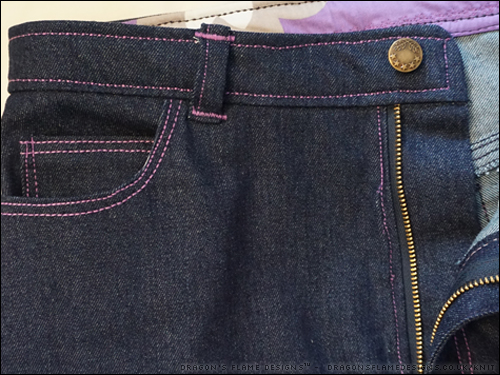
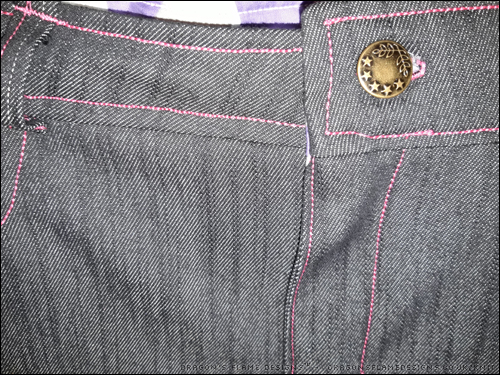
So the back was a definite success, which means the front must have the disaster, right? I don’t know if it’s just the way I put the zip in, or if I’m missing something in the instructions, but the left side is a different height at the waistband to the right-hand side.
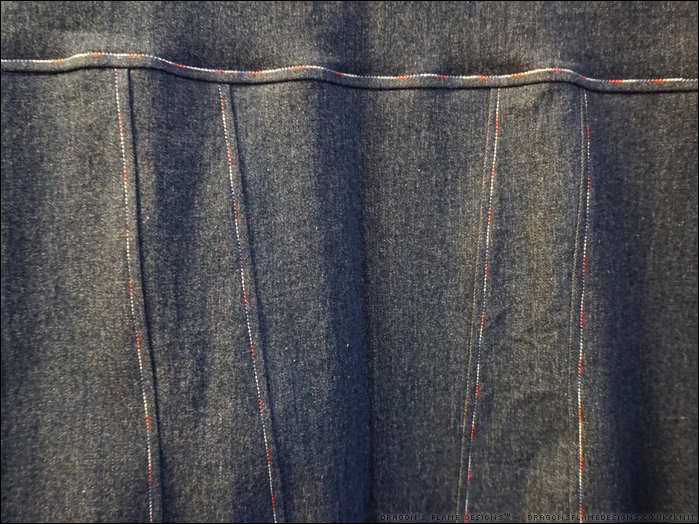
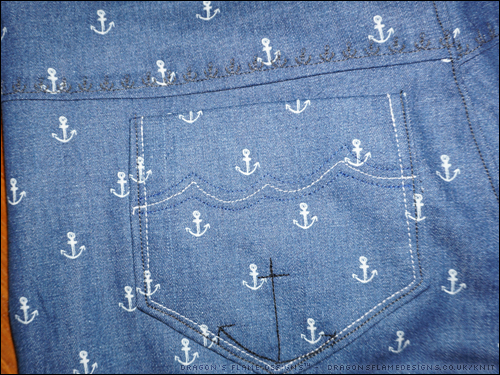
This is the same pair of jeans – I didn’t use the flash for this photo, so it came out a bit darker than the real shade of blue
What seems to happen, is that the zip moves (despite being pinned), and ends up slightly higher on the second side. I had this before with my Penguin RDJs but while my Dawn jeans didn’t have this mistake, these anchor jeans have a more noticeable difference between the left and right at the waistband.
Not only that, but I had a disaster with the button – when I hammered it in, it ended up skewed.
So before I get on and sort the hem to finish these off, does anybody have any recommendations for how to remove the hammered-in button, and also to resolve the waistband problem, or will I be stuck with that lopsidedness forever?
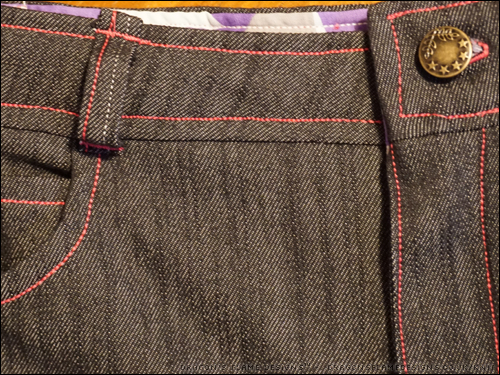
The front of my latest Dawn Jeans came out near enough perfect – the front left lines up with the front right, and the button hammered in exactly straight.
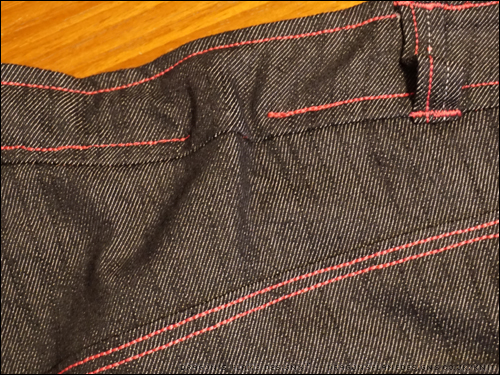
However, when it comes to the back, it all goes wrong! In top stitching the waistband down, I seem to have a bunch of denim, but no corresponding bulk for the waistband lining.
Of course I thought it was a good idea to top stitch using a triple straight stretch stitch, which is one of the most challenging stitches to unpick.
So before I reach for the seam ripper, does anyone have any hints or tips for the best way to unpick my mistakes?
Pattern: Dawn Jeans by Megan Nielsen Fabric: stretch denim from Mibs Fabrics Inner waistband & pocket bags – polycotton from Fashion Fabrics
I was lucky enough to be chosen as a pattern tester for the amazing Megan Nielsen Dawn Jeans and couldn’t get my fabric prepared fast enough!
The Dawn Jeans come with four options – tapered, straight, wide, and shorts. Originally I was going to make the shorts, but decided in the end to try the wide leg jeans.
These jeans are meant to have a vintage feel – kind of classic Levis, so I chose some reasonably heavy denim which had a slight give rather than any real stretch.
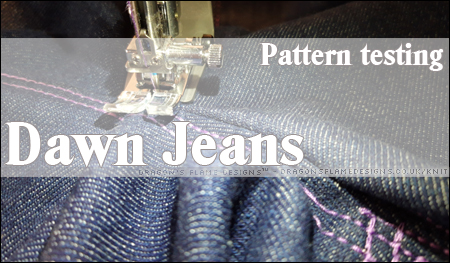
As I mentioned on Tuesday, I don’t use topstitching thread – I know, dreadful isn’t it! When I bought my sewing machine, the shop manager enlightened me that if you use particular stitches, you can get the effect of topstitching without needing to invest in specific thread.
I prefer the look of the triple straight stretch stitch out of the options I have, and it means I can liven up my jeans without needing to buy in lots of specific thread too!
Dawn is drafted with a high waist, which I didn’t alter at all. It actually hits at a comfortable level for me, despite being only 5′ 1″, which meant I didn’t have to try and work out any alterations – yay!
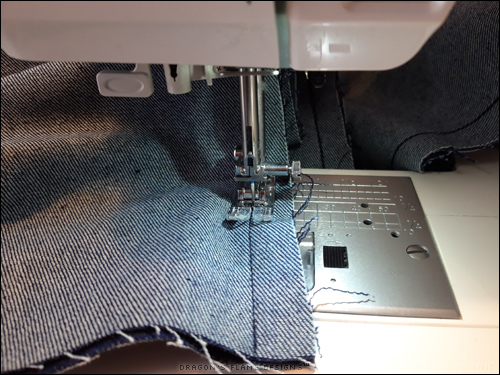
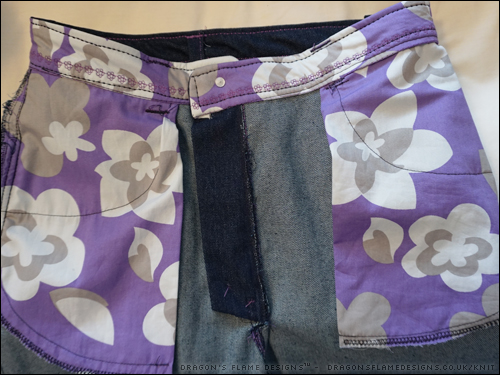
Unlike other trouser patterns I’ve used before, Dawn’s pocket bags are actually sewn inside out, so the right side of the fabric shows on the inside of the jeans. Using the same fabric as the inner waistband means they blend nicely – and the inner waistband also gave me a chance to add some fancy stitching too:
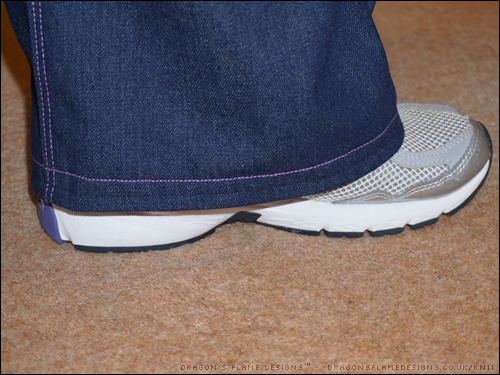
Strictly speaking, the inner waistband is meant to be denim, but I was trying to squeeze these jeans out of a metre of fabric, so I only had enough for the outer waistband! I also didn’t have quite enough for a proper hem, so I added some bias binding around the raw edge to prevent it from fraying, before sewing the hem.
I also stitched lower down on the hem in a matching thread, just to make it a bit stronger.
I took in the width by a few inches on the legs, as they were a bit too wide for me! But overall, these jeans are a great fit, didn’t require much alteration other than the width (and that’s down to personal choice anyway), and I’m just waiting for the weather to get a little cooler now, so I can wear them!
One pair made, but why stop at just one?
Buoyed on by my success with those, I decided to try a straight leg pair. These are made from a lighter weight stretch denim, but I’ve stuck with the same size as my previous ones. I did have a bit of a disagreement with the button when it came to hammering it in place, but other than that, these are also really comfortable!
I wanted to do something different with the pockets on these, so this is actually glow-in-the-dark embroidery thread! I had a semi-disaster with the interfacing I’d put on the back of the pocket – I managed to melt it over the iron – so I added a lining to the pocket, to hide the gummy interfacing and also to prevent the stitches getting caught on the inside.
Again, I used the same fabric for the pocket bags and inner waistband, but this time I doubled up on the inner waistband fabric to make it stronger.
No modelled photos of these yet, as they’re still in the UFO stage until I can get the hem measured and stitched!
I doubt I’ll be making a tapered-leg pair, as that isn’t a style I wear, but I’m planning on making some shorts for next summer if I can find some lighter weight denim, or maybe a linen blend fabric!
So what are you waiting for? Head over to Megan Nielsen, and check out the Dawn Jeans!
Pattern: Dawn Jeans by Megan Nielsen Fabric: Wide-leg jeans – non-stretch denim from Sewing Studio Straight-leg jeans – stretch denim from Mibs Fabrics Inner waistband & pocket bags – polycotton from Fashion Fabrics