
In preparation for an amazing pattern release later this week, I thought I’d share a quick video I made for how I tackled the topstitching over a bulky seam.
I use regular thread, and a straight stretch stitch for strength… well, it also looks pretty good too! But going over a bulky seam is a bit of a nightmare if those stitches don’t come out straight, so how do you do it?
You could just a piece of folded fabric, or maybe some thick folded card – they’d both give the same result. But I’m using the button shank plate (which I’ve also seen called a Jean-a-ma-jig) that I got as a special deal from the shop when I bought my machine.. Normally the button shank plate is £8, but I’ve seen Jean-a-ma-jigs for about half that, so it’s worth looking round for a good price!
Ok, so how do you use it?
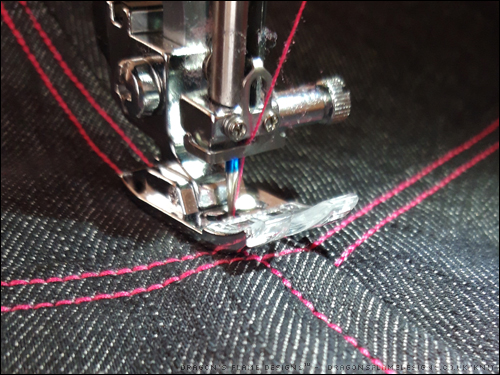
Sew as normal just to the point where the foot starts to lift at the front, as it tries to climb over the bulky seam.
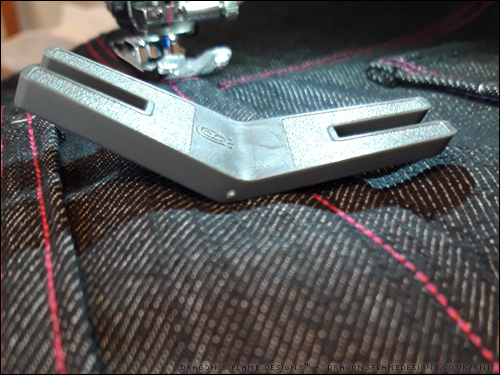
For my button shank plate, there’s a thick side and a slightly tapered side (on the right in this photo). With the needle down, lift the foot, and gently push the tapered side under the foot at the back. Lower the foot again….
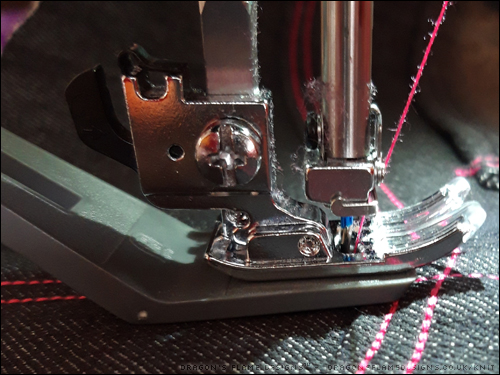
….it should now look like this! Slowly sew – you may need to use the hand wheel, depending on your machine and the thickness of your fabric!
Once the machine has stitched past the bulk, you can remove the button shank plate from the back.
Because that probably sounds way more complicated than it actually is, here’s a quick video of the button shank plate in action. I hold it in place to start with simply because I’m using a triple straight stretch stitch – that goes backwards on every third stitch, and I wanted to make sure my needle didn’t hit the plastic plate!
And there you have it – a little tip to help get topstitching to work over those bulky jeans seams!