Magic Softshell Bag – take two

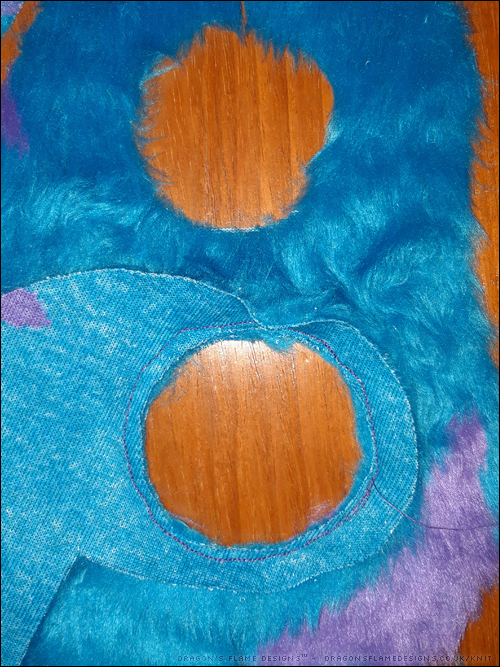
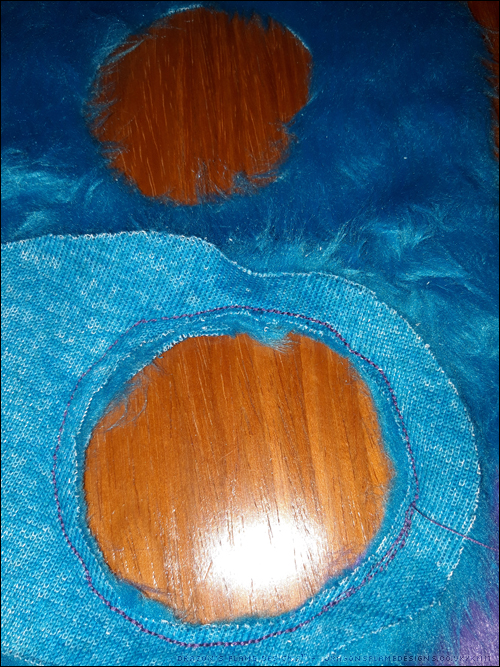
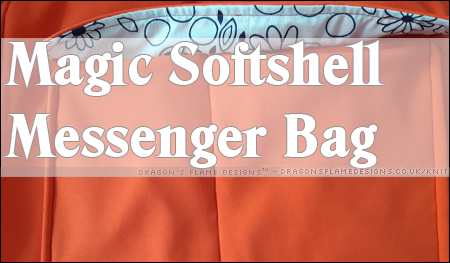
I started a Magic Softshell messenger bag earlier in the year, almost finished it, then realised the dimensions I’d used for the pocket weren’t quite right. After some (unwise) unpicking, where I ended up making a small hole in the lining, I shelved the bag in the depths of my UFO pile.

Then I made the mistake of going for a 3 mile walk in torrential rain…. which came through the waterproof bag I had taken with me. So I realised I was going to have to make a replacement waterproof bag before the winter, as being England it’s likely to be quite wet!

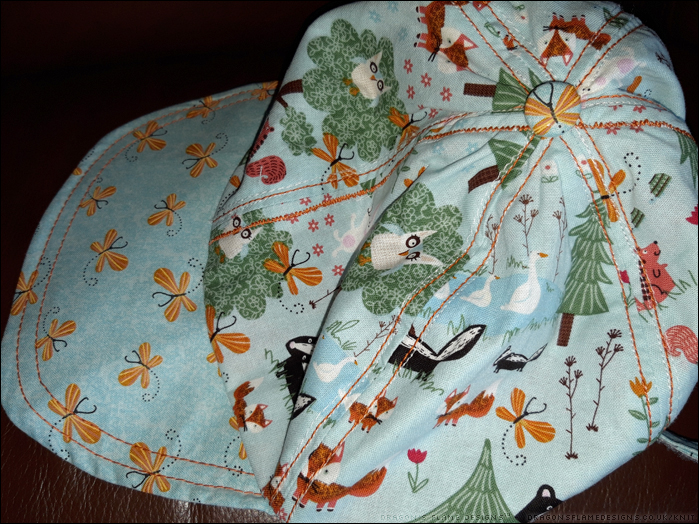
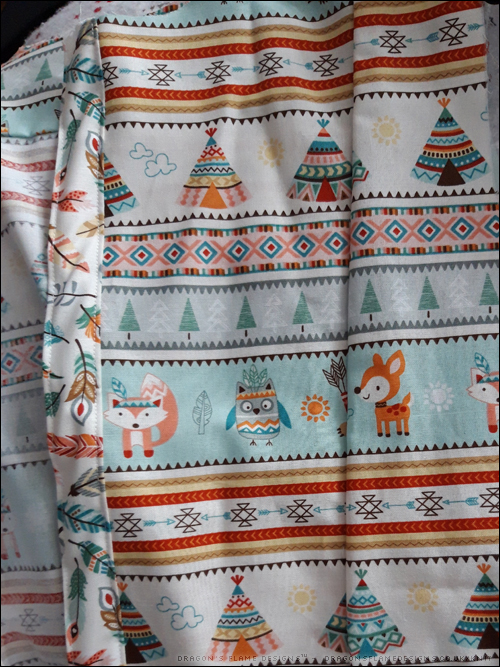
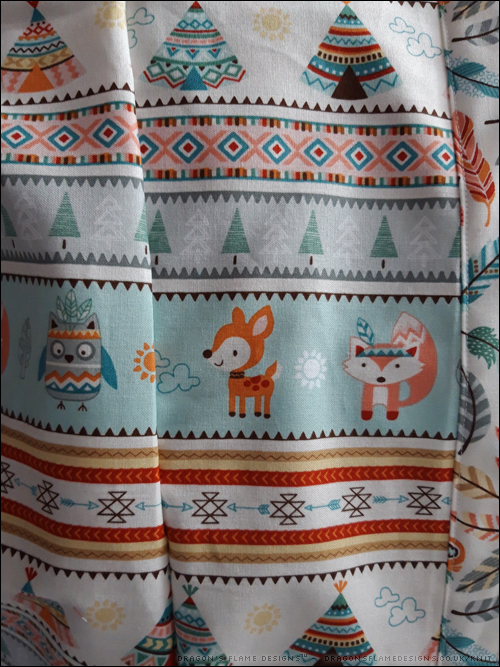
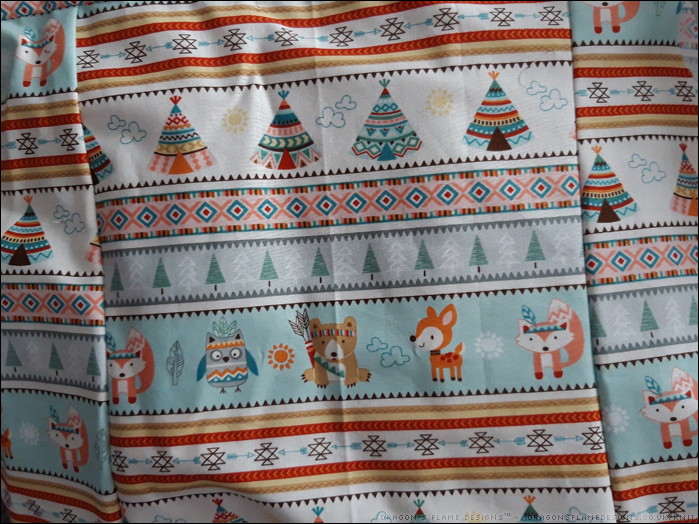
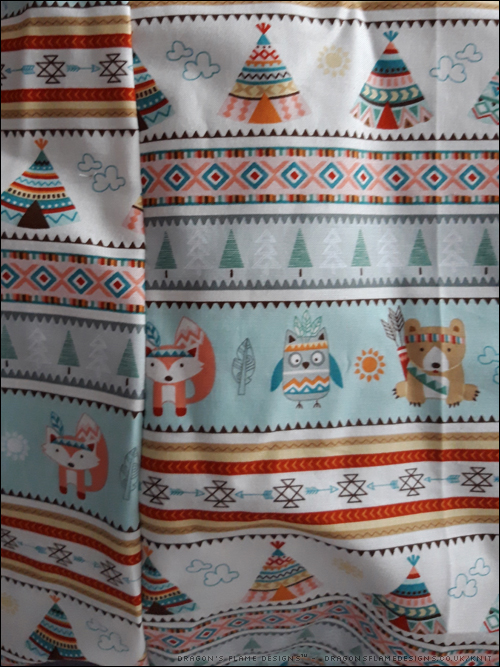
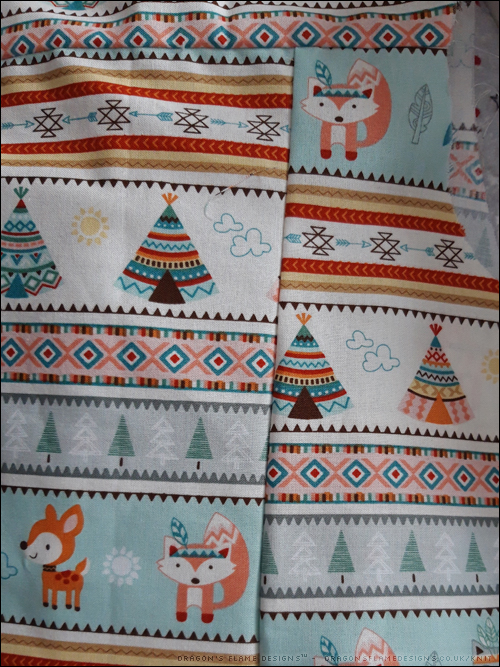
Luckily I had enough of the Magic Softshell left over to cut a fresh bag, and armed with some patterned polycotton which I had left over from a previous project, I set to work cutting out a fresh bag, using current favourite bag pattern from Crazy Little Projects.

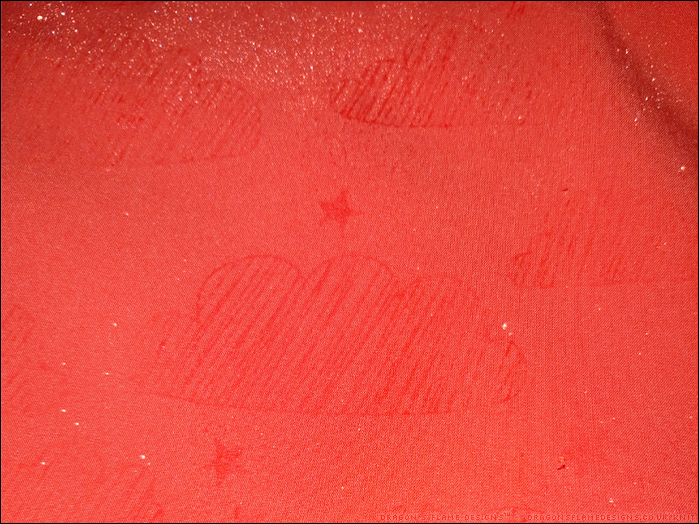
It’s not the easiest thing to get a photo of (the original softshell colour I was after, didn’t get enough interest to make the preorder, so this one was my second choice), but when the fabric is wet, the pattern of clouds and stars appears.

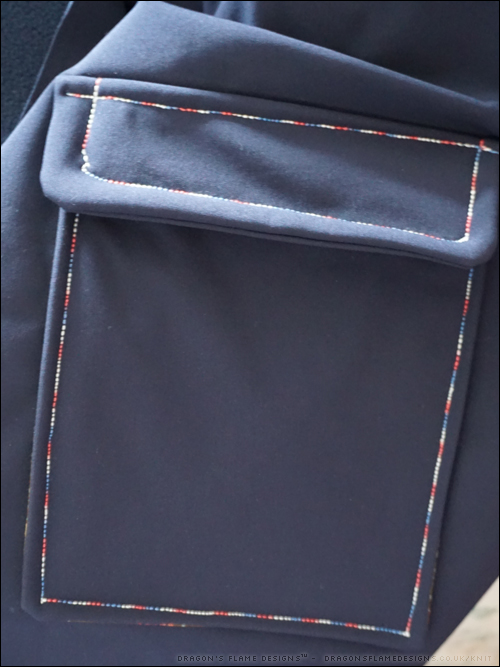
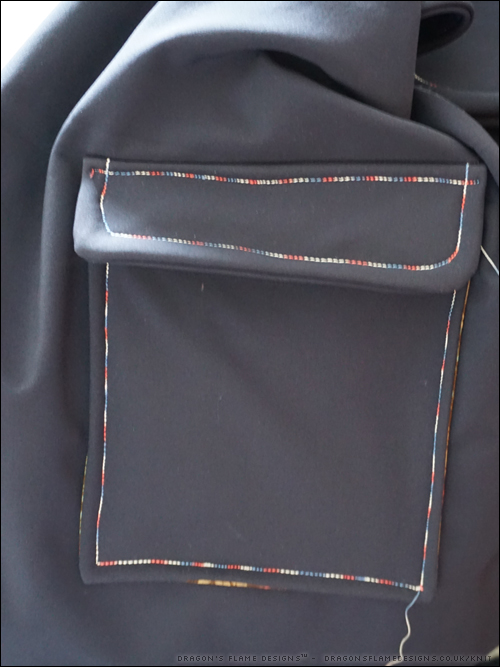
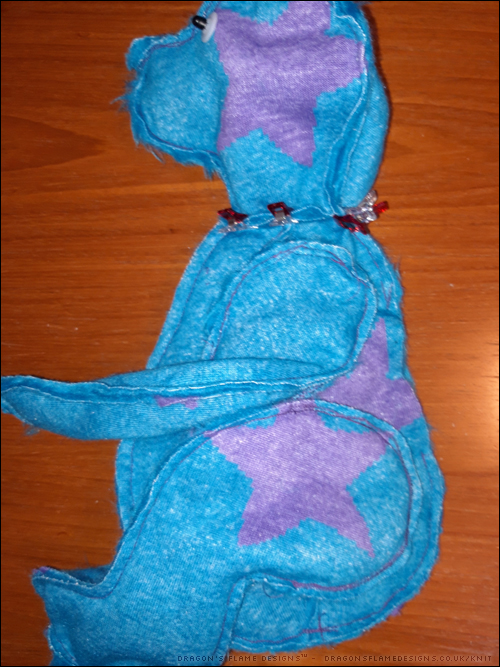
I’m sticking with my previous ‘hack’ of the pattern, to include a patch pocket with flap on the front flap, rather than messing with a zipped pocket. This actually makes it a lot easier to open, and there’s less things that can go wrong (like the zipper pull coming off when I try using the pocket!).

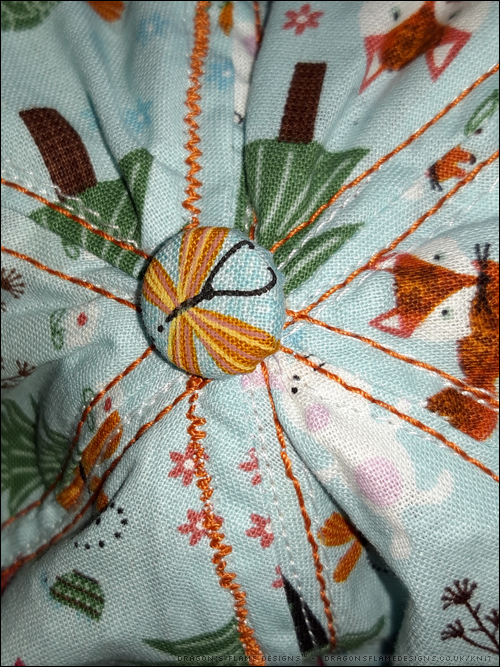
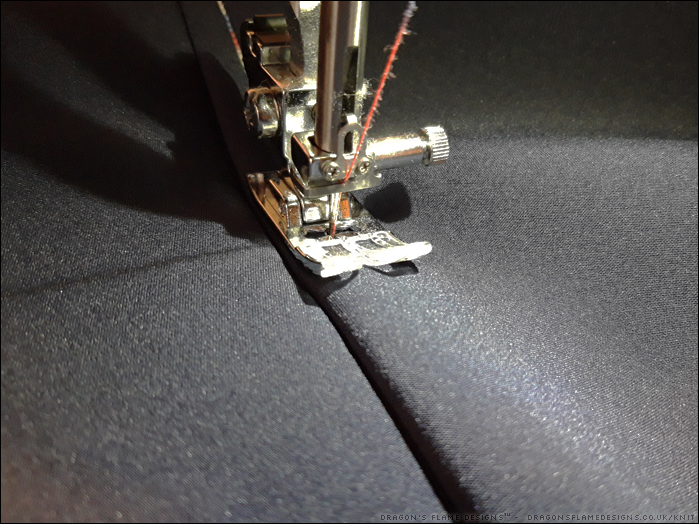
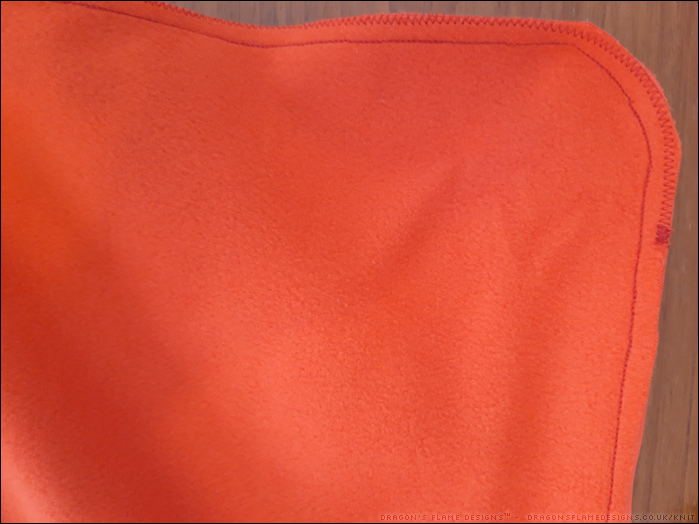
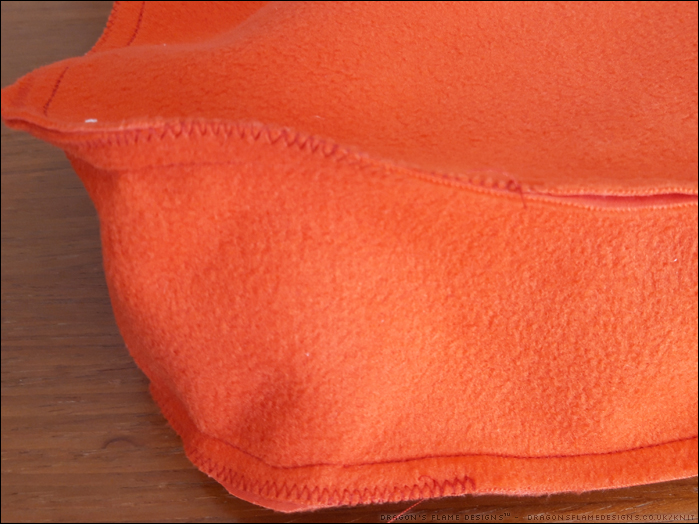
All the seams are sewn with a triple straight stretch stitch for strength, and I also zigzagged the curved corners just for ease of mind if I put anything heavy into the bag. The main seam stitches should be fine without that, but I like to be certain.

Just the lining to sew, then I can start putting it all together!


Pattern: Messenger Bag by Crazy Little Projects
Fabric: Magic Softshell from Mibs Fabrics

Woodland Baseball Cap

Having made a baseball cap for myself, one for my Dad and one for K, I couldn’t very well leave out making one for my Mum, could I? I spotted this woodland themed fabric at Hobbycraft, and realised it would make a great Clovelly Cap.

This is the first time I’ve tried using topstitching thread, and the first line I made was clearly the wrong stitch to use! I stuck with a regular straight stitch for the other topstitching, and that worked a lot better.

The peak is stiffened with fusible buckram and a layer of clear pvc (vinyl) above that. My hope is that the pvc will stop the rain from soaking in too much, while the buckram gives the peak better shaping.

I also bought myself a self-cover button kit, and my fussy-cut dragonfly fitted the button perfectly! I was doubtful that the kit would be worthwhile, but it did make covering the button a great deal easier.

No modelled photos unfortunately, as Mum is a little camera shy! But in the two months since I gave Mum this cap, it’s had a lot of wear, so I think we can safely say she approves!


Pattern: Clovelly Cap by From the Studio (Jamie Kemp)
Fabric: Fat quarters from Hobbycraft

Spotty Atilla

My original plan was to make a cuddly dog from this spotty faux fur fabric, but I didn’t have a suitable pattern, so I decided to make this a furry Atilla the Bun instead!

I tried to fussy cut the paw pads, as the spots looked more like hearts in places, and I thought it would be a neat idea to have a heart on each pad.

I wanted to practise making non-jointed toys, so Atilla’s arms and legs are stitched into place. I still haven’t quite got the hang of angling them correctly, as one leg faces down and the other is kicked out in front of him…. but he can still sit down properly.

Since I took these photos, I have added in a small piece of black felt for his nose – after all, you can’t have a bunny with no nose, can you?


Pattern: Atilla the Bun by Emma’s Bears
Fabric: Faux fur from Fabric Land

A little change

Rather than sticking with Winnie the Pooh and Tigger, I thought this envelope needed a change…. so I flicked through my book of how to draw dragons until I found some inspiration.

This one was coloured with fine liners, but I also added in some random dots of metallic gel pen just to give the colours a little lift when the light catches it.

Camp-a-Long Critters

I cut out this Button-Up Top* last year, then shelved it because I ran out of fabric for the sleeves. I managed to get some contrasting fabric in the autumn last year, then decided that it a summer-weight short sleeve shirt wasn’t a project I wanted to work on in the colder months, so it was shelved again.

So this week I started sewing the pieces together, and realised that my first attempt at pattern matching (albeit only the horizontal lines) actually worked surprisingly well!

Both front pieces line up really well, give or take a few millimetres, and I tried to line up the back yoke with one of the lines, so it gives a nice border to that piece. Unfortunately I wasn’t as careful in cutting out the back – I was more eager to use as much of the fabric as possible, than trying to match the lines.

I’m trying to ignore the back not being anywhere near lined up… after all, when I’m wearing it I won’t be able to see the back anyway! All I need to do now, is work on the sleeves and collar, then find some suitable buttons. Hopefully I can still get it finished during the summer!


* – affiliate link
Pattern: Button-Up Top*  by Winterwear Designs*
Fabric: Camp-a-Long Critters quilting cotton from Sewing Studio

Eden jacket – a work in progress

I purchased some navy softshell fabric earlier in the year, with the view of making the Kelly coat. Since then, Tilly and the Buttons released the Eden jacket pattern, which looked like it would be more forgiving on the sizing. The sleeves on the Kelly look quite fitting, whereas the Eden has a much more boxy shape.

Decision made, I set about cutting out my pieces, and also decided to use the same topstitching thread I had picked out for my denim Fashionista jacket.

Sewing softshell is pretty easy, as long as you have a ‘sharps’ needle – a regular needle won’t have the right strength or sharpness to pierce the fabric cleanly.

So far I have the pockets and pocket flaps attached – eventually these should have poppers, if I can find some in the shop!


Pattern: Eden Jacket by Tilly and the Buttons
Fabric: Navy softshell from Fashion Fabrics

Bella Bear

There’s always something odd about the look of a plush bear when it’s still in the UFO stage….

….especially when you’re modifying the pattern to make it an unjointed bear! I cut circles where the joints would normally go, then stitched the inner limb to the body right sides together. The limb then gets turned through the hole, and the other side of the limb is stitched to it as usual.

You then end up with the arms and legs attached and can stuff them through the gap in the back of the body. Also, this only gives that seam at the back of the body to hand sew at the end!

One inside-out bear just waiting for me to sew the head into place, before turning. They do look strange this way round! I thought the unusual blue would make a change from traditional teddy bear brown, and the purple stars stand out well too.


Pattern: Belladonna Bear by Emma’s Bears
Fabric: Starry faux fur from Fabric Land

Back to Winnie the Pooh

Tigger was nice for a change, but Winnie the Pooh is a little easier to draw…. or maybe there’s just more pictures online of Pooh, so it’s easier to get inspiration?

Either way, this envelope was coloured with some glitter gel pens I bought from Hobbycraft (unfortunately they don’t have them online), so Pooh catches the light really well.

Vernon Vulture

I’ve made lots of teddy bears, but I’ve never made any kind of plush bird before. When I spotted the Pudgy Plumes pattern, I decided it was worth trying out for my first plush bird. The pattern includes instructions for a Flamingo, Vulture and Ostrich; I decided on the vulture simply because the shape looked easier to try out, given that I’d also never made any of that designer’s patterns before.

I didn’t want to have to purchase more fabric to make the vulture, so I used the same faux fur for every part. Although this doesn’t make him overly realistic in his colouring, it saved a lot of hassle in needing to try and find multiple shorter pile fabrics!

The pattern comes with a choice of small or large wings, so naturally I went with the large – Vernon needs decently sized wings to be able to fly! I did make a mistake in attaching the feet, accidentally skipping past part of the instructions, however I was able to resolve that by hand sewing the feet in place. Because Vernon wasn’t made with the view to giving him to a young child, I’m not worried about the strength of my hand sewing, but if I was making him for a child, I’d make sure to follow the instructions properly.

Some of the fur is still trapped in the seams, but I struggled to tease it out. I think that’s a combination of the pile length and the short stitches. A lot of patience and a decent comb (or even a long pin) would probably work, although I’m running short on the patience right now!

I enjoyed making Vernon so much, that I have already planned to make another bird to keep him company. The only question is, should it be an Ostrich, or a Flamingo? What do you think?


Pattern: Pudgy Plumes
Fabric: Faux Fur from Fabricland
Eyes: Hobbycraft