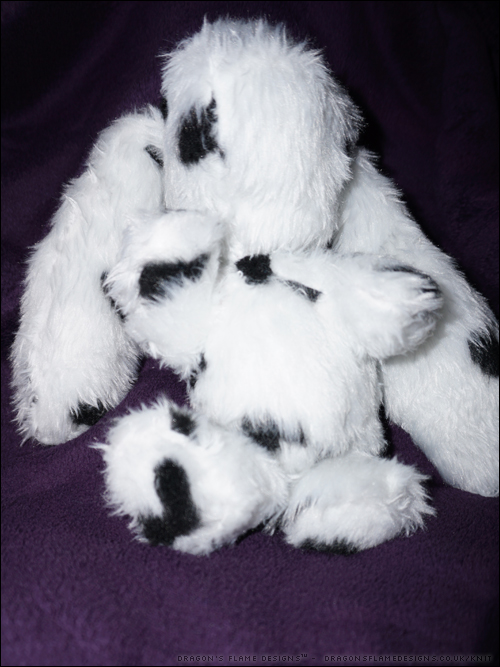
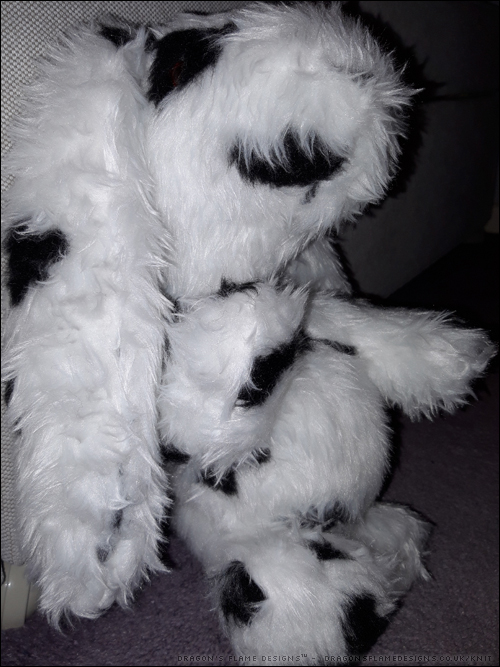
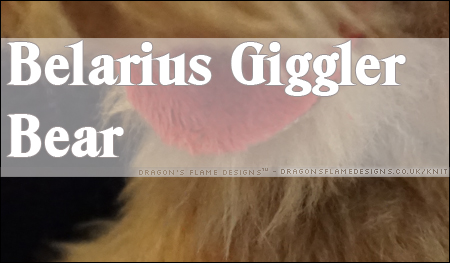
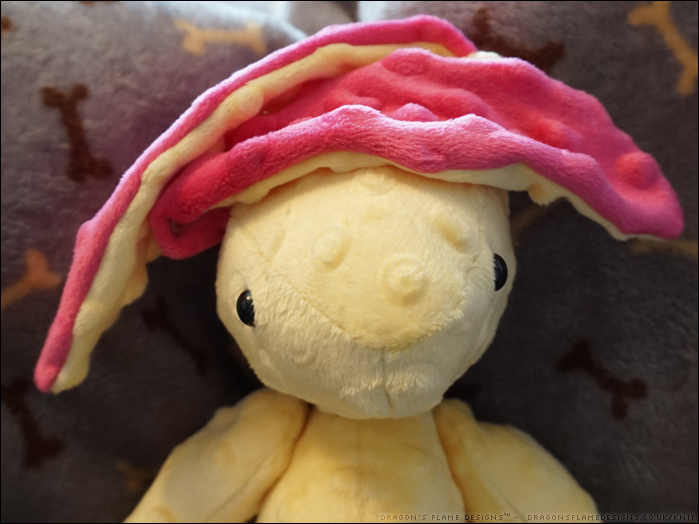
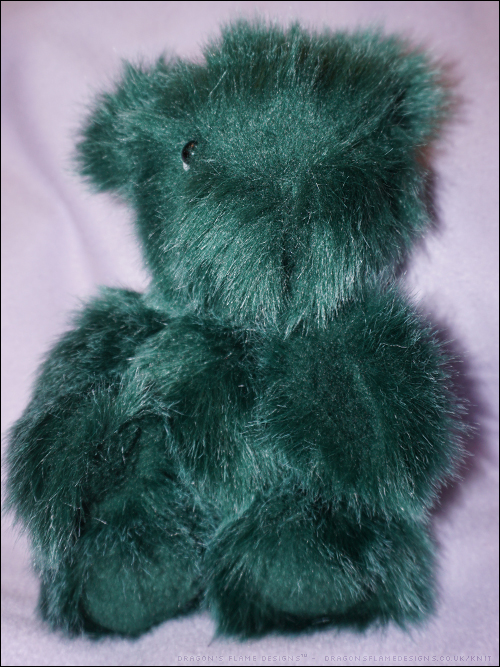
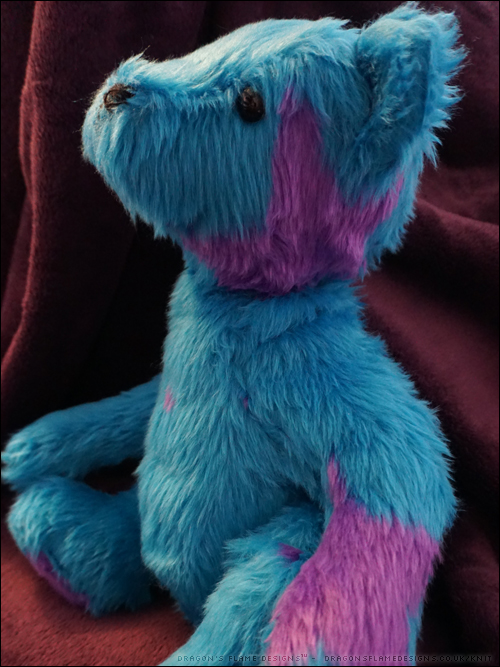
Remember Bella Bear from earlier in the year? Well she’s been patiently waiting for me to show her finished look, so here she is!
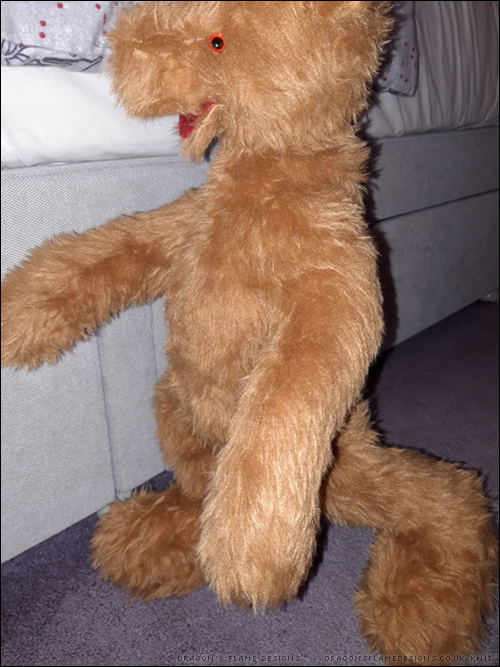
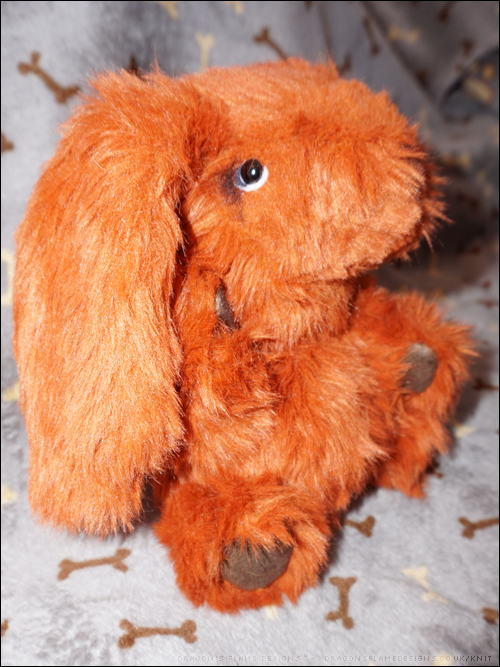
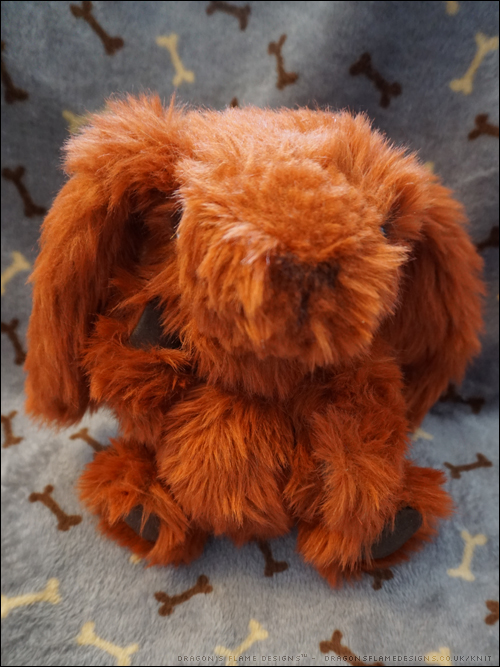
I stitched her arms and legs into place rather than using toy joints, as I prefer the softer feel. I was aiming for more of a Gund style feel to Bella – understuffed and cuddly. I think I might have gone a little too far in the understuffed line though, as she does feel rather lightweight!
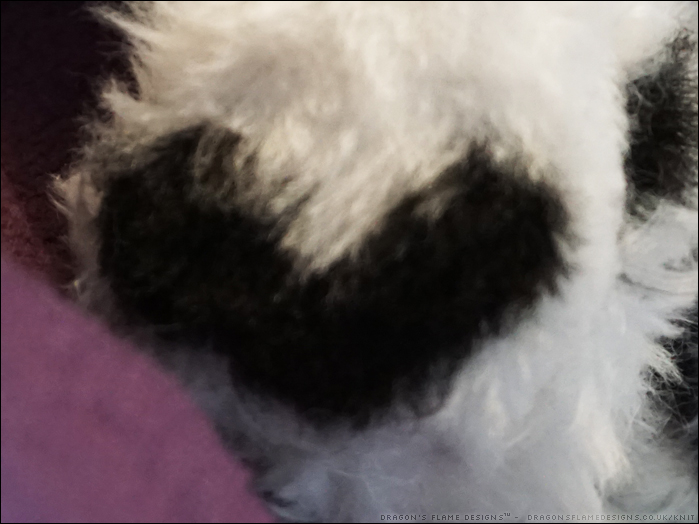
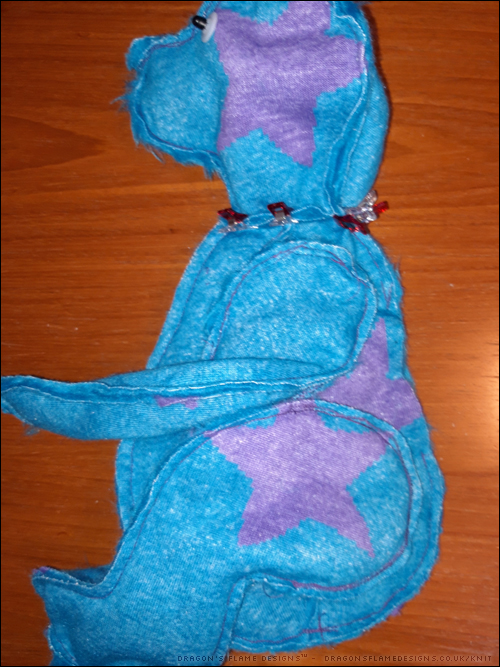
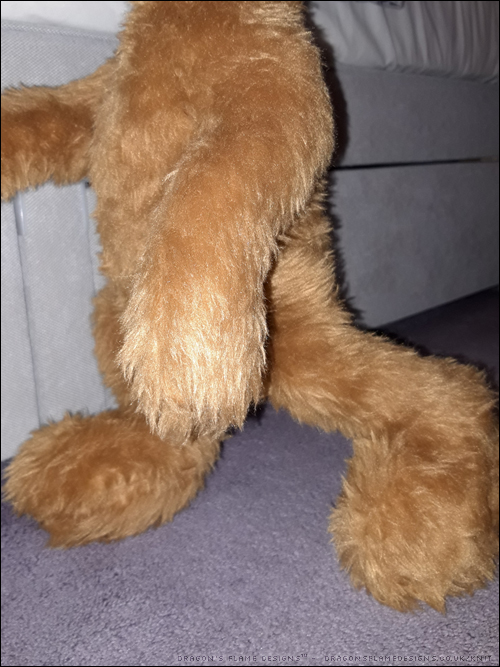
I fussy cut a couple of the purple stars for her paw pads. I was originally going to make them as ‘tickle toes’ hence the trimmed fur at the top, but I didn’t have the confidence in my hand sewing ability to make a decent job of them.

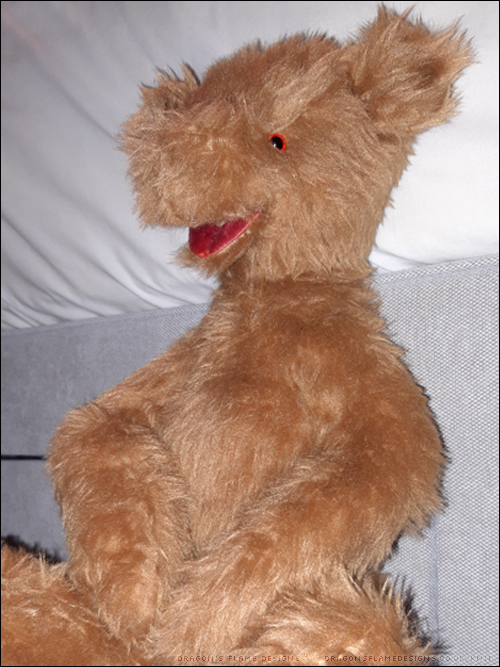
I think maybe I could’ve made her neck a little shorter. That’s one disadvantage of not jointing the head, as it does tend to lead to a very long looking neck. Maybe next time I will add a joint on the head even if I omit them for the limbs.
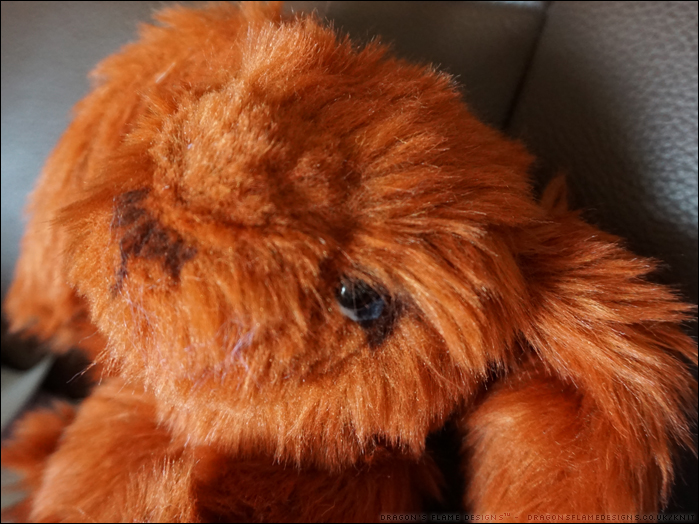
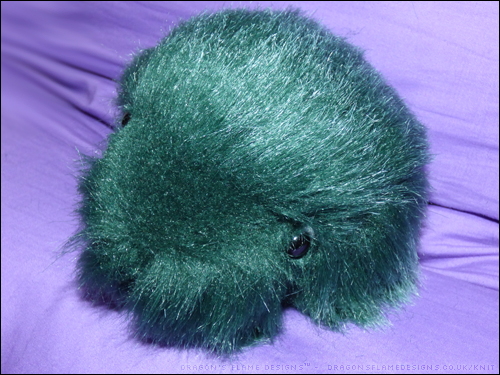
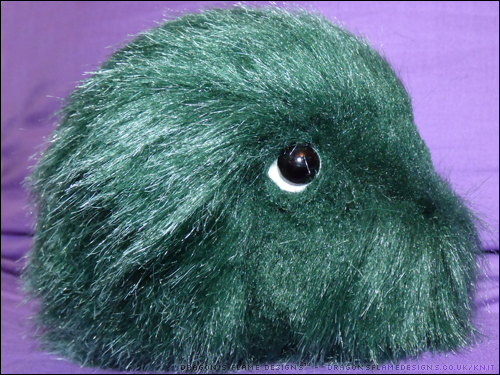
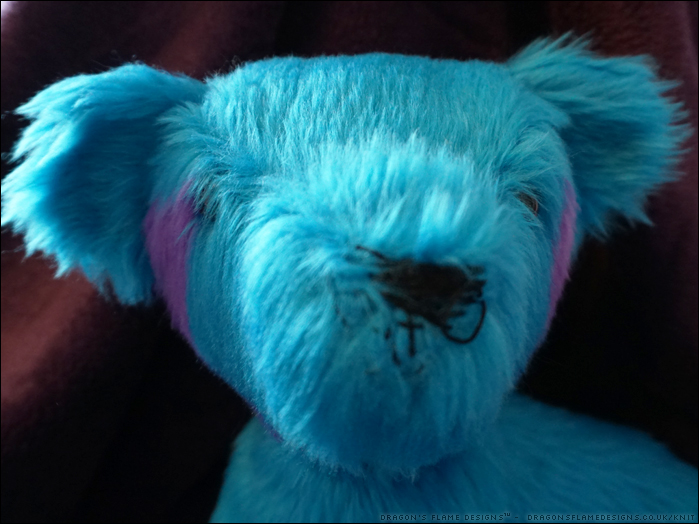
Ok, I admit it – she’s only 98% finished in this photo. I ran out of black thread for her nose, so she was waiting for me to finish…. then the stitches just started looking worse and worse, so in the end I cut a piece of black acrylic felt and stitched that in place as a nose instead.
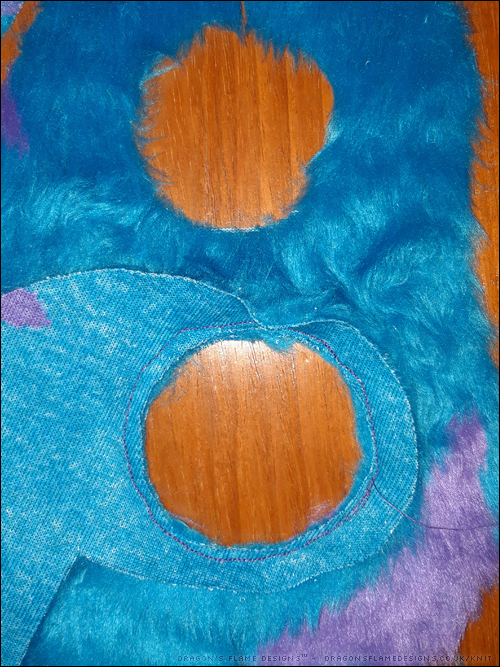
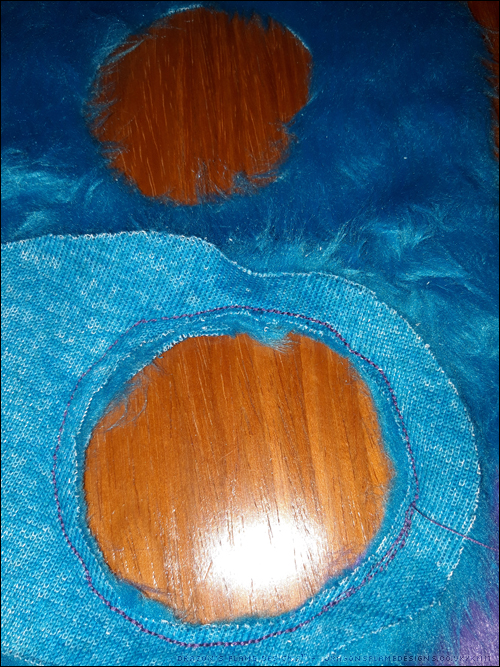
Pattern: Belladonna Bear by Emma’s Bears
Fabric: Starry faux fur from Fabric Land