Tag Archives: Emmas Bears

A Delight of a Bear (UFO)

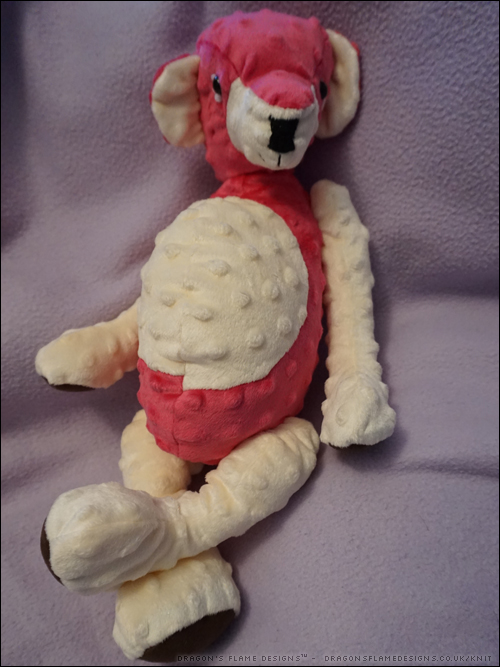
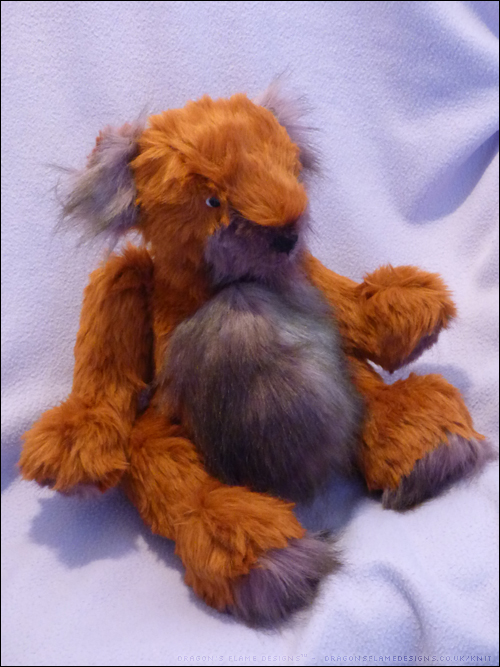
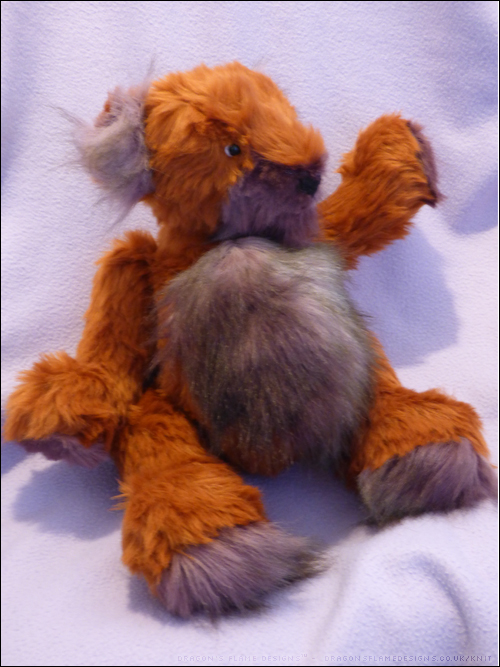
Having struggled with the smaller faux fur bear I’d tried making before Christmas (that one is currently in my “semi-abandoned” bag), I wanted to give the Delight pattern a go. This pattern is designed for faux fur or a non-pile fabric, so I thought it might work in fleece as a trial run. Given that the fleece Delight was a success, I cut the pattern pieces from some very tactile purple faux fur.

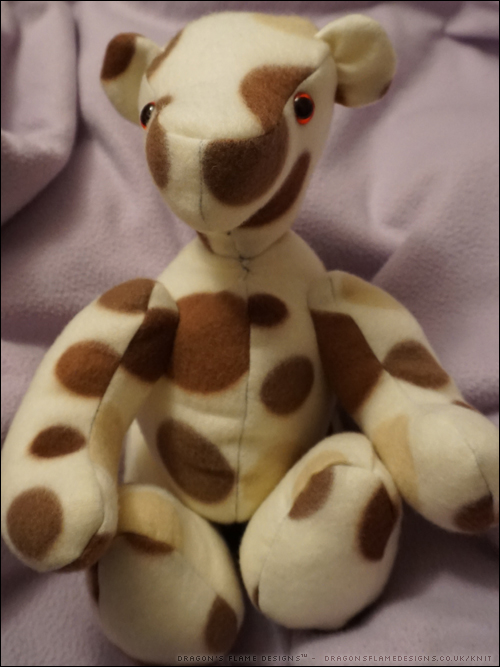
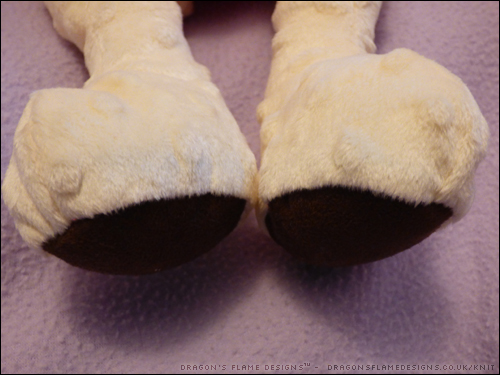
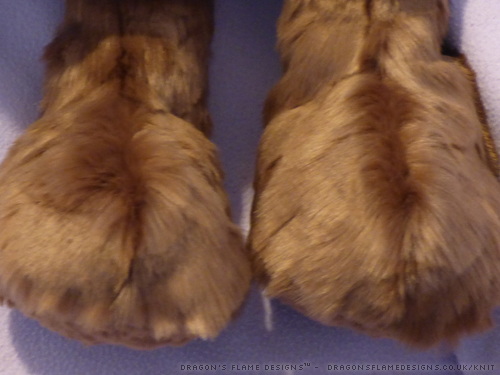
This fur is considerably thicker than the fleece, so I trimmed the fur in the seam allowance to make it a bit easier for my sewing machine to handle. The bear’s limbs are sewn into the body rather than being jointed, which means they’re firmly attached! I did use a toy joint for the head, as I found it quite challenging to line up the seam accurate in order to sew it directly onto the body.

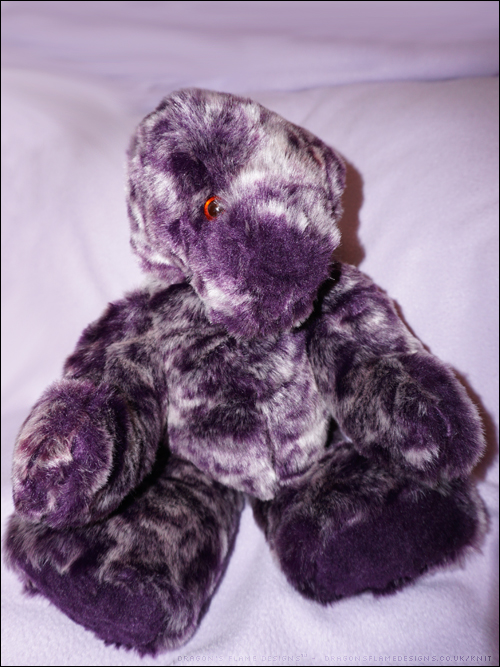
Normally I’d use toy stuffing with some plastic pellets to give the bear weight, but I had some bean bag filling in the cupboard, and thought it could be interesting to try that out instead. It was a nightmare to stuff into the bear, as the filling not only has a has a static cling but also doesn’t compress when you try pushing down on it, so it ended up everywhere (including all over the floor at one point)! But it has given Delight a lovely crinkly sound when you squeeze his paws, and he is actually quite ‘squishable’ which is a bonus too.

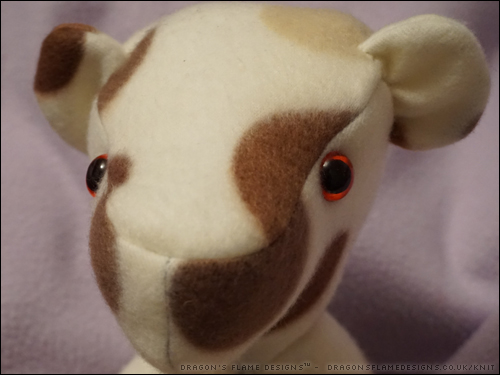
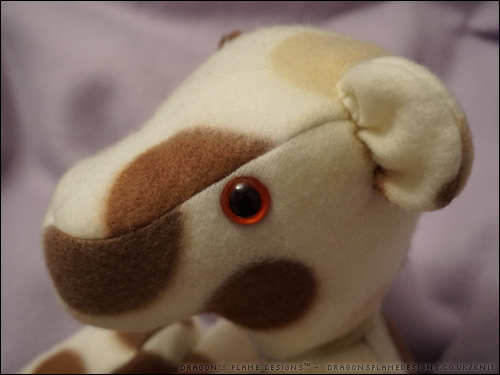
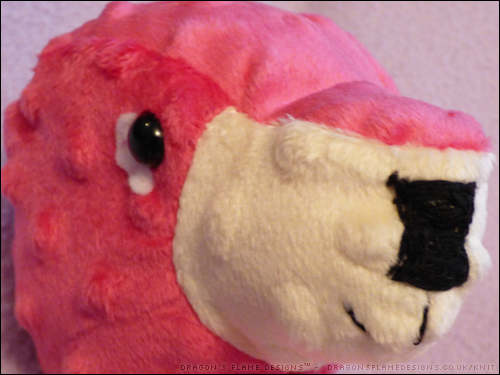
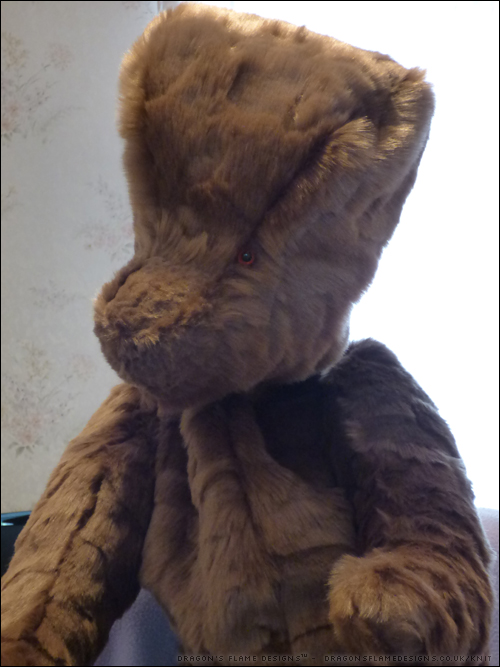
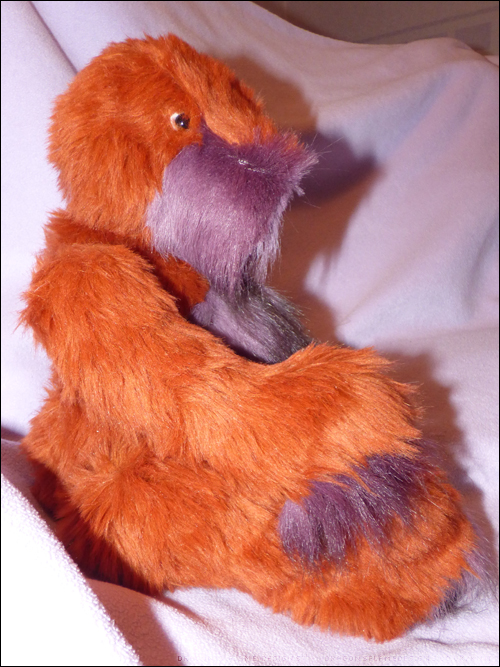
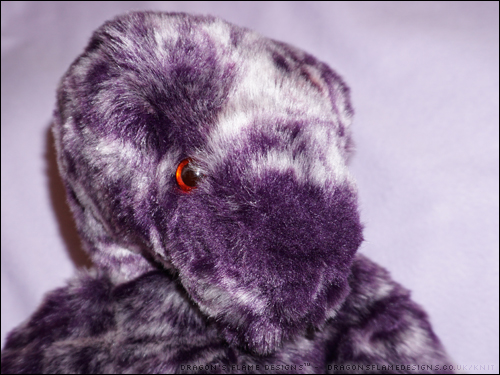
As you can see, Delight isn’t quite finished yet – he still needs his ears, and a nose & mouth; those are the features which really give the bear character…. and are also the parts which I find the most challenging, as if the ears or mouth are slightly lopsided it really looks odd!


Fabric: Fashion Fabrics
Stuffing: Hobbycraft
Eyes and toy joint: Sew N Sew

A Delight in Fleece

Whenever I’ve tried making a bear out of a non-pile fabric, they haven’t come out looking quite ‘right’. Usually it’s the head or muzzle that just seems to be the wrong shape compared to the faux fur example picture. Delight, however is specifically designed for faux for or calico, so the head shape should look perfect regardless of the fabric I use.

I decided to test it out with some remnants of a fleece blanket (the same one I used for the reindeer a couple of years ago) and made Delight entirely unjointed.

The head was a struggle to align, so I think Delight would benefit from a scarf or ribbon just to cover up the shoddy stitching! I used a combination of plastic pellets and toy stuffing to make Delight as cuddly as he looks. You may notice that he’s missing a nose and mouth – that was done on purpose, as I felt that the stitching would detract from the spotty details of the fleece ….that’s my excuse, and I’m sticking to it!

I do love the overall look – it’s a much better head shape than the other patterns I’ve tried before. I think the next Delight I make will be in faux fur, but as Delight is designed as a signature bear maybe it would also work to have a calico version which has an embroidered design on it (or if that fails, just a hand drawn design instead!).

And yes I admit I used a darker thread than was advisable with such a light coloured fleece!


Pattern: Delight
Fabric: Fleece blanket from Shaws

Raspberry Bear (finished)

I’ve finally finished Raspberry Ripple Bear! I’d finished the main parts a while ago, but had been putting off adding in the ears and embroidering the nose and mouth, because those elements can either make a bear look perfect, or end up making it look really weird.

Raspberry Ripple has a jointed head, but the arms and legs are machine sewn into position, so they should be securely attached to allow for lots of play. The paw pads are made from some faux suede from Hobbycraft, just for a little different feel.

I stitched the ears on a lot lower than I would normally do, in the hope that Raspberry Ripple would have a younger look, as this little bear is destined to travel to the US to be a gift for a friend’s young child.


Raspberry Ripple Bear (UFO)

After a mini shopping spree at Hobbycraft, I found myself with some dotty cuddle fat quarters. I thought they would make a lovely soft squishy bear, using the “Happy” pattern from Emma Bear’s.

I was originally going to use the pink and yellow for this bear, but the yellow looked a little harsh so I plumped for cream instead. It gives the bear a raspberry ripple look, and that was the fastest I’ve ever named a bear!

So far I have his head stitched (although he still needs ears), and his legs finished. The paw pads are faux suede just to add a different texture to the sleek dotty fabric.

Jumbo Bear (UFO)

I loved the look of the bear’s paws in the Emma’s Bears Jumbo pattern, but unfortunately, Happy didn’t come with those “pulled toe” instructions. Jumbo lives up to his name, using an entire metre of fabric, and potentially multiple bags of stuffing!

I was going to machine sew the seams for strength, but the weight and bulk of the fake fur was pulling it away from the needle as I stitched, so the majority of the seams ended up being hand sewn. For added strength, I used 4 strands of thread twisted together, and backstitched the seams.

I did use slightly smaller eyes than the pattern suggested, as I only had 11mm eyes to hand at the time, but I don’t think that’ll be too noticeable once his ears are added, and he’s fully stuffed. There’s a couple of seams that I need to finish and I want to redo his neck seam to make his neck slightly shorter…. but there’s no major rush, as at the moment I’ve run out of stuffing anyway!

Happy Bear (now with ears!)

It’s amazing how different a bear looks once it has ears! Instead of looking like some strange furry alien, you suddenly realise it’s actually a cute and cuddly bear.

The long purple fur made the nose and mouth embroidery a little more challenging than I’d anticipated, but it did help to hide any mistakes.

I trimmed Happy bear’s paw pads on the arms, just to make them look a little tidier, although I left the foot paw pads long, just for a bit of variety. This is the first bear that I’ve added eye whites to (that was just a small piece of white felt positioned underneath the eye before I added the safety backing), but I think it gives him some extra character.

Happy Bear (who will be getting a new name soon), was made from an Emma’s Bears pattern, using fake fur from my local fabric shop.

Happy bear (UFO)

I was struggling to find any free “real” teddy bear patterns – there are lots of free patterns out there, but none that look like a true collector’s style teddy bear, so I decided to buy a pattern from Emma’s Bears. I picked Happy Bear, as I liked the idea of being able to make a two-tone bear.

I already had the rusty red and purple fake fur left over from previous projects, and knowing how the fake fur tends to slide around while machine sewing, I decided to be reckless and hand sew all the seams!

My hand sewing skills are somewhat limited – they tend to be a source of humour in the family, as I seem to have inherited my Great Gran’s skills…. the stitches don’t tend to be overly neat, and I always use a contrasting colour so they’re more visible against the fabric.

I used two strands of sewing thread to hopefully give enough strength, and backstitched every seam. I will admit I used a contrasting coloured thread, simply so I could see the stitches if I needed to unpick any! But with the stitches being on the inside, nobody would be any the wiser for which colour thread I actually used.

“Happy” is jointed to allow him to pose better, but I think he will look even cuter once he has ears, nose and a mouth.