You’ve probably noticed that I like quirky fabrics, and what could be more quirky than a glow in the dark Halloween fabric?
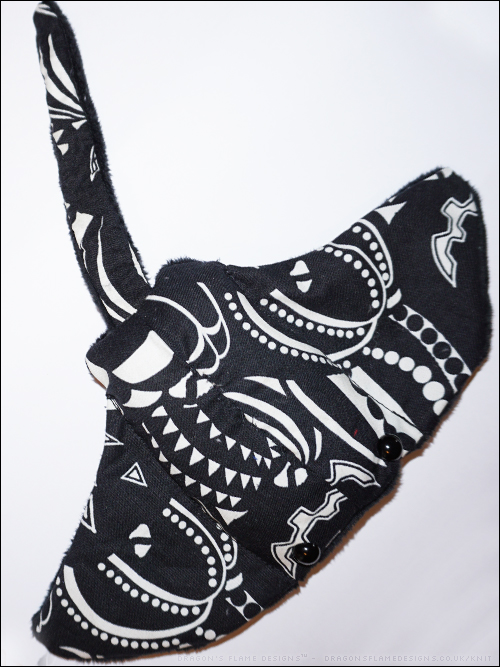
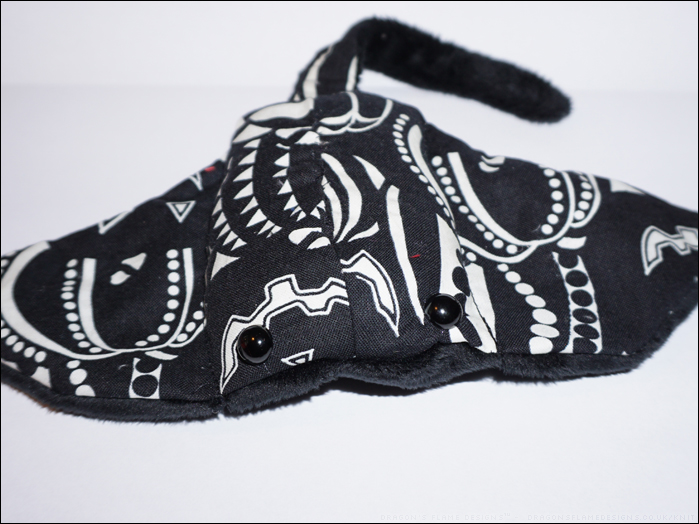
In daylight the stingray is just plain old black and white cotton, with a plush fleece underside. Because the cotton doesn’t stretch, I did find it challenging to sew the top seam neatly after stuffing the stingray, as I’m used to using stretchy fabrics for toys.
I didn’t want the eyes to stand out and detract from the glowing fabric, so I used some plain black eyes which I think look a little more natural than the coloured ones.
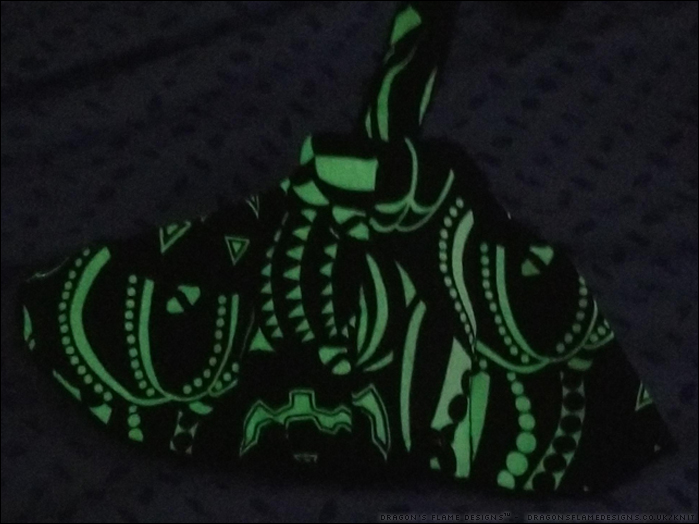
But I know you’re waiting to see what this little stingray looks like in the dark, and I will admit I actually failed at getting a photo in focus with the stingray glowing!
But fear not, this stingray was actually a present for a friend, and she had much better luck with taking a photo:
I’m amazed with how well the fabric actually glows, as some of my glow-in-the-dark fabrics have felt a little underwhelming in the dark. I might have to see if I can get some more of this fabric, and make a few more stingrays!
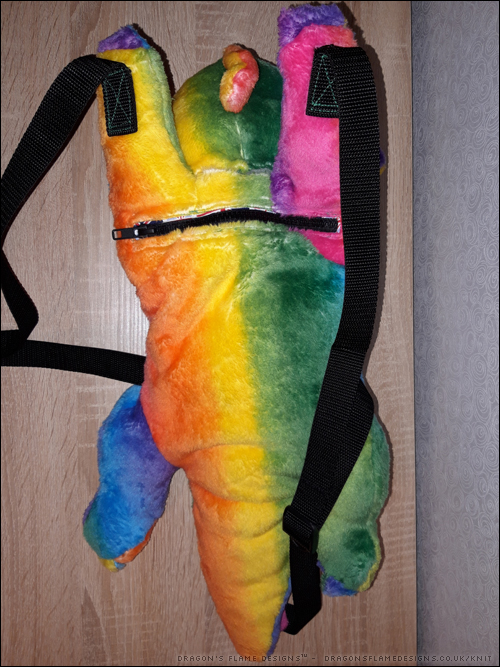
Since Lockdown 1.0, I haven’t done much sewing – the majority of things I made were face masks for friends and family. I wanted to sew something as a Christmas present for K, but what do you make a young boy who loves dragons? A dragon backpack of course!
I’ve made plush toys before, but this would be the first backpack I’ve ever attempted…. I like to make things challenging!
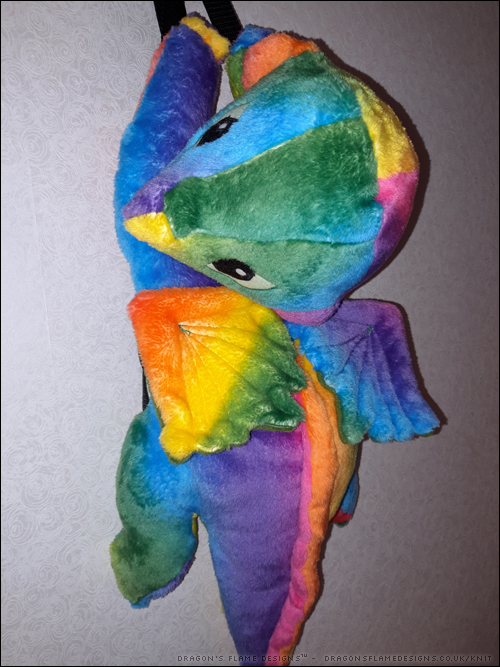
My original plan was to use some glow in the dark fabric paint on the eyes to add an extra fun little detail. However, the glow paint I’d purchased online was a ‘lucky dip’ when it came to colour, and I ended up with pink – perfectly fine, but I didn’t really want this dragon to have pink glowing eyes! So I stuck with the pattern’s recommendation and appliqued the felt eye pieces onto the face.
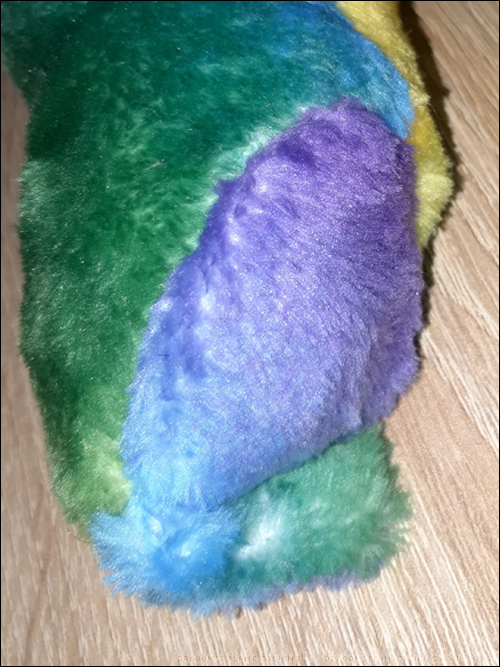
This fleece fabric is surprisingly slippy – it behaves almost like a fake fur rather than fleece when you’re sewing. As a result, the zip on the main pocket isn’t the neatest of stitching.
I had a Union Jack patterned fat quarter lying around, which worked perfectly for the pocket lining. I didn’t want anything too dark, as it would make it quite challenging to find something in the bag otherwise.
After a while of fighting the fabric, I tried an alternative technique – placing a layer of calico fabric against the feed dogs when sewing. That worked like a dream, allowing the fabric to feed through evenly, and no more squished stitches!
Because the dragon needed to be stuffed and the fabric had a slight stretch, I wanted to make sure the seams would allow some stretching, so I trimmed down the calico to as small a piece as possible. Ideally I would’ve used a tear-off fabric stabiliser or even tracing paper, as both of those could be fully removed after sewing. But as usual, I didn’t have either to hand, and I really needed to get this dragon finished!
As an optional extra in the pattern, there’s a hidden pocket in the dragon’s tail. I thought this would be a neat addition (which I didn’t point out when I gave K his present – I wanted him to discover it for himself), so not only is this my first backpack make, it’s also my first attempt at sewing in an invisible zip (albeit without an invisible zipper foot)!
My only other slight mishap was when I stitched the strap to the wrong side of the dragon’s paw (oops!) and had some well-nigh impossible unpicking to do to resolve it. But thankfully you couldn’t see the mistake once I’d finished.
And I can safely say that K loves his new backpack – after he’d opened it, he put the bag on his back and ran round the room shouting “I’ve got wings”!
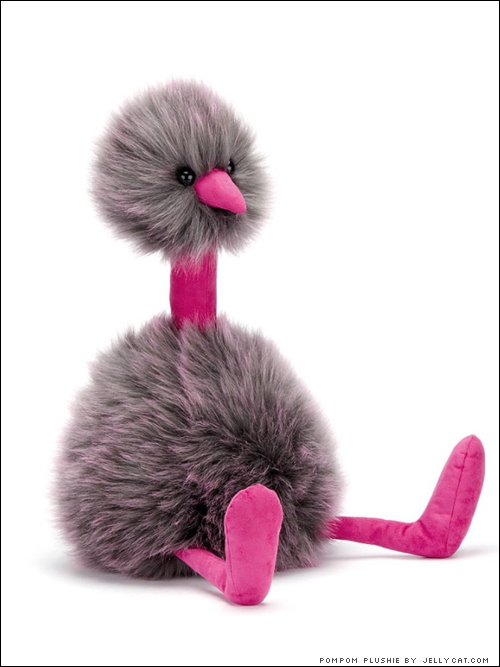
Whenever my Mum sees a display of Jellycat plushies in a shop, she stops to run her hand through the fur of the PomPom birds.
Pompom plushie by Jellycat.com
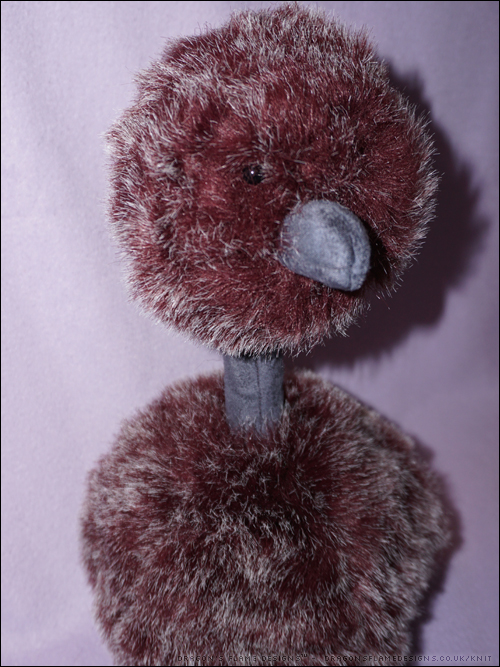
Rather than buying a Pompom, I decided to try making my own…. which was going to be an experience, considering I had no pattern to work from!
I sketched out the rough shapes, making two 5-part spheres for the body and head. I found a long pile faux fur, although it’s still a bit shorter than the faux fur Jellycat use for theirs.
Jellycat say the pompoms have “suedey legs” so I cut the legs, neck and beak from faux suede. I was planning on using a plastic straw in the neck to help it hold up the weight of the head, but I left that out in the end, as it was too fiddly to try getting the stuffing around it!
My version of the Pompom is a little taller than Jellycat’s, and the legs aren’t quite the same proportions, but it worked well as an unusual gift!
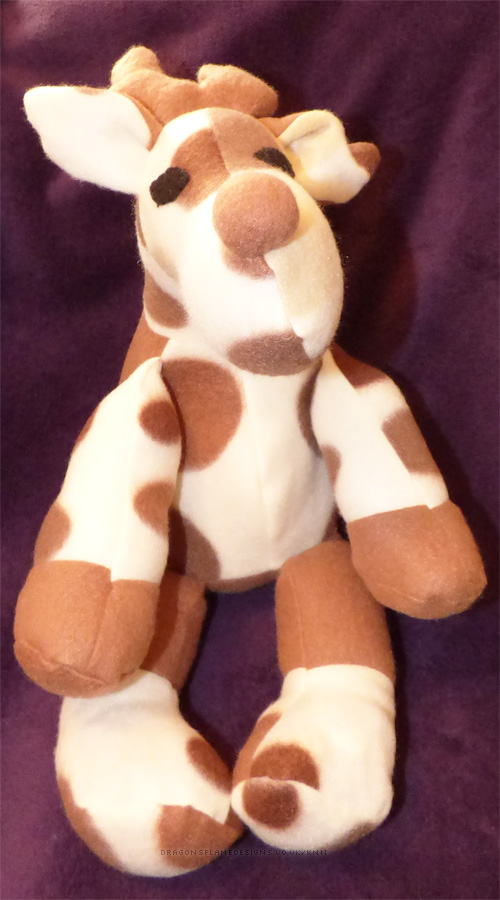
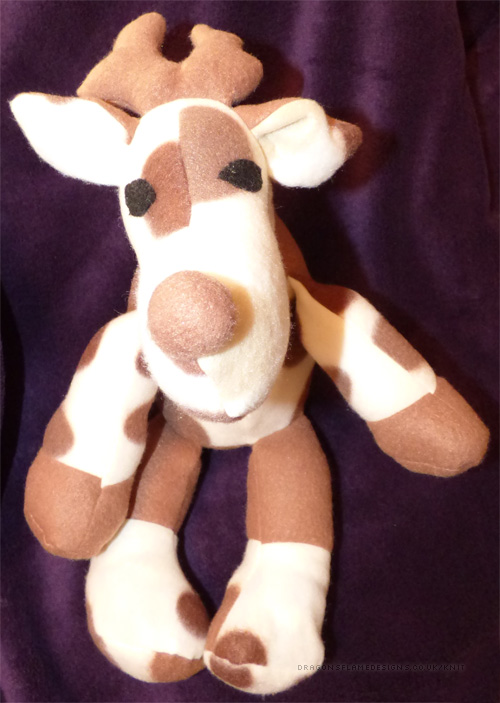
When I spotted the pattern for Reggie the Reindeer, I knew I was going to want to make at least one of them. I found a pack of two fleece blankets on sale for £3.95, which were the perfect colours for a Reindeer, so he was a bargain to make!
The first Reggie I made had thread jointed limbs, but this one is for a 9 month old child, so I used the alternative instructions to machine sew them into the seams.
If I was to make a third Reggie the Reindeer, I would probably turn the legs 90 degrees before sewing, so they shouldn’t turn inwards at the hoof, but that’s just a minor annoyance for me.
Mum keeps saying that Reggie is a cow (because of the spotty fabric), but whether you see him as a cow or a reindeer, hopefully little K will like him when Santa delivers the package on Christmas Eve!