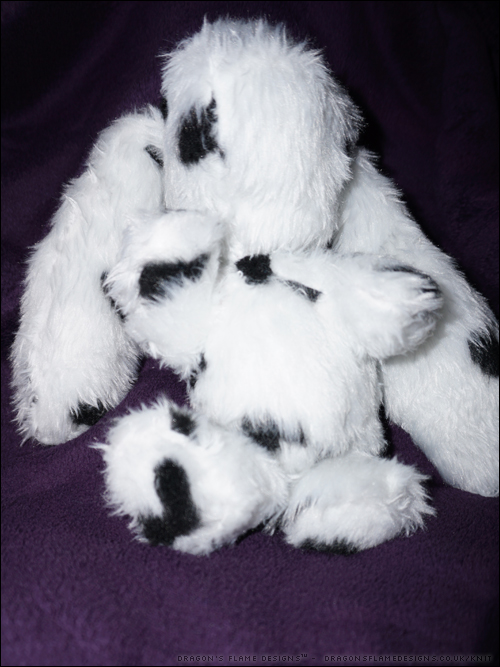
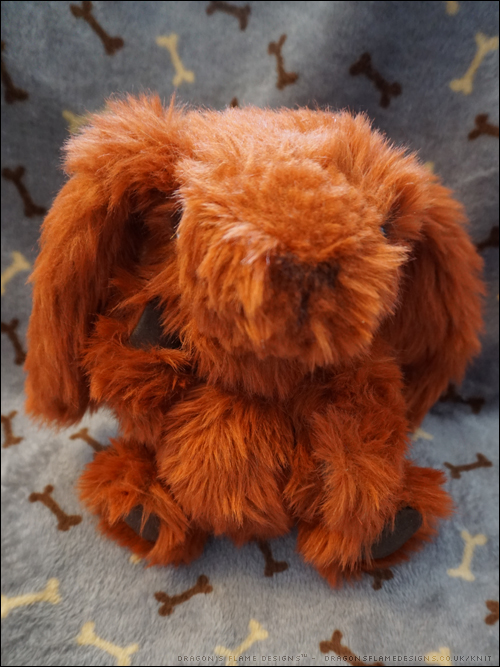
My original plan was to make a cuddly dog from this spotty faux fur fabric, but I didn’t have a suitable pattern, so I decided to make this a furry Atilla the Bun instead!
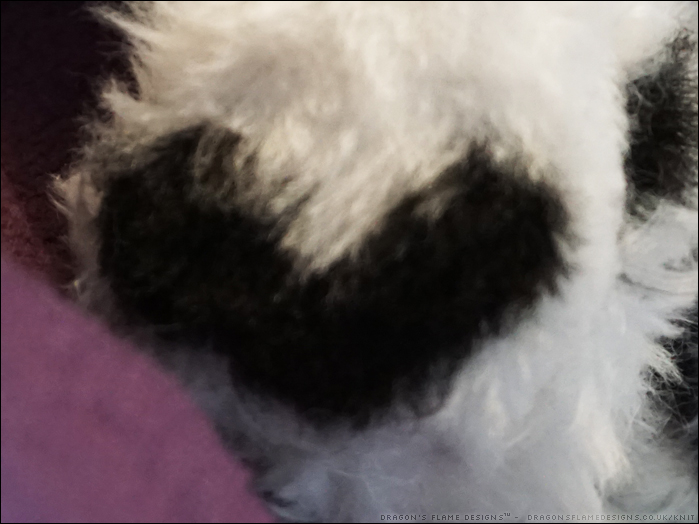
I tried to fussy cut the paw pads, as the spots looked more like hearts in places, and I thought it would be a neat idea to have a heart on each pad.
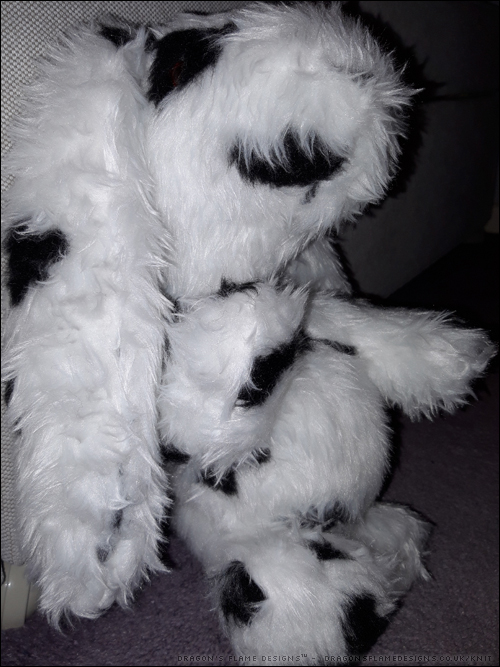
I wanted to practise making non-jointed toys, so Atilla’s arms and legs are stitched into place. I still haven’t quite got the hang of angling them correctly, as one leg faces down and the other is kicked out in front of him…. but he can still sit down properly.
Since I took these photos, I have added in a small piece of black felt for his nose – after all, you can’t have a bunny with no nose, can you?
There’s always something odd about the look of a plush bear when it’s still in the UFO stage….
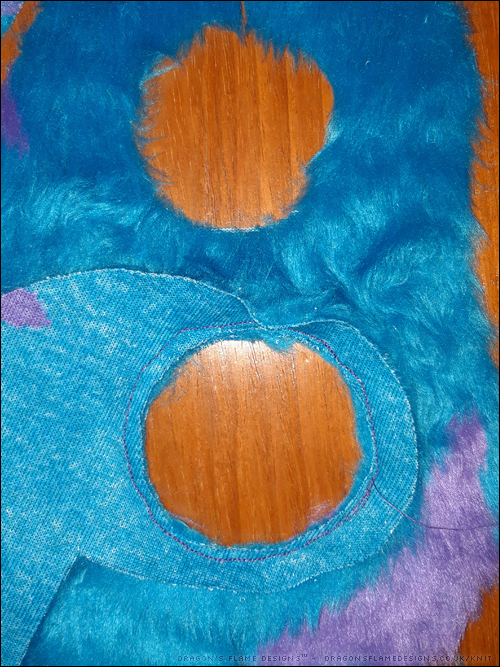
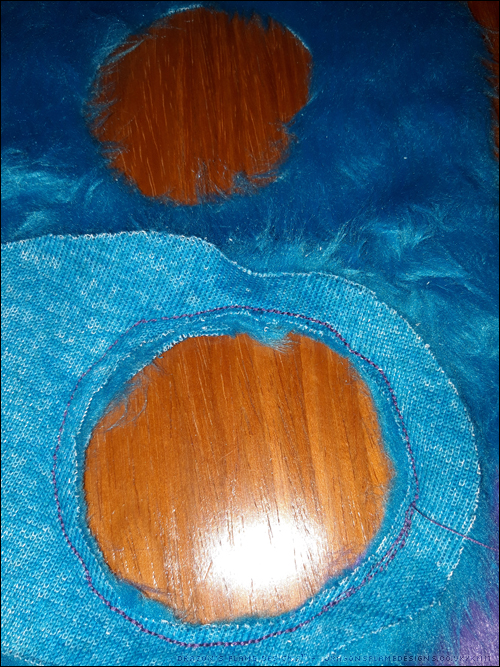
….especially when you’re modifying the pattern to make it an unjointed bear! I cut circles where the joints would normally go, then stitched the inner limb to the body right sides together. The limb then gets turned through the hole, and the other side of the limb is stitched to it as usual.
You then end up with the arms and legs attached and can stuff them through the gap in the back of the body. Also, this only gives that seam at the back of the body to hand sew at the end!
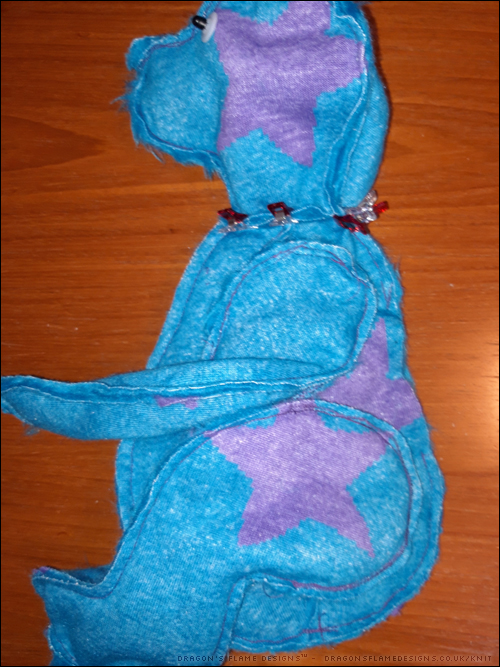
One inside-out bear just waiting for me to sew the head into place, before turning. They do look strange this way round! I thought the unusual blue would make a change from traditional teddy bear brown, and the purple stars stand out well too.
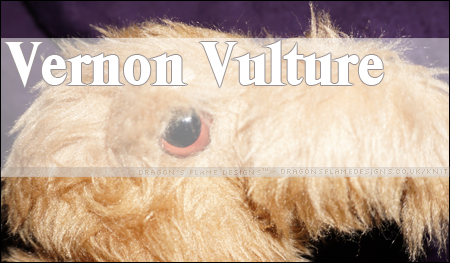
I’ve made lots of teddy bears, but I’ve never made any kind of plush bird before. When I spotted the Pudgy Plumes pattern, I decided it was worth trying out for my first plush bird. The pattern includes instructions for a Flamingo, Vulture and Ostrich; I decided on the vulture simply because the shape looked easier to try out, given that I’d also never made any of that designer’s patterns before.
I didn’t want to have to purchase more fabric to make the vulture, so I used the same faux fur for every part. Although this doesn’t make him overly realistic in his colouring, it saved a lot of hassle in needing to try and find multiple shorter pile fabrics!
The pattern comes with a choice of small or large wings, so naturally I went with the large – Vernon needs decently sized wings to be able to fly! I did make a mistake in attaching the feet, accidentally skipping past part of the instructions, however I was able to resolve that by hand sewing the feet in place. Because Vernon wasn’t made with the view to giving him to a young child, I’m not worried about the strength of my hand sewing, but if I was making him for a child, I’d make sure to follow the instructions properly.
Some of the fur is still trapped in the seams, but I struggled to tease it out. I think that’s a combination of the pile length and the short stitches. A lot of patience and a decent comb (or even a long pin) would probably work, although I’m running short on the patience right now!
I enjoyed making Vernon so much, that I have already planned to make another bird to keep him company. The only question is, should it be an Ostrich, or a Flamingo? What do you think?
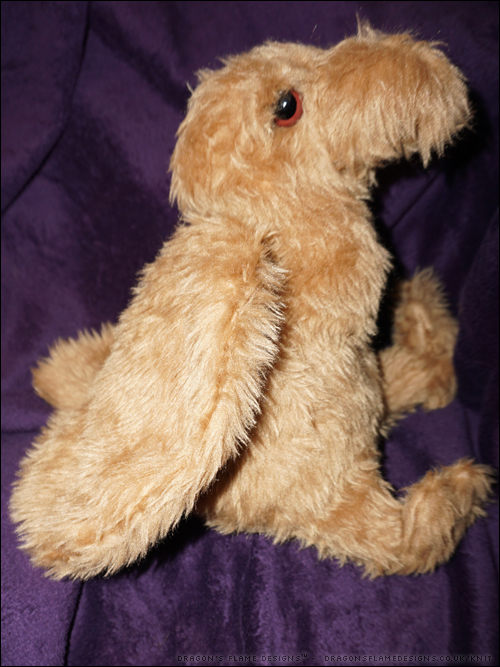
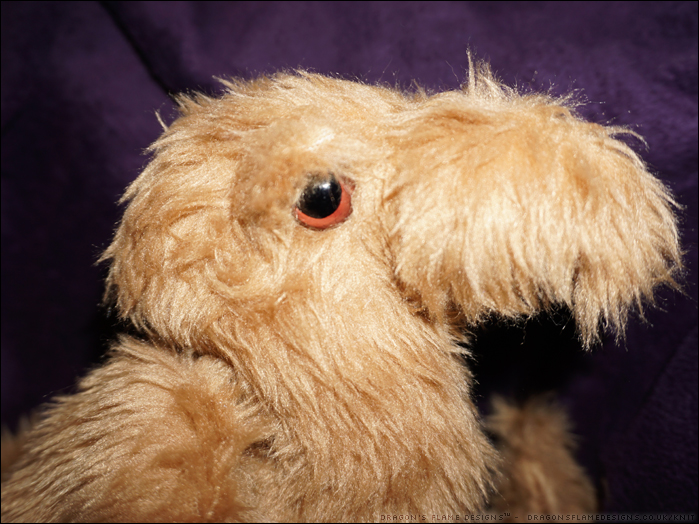
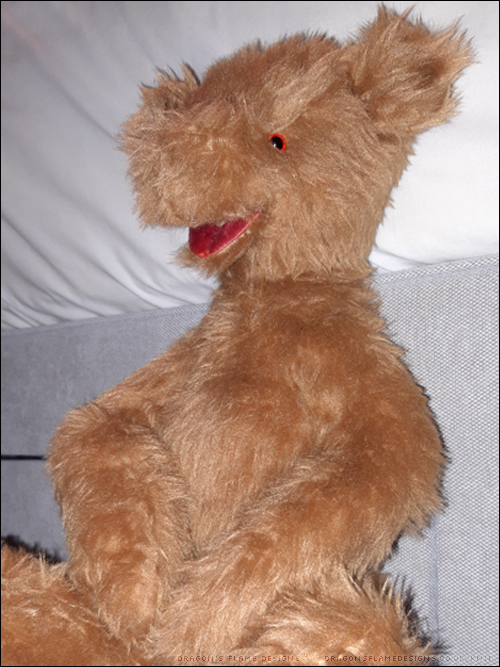
Ok, I admit it – I like making plush bears! I ordered some faux fur from Fabric Land a couple of months ago, and couldn’t resist trying out the Belarius Bear pattern from Emma’s Bears. But I also added in a couple of variations – I didn’t have any toy joints to hand, so I made him unjointed, and I also added in a ‘giggler’ mouth!
There’s probably a “proper” way of making a giggler style mouth for a plush bear, but I just cut a piece of faux fur that was marginally smaller than the ear pattern piece, cut the same out of a red plush fabric for the inner mouth, stitched them around the outer edge (right sides together), then turned it right side out and added a very small amount of stuffing. I then hand stitched down the middle (from the front to back of the mouth), to create a tongue-like effect. The mouth piece was then hand stitched in place, and the fur under the muzzle was trimmed a little, to stop him having a hairy inner mouth.
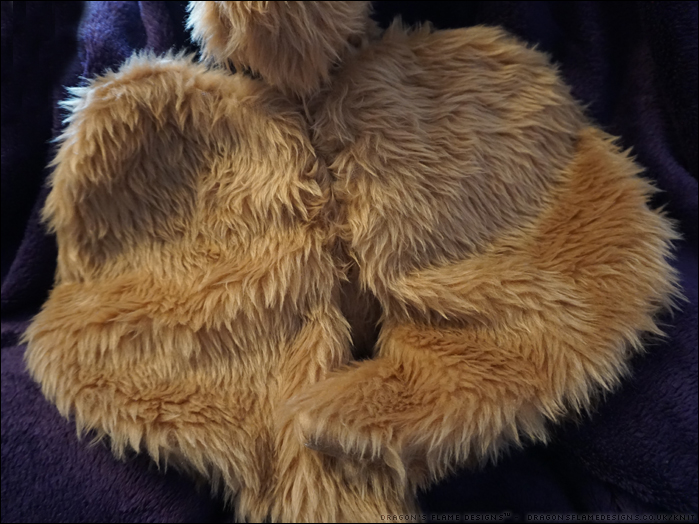
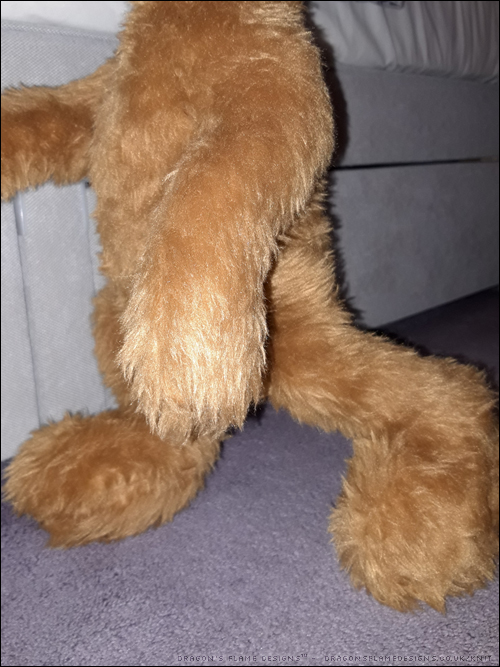
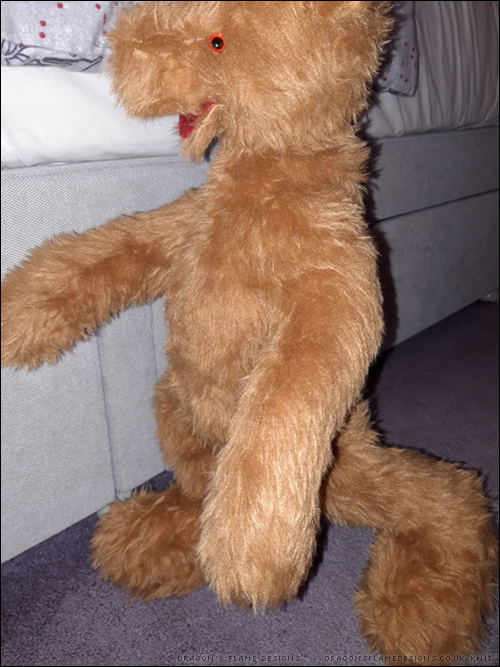
While the ‘giggler’ style went well, I did make a mistake in attaching his limbs – I was certain I had the legs lined up, but once I’d turned him right sides out and added the stuffing, it was clear that Belarius is a rather active bear….
In fact, he seems to be permanently walking! He doesn’t stand unaided, and his uneven legs do make it more challenging for him to sit down comfortably, but I think he would make a great toy for a child who doesn’t mind him always wanting to go for walks!
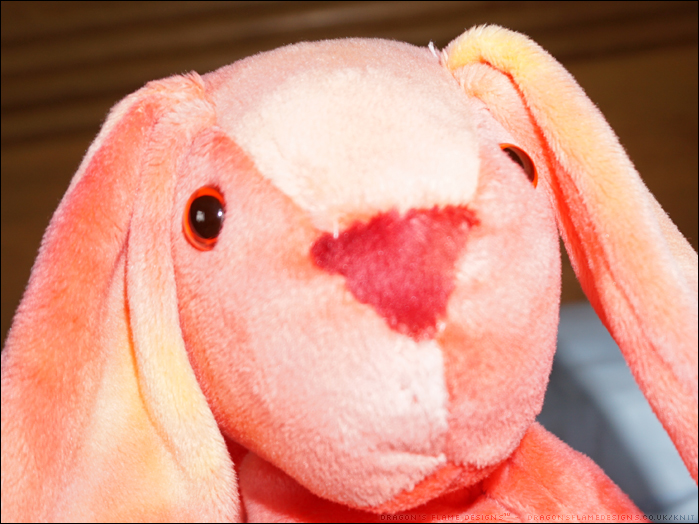
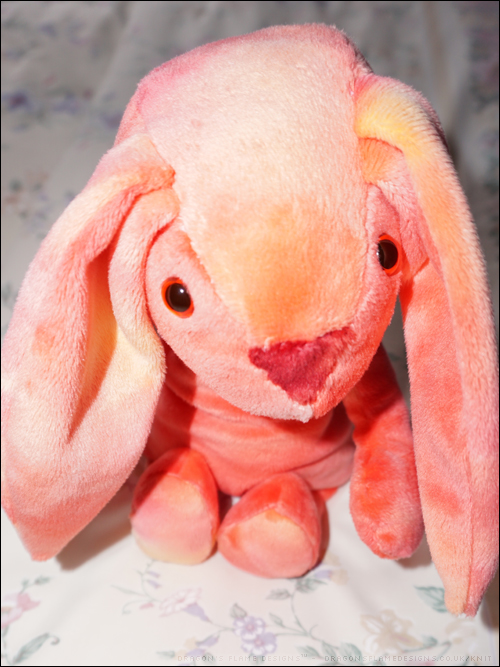
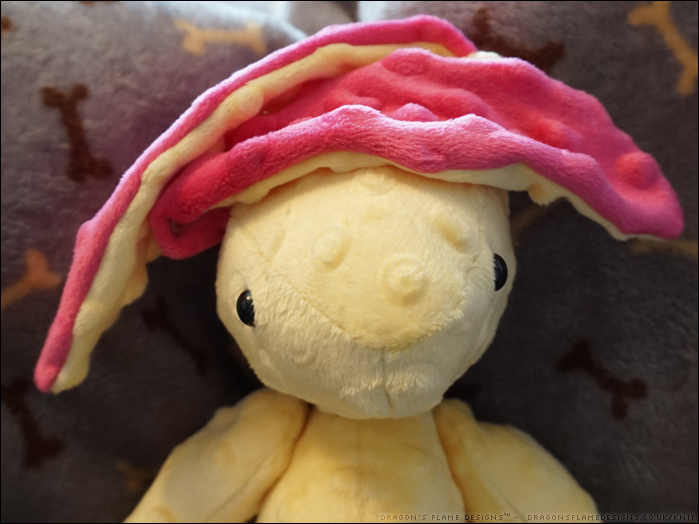
When I first spotted this pattern on Etsy, I couldn’t resist getting it – the style reminded me of a Jellycat bunny. I used some of the tie-dye effect plush fabric I’d bought a year or two ago, which gives the bunny a blushing sun-kissed kind of feel.
The drawn pattern is good, and the bunny turned out exactly like I’d expected it to. However, the instructions are really poor in comparison. They don’t seem to have been proof-read at all, which leads to unfortunate errors such as telling you to sew the seams with wrong sides together…. of course that’d result in either the fabric being wrong-side out, or the raw edges of the seams being on the outside!
Ignoring the written instructions, I just used the drawn pattern combined with my knowledge of toy making. And the end result is a pretty cute looking bunny. I did deviate from the pattern on attaching the arms – I prefer to machine sew limbs in place, so I know they are really securely attached. So I added them into the side seams before turning the body the right way out.
Overall, I’m pleased I bought the pattern (it wasn’t an overly expensive one), but I wouldn’t recommend it for anyone who doesn’t already have some experience or knowledge of sewing toys – if you really need to follow the written instructions, you won’t find this an easy make!
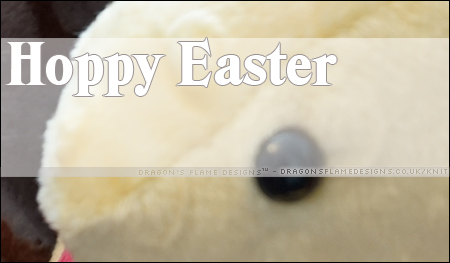
Ok, I know it’s not Easter Sunday just yet, but Hoppy insisted on not having to wait another week to be featured on my blog!
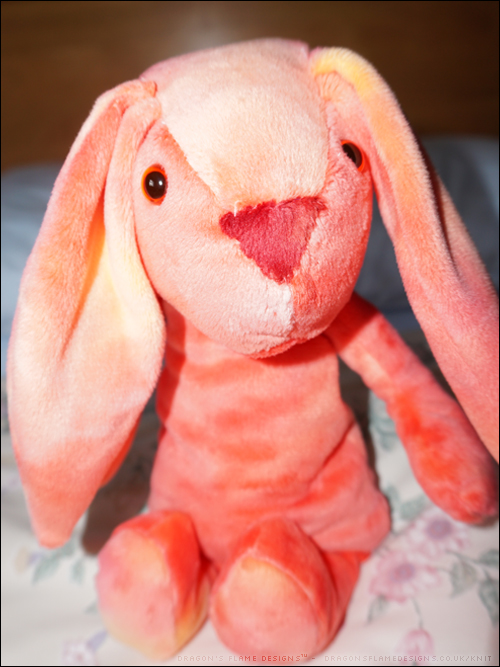
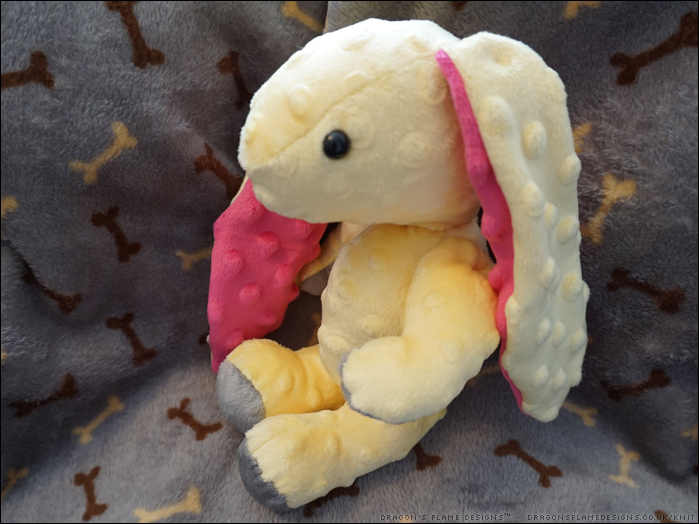
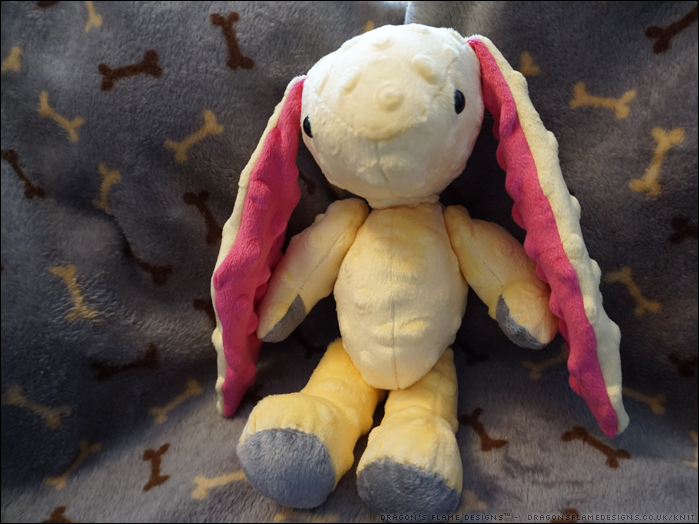
Made from the same pattern as his furry brother, Hoppy has a totally different look due to the plush fabric I used instead of faux fur.
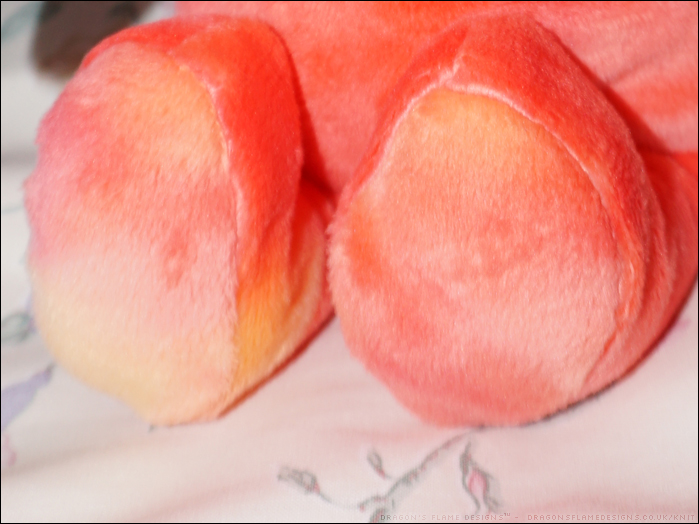
The dimpled fabric wasn’t the easiest to lay out without the dimples going flat, but it was a lot easier to sew than the faux fur. I used the same kind of fabric throughout, just changing colours for the paw pads and the underside of his ears.
Hoppy is thread jointed, so he can move his arms and legs. This was my first (proper) attempt at thread jointing, but it was surprisingly successful!
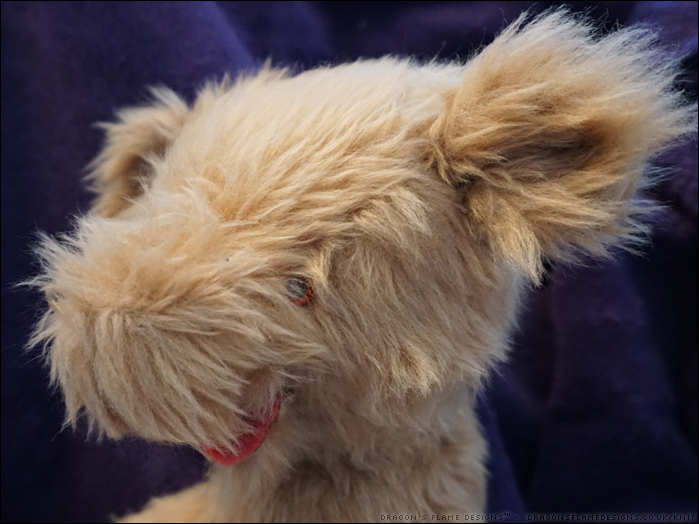
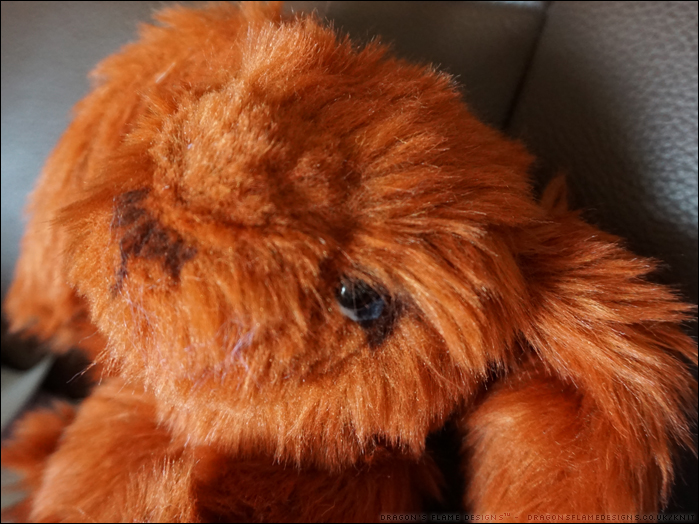
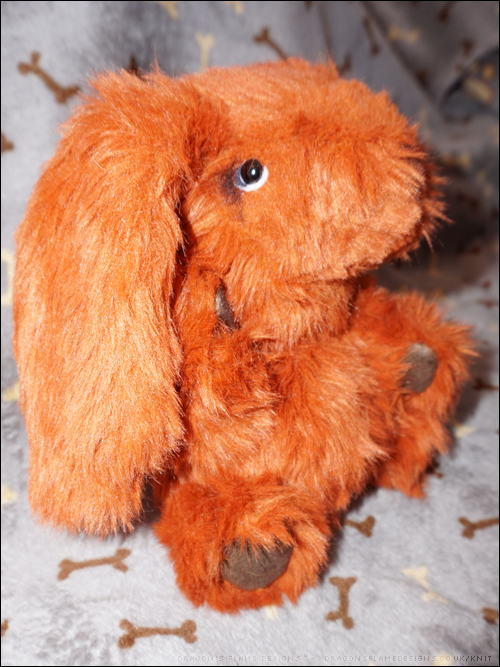
A little deviation from the bears I have been making, this is my first attempt at making Atilla the Bun by Emma’s Bears. The faux fur isn’t the greatest quality, but I wanted to try using a black pen to add some shading around his eyes and on his nose, so I didn’t want to use fantastic fur in case I made a mess of it!
I still haven’t stitched over his nose shading – I don’t know that it really needs that, as I think his nose looks pretty cute as it is 🐰
A tiny piece of white felt gives his eyes a bit of a lift, while his paw pads were cut from some faux suede, just for a different texture to the faux fur.
I didn’t add any toy joints into Atilla so he’s permanently in this waving pose. I think he came out quite well, although I don’t know I’d be in a hurry to use that kind of faux fur again!
There aren’t many sewing patterns out there for penguins which look like they’re sliding down a snowy bank, so when BeeZee Art released her latest penguin pattern, I knew it was one I wanted to try making.
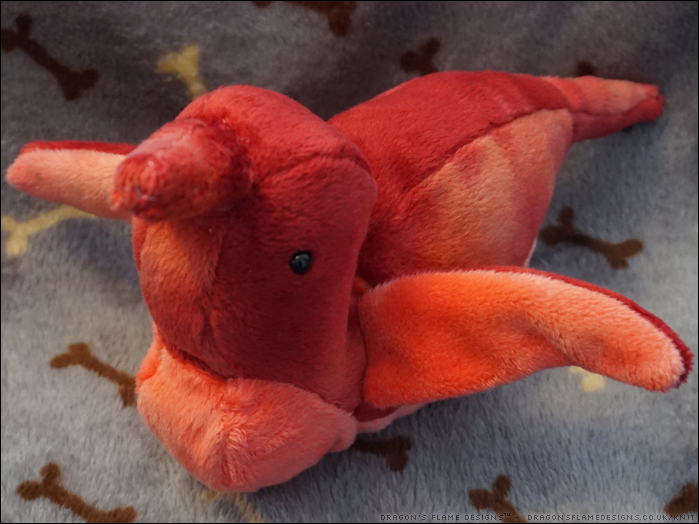
Rather than sticking with the traditional penguin colours, I decided to use some tie-dye effect plush fabric I had lurking in my fabric bag. Of course this means that Percy Penguin looks like he’s been out in the sun for too long, but I quite like the colours on him.
As yet, Percy doesn’t have his feet attached, but because I added some plastic pellets to his tummy, he balances really well without his feet.
It’s strangely tempting to make more penguins in various different colours…. and hopefully make sure that their flippers come out at a better angle next time – Percy’s look like they aren’t quite right somehow.
Do you remember ages ago when I was working on the Jumbo bear pattern by Emma’s Bears? Well, I’ve finally got him finished!
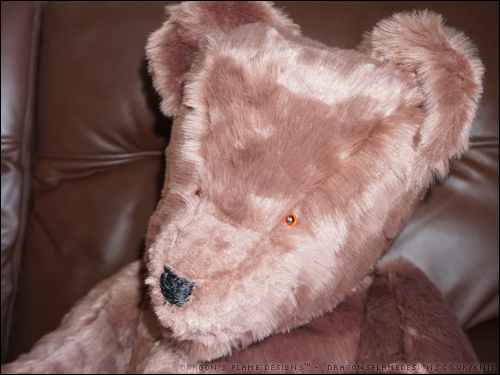
Jumbo lives up to his name – he’s so big, he takes up the entire chair! So at the moment, he’s sitting on the floor, looking out of the window.
I didn’t have the right size eyes, so his eyes are a little smaller than intended, and I think I was a bit stingy on stuffing as his head really could do with a bit more padding in places. But for my first time sewing such a large bear (and having to hand stitch some seams because my sewing machine struggled), he’s come out really well!
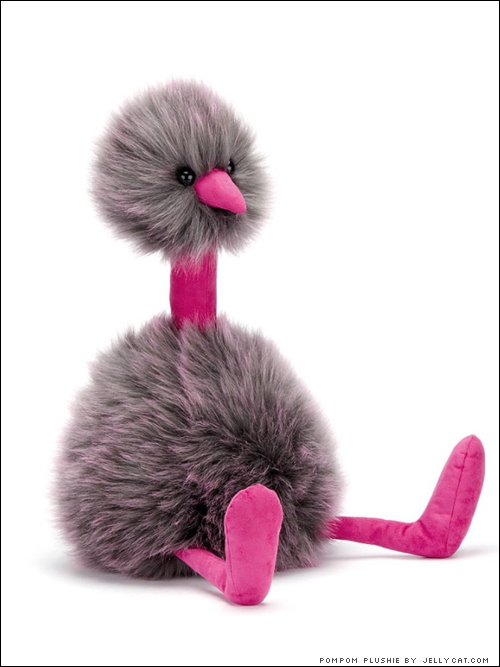
Whenever my Mum sees a display of Jellycat plushies in a shop, she stops to run her hand through the fur of the PomPom birds.
Pompom plushie by Jellycat.com
Rather than buying a Pompom, I decided to try making my own…. which was going to be an experience, considering I had no pattern to work from!
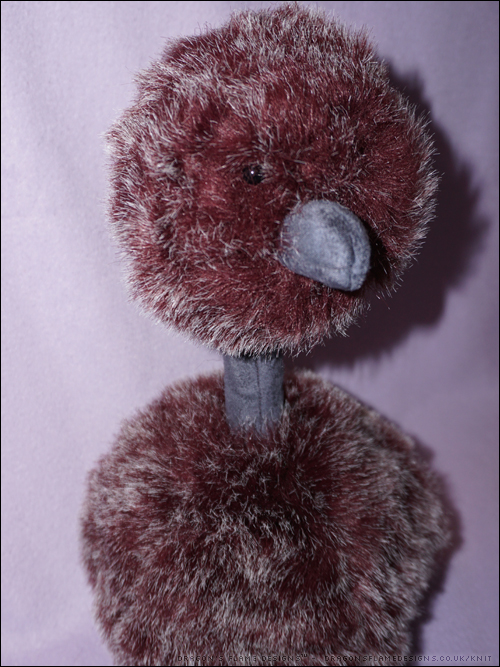
I sketched out the rough shapes, making two 5-part spheres for the body and head. I found a long pile faux fur, although it’s still a bit shorter than the faux fur Jellycat use for theirs.
Jellycat say the pompoms have “suedey legs” so I cut the legs, neck and beak from faux suede. I was planning on using a plastic straw in the neck to help it hold up the weight of the head, but I left that out in the end, as it was too fiddly to try getting the stuffing around it!
My version of the Pompom is a little taller than Jellycat’s, and the legs aren’t quite the same proportions, but it worked well as an unusual gift!