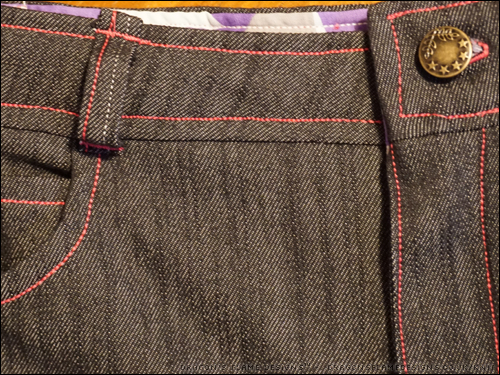
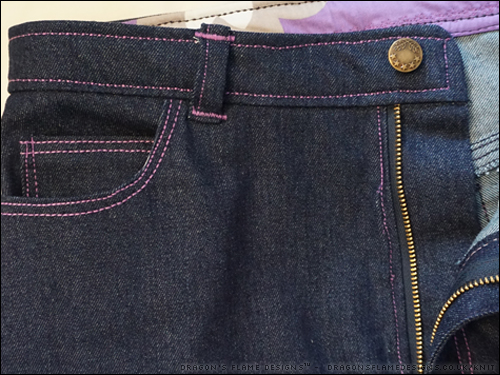
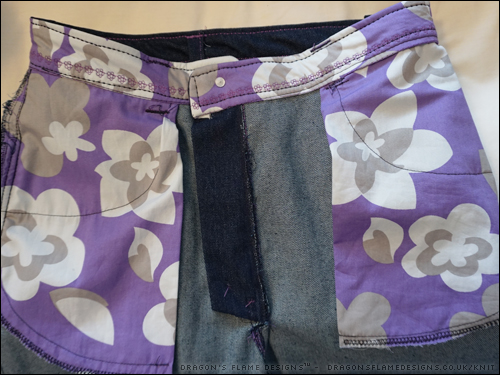
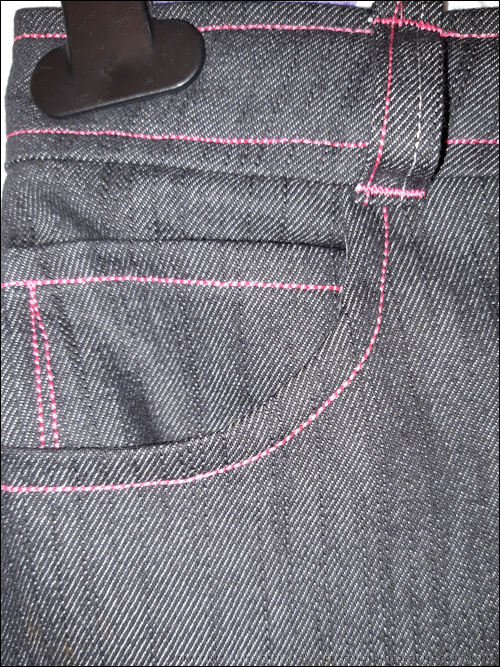
The front of my latest Dawn Jeans came out near enough perfect – the front left lines up with the front right, and the button hammered in exactly straight.
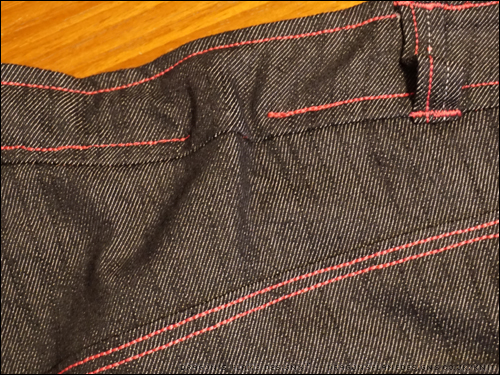
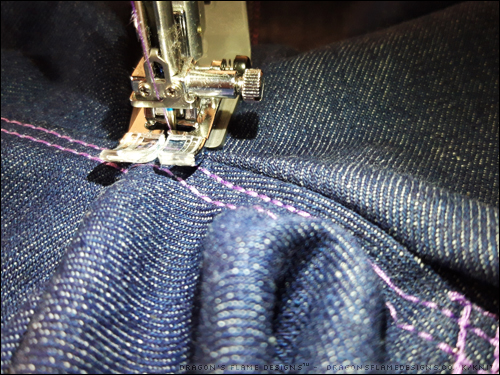
However, when it comes to the back, it all goes wrong! In top stitching the waistband down, I seem to have a bunch of denim, but no corresponding bulk for the waistband lining.
Of course I thought it was a good idea to top stitch using a triple straight stretch stitch, which is one of the most challenging stitches to unpick.
So before I reach for the seam ripper, does anyone have any hints or tips for the best way to unpick my mistakes?
Pattern: Dawn Jeans by Megan Nielsen Fabric: stretch denim from Mibs Fabrics Inner waistband & pocket bags – polycotton from Fashion Fabrics
I was lucky enough to be chosen as a pattern tester for the amazing Megan Nielsen Dawn Jeans and couldn’t get my fabric prepared fast enough!
The Dawn Jeans come with four options – tapered, straight, wide, and shorts. Originally I was going to make the shorts, but decided in the end to try the wide leg jeans.
These jeans are meant to have a vintage feel – kind of classic Levis, so I chose some reasonably heavy denim which had a slight give rather than any real stretch.
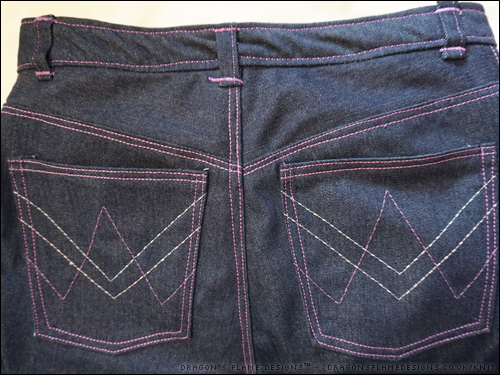
As I mentioned on Tuesday, I don’t use topstitching thread – I know, dreadful isn’t it! When I bought my sewing machine, the shop manager enlightened me that if you use particular stitches, you can get the effect of topstitching without needing to invest in specific thread.
I prefer the look of the triple straight stretch stitch out of the options I have, and it means I can liven up my jeans without needing to buy in lots of specific thread too!
Dawn is drafted with a high waist, which I didn’t alter at all. It actually hits at a comfortable level for me, despite being only 5′ 1″, which meant I didn’t have to try and work out any alterations – yay!
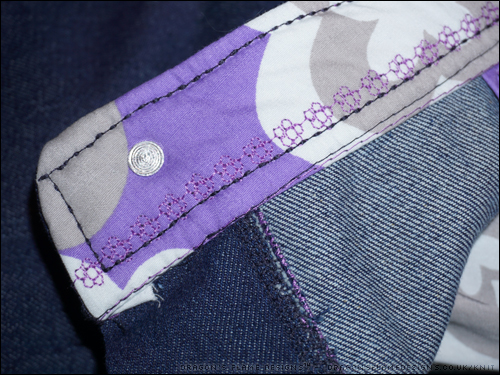
Unlike other trouser patterns I’ve used before, Dawn’s pocket bags are actually sewn inside out, so the right side of the fabric shows on the inside of the jeans. Using the same fabric as the inner waistband means they blend nicely – and the inner waistband also gave me a chance to add some fancy stitching too:
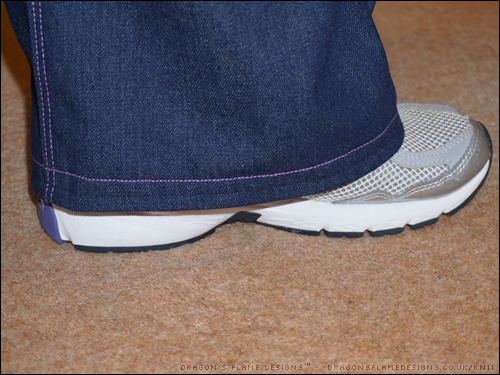
Strictly speaking, the inner waistband is meant to be denim, but I was trying to squeeze these jeans out of a metre of fabric, so I only had enough for the outer waistband! I also didn’t have quite enough for a proper hem, so I added some bias binding around the raw edge to prevent it from fraying, before sewing the hem.
I also stitched lower down on the hem in a matching thread, just to make it a bit stronger.
I took in the width by a few inches on the legs, as they were a bit too wide for me! But overall, these jeans are a great fit, didn’t require much alteration other than the width (and that’s down to personal choice anyway), and I’m just waiting for the weather to get a little cooler now, so I can wear them!
One pair made, but why stop at just one?
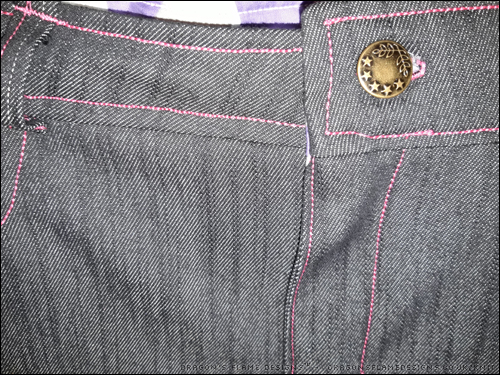
Buoyed on by my success with those, I decided to try a straight leg pair. These are made from a lighter weight stretch denim, but I’ve stuck with the same size as my previous ones. I did have a bit of a disagreement with the button when it came to hammering it in place, but other than that, these are also really comfortable!
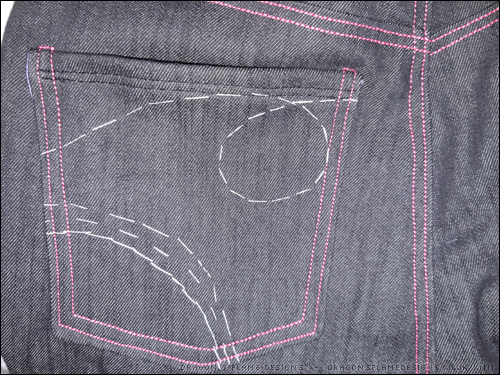
I wanted to do something different with the pockets on these, so this is actually glow-in-the-dark embroidery thread! I had a semi-disaster with the interfacing I’d put on the back of the pocket – I managed to melt it over the iron – so I added a lining to the pocket, to hide the gummy interfacing and also to prevent the stitches getting caught on the inside.
Again, I used the same fabric for the pocket bags and inner waistband, but this time I doubled up on the inner waistband fabric to make it stronger.
No modelled photos of these yet, as they’re still in the UFO stage until I can get the hem measured and stitched!
I doubt I’ll be making a tapered-leg pair, as that isn’t a style I wear, but I’m planning on making some shorts for next summer if I can find some lighter weight denim, or maybe a linen blend fabric!
So what are you waiting for? Head over to Megan Nielsen, and check out the Dawn Jeans!
Pattern: Dawn Jeans by Megan Nielsen Fabric: Wide-leg jeans – non-stretch denim from Sewing Studio Straight-leg jeans – stretch denim from Mibs Fabrics Inner waistband & pocket bags – polycotton from Fashion Fabrics
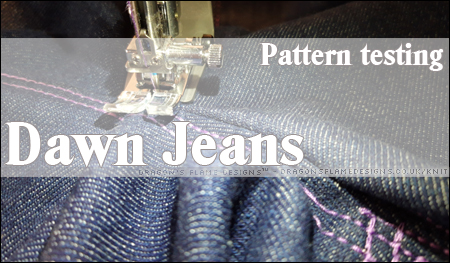
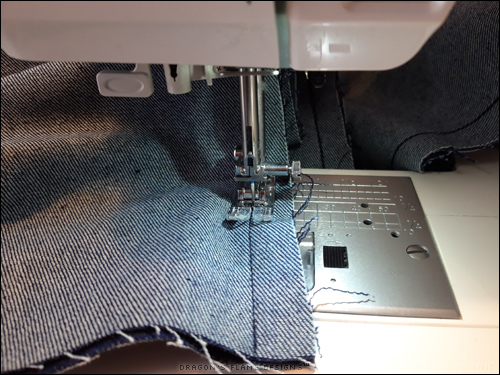
In preparation for an amazing pattern release later this week, I thought I’d share a quick video I made for how I tackled the topstitching over a bulky seam.
I use regular thread, and a straight stretch stitch for strength… well, it also looks pretty good too! But going over a bulky seam is a bit of a nightmare if those stitches don’t come out straight, so how do you do it?
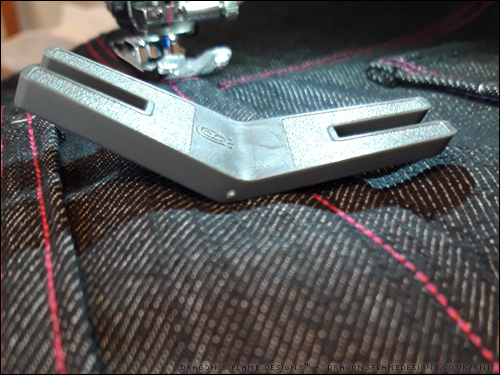
You could just a piece of folded fabric, or maybe some thick folded card – they’d both give the same result. But I’m using the button shank plate (which I’ve also seen called a Jean-a-ma-jig) that I got as a special deal from the shop when I bought my machine.. Normally the button shank plate is £8, but I’ve seen Jean-a-ma-jigs for about half that, so it’s worth looking round for a good price!
Ok, so how do you use it?
Sew as normal just to the point where the foot starts to lift at the front, as it tries to climb over the bulky seam.
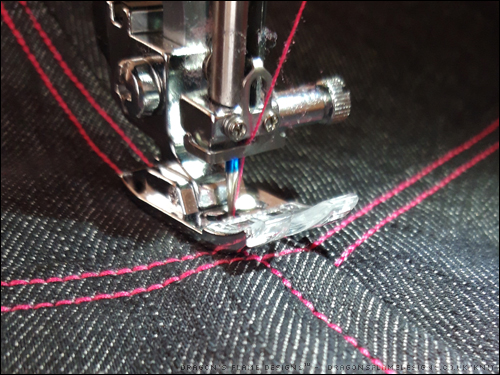
For my button shank plate, there’s a thick side and a slightly tapered side (on the right in this photo). With the needle down, lift the foot, and gently push the tapered side under the foot at the back. Lower the foot again….
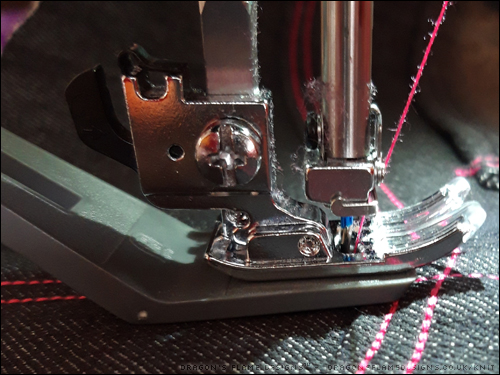
….it should now look like this! Slowly sew – you may need to use the hand wheel, depending on your machine and the thickness of your fabric! Once the machine has stitched past the bulk, you can remove the button shank plate from the back.
Because that probably sounds way more complicated than it actually is, here’s a quick video of the button shank plate in action. I hold it in place to start with simply because I’m using a triple straight stretch stitch – that goes backwards on every third stitch, and I wanted to make sure my needle didn’t hit the plastic plate!
And there you have it – a little tip to help get topstitching to work over those bulky jeans seams!
I had a pile of trouser projects needing hemming, so I picked these Zen Pants* out at random so I had something finished this week.
I did make a slight error on the waistband – I didn’t cut the elastic short enough, so the waistband is a little wavy in places. I’ve got around that by folding the elastic over, which disguises it a little.
I might try making the low rise next time though, as this mid rise ended up more where the high rise is meant to hit. That’s mostly down to my lack of height though – where my advantage is that I can usually squeeze trousers onto a smaller piece of fabric, I do need to learn how to make alterations on the rise…. or at least use the lower rise for patterns where there’s multiple options.
These are really comfortable to wear, and the wavy elastic isn’t something I’ve noticed, so that’s not anywhere near the problem I thought it could be.
* – affiliate link Pattern: Zen Pants* by 5 out of 4 Patterns Fabric: Cotton Lycra from Fashion Fabrics
It’s taken me a while to get back to my Union Street Tee*, seeing as I knew I’d messed up the neckline. I’ve actually shelved this since May, as the neckline was annoying me! However, I realised that unpicking it would be unrealistic as the binding was already top-stitched once I noticed my mistake.
Now the weather is starting to cool down, I thought it was time I actually finished the hems so I could get on and wear it.
You wouldn’t know I’d made a mess of the neckline, would you? I know there’s puckers and catches in the bodice around the neckline, but I can happily ignore those!
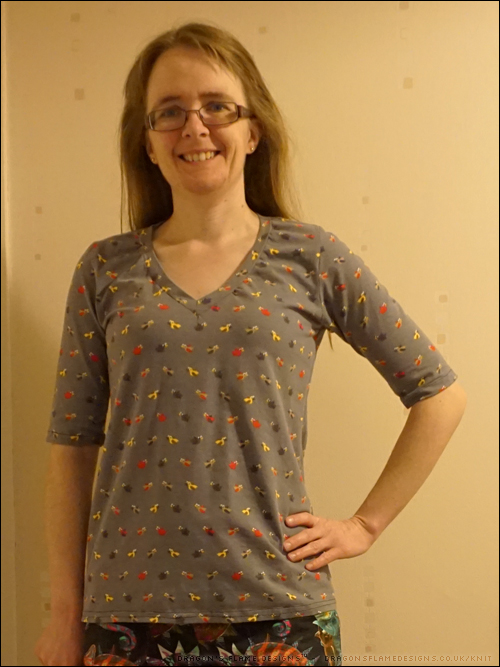
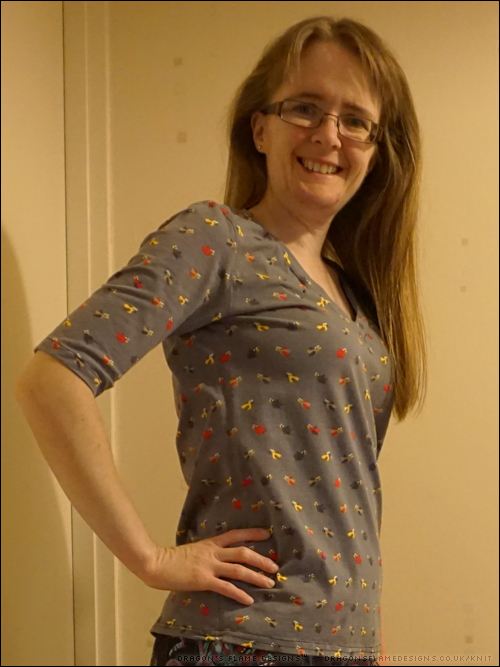
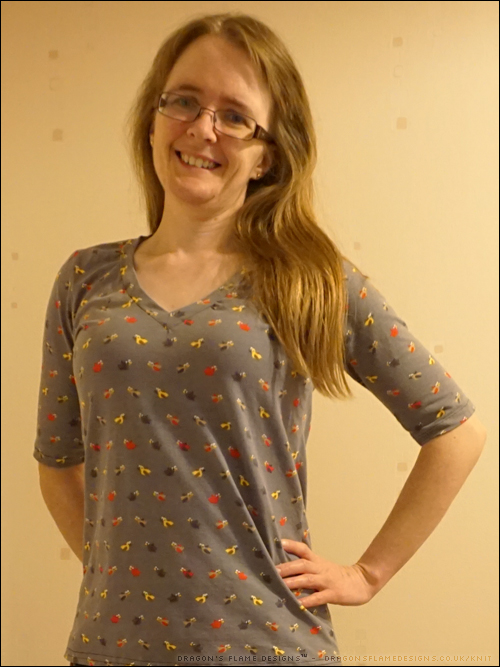
It’s taken me a little while to get back to finish this Button Up*, but it was worth taking my time on!
I had the idea of adding in piping to the armholes instead of using bias binding, which worked much better. The piping adds just enough interest to the arm, without making the seams too bulky.
Rather than adding in poppers again, I bought some fancy buttons and hand stitched them on. The only thing I did do ‘wrong’ was the orientation of the buttonholes – I stitched mine horizontally, but afterwards realised that shirt buttonholes are usually vertical!
But it is a perfectly wearable and comfortable shirt – I just hope we get a lot more hot weather so I can wear it!
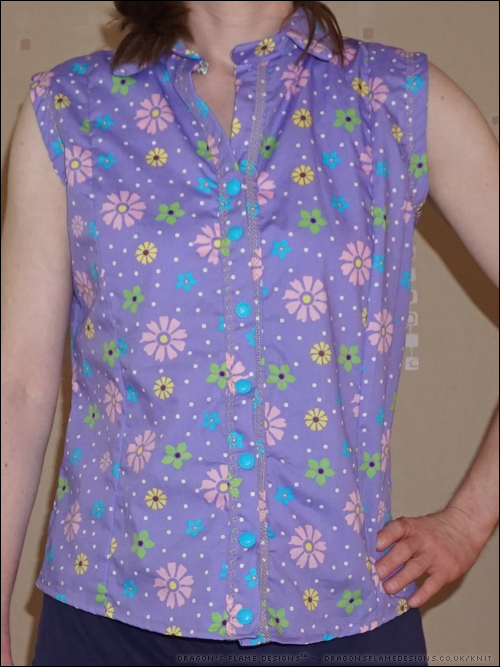
One of my quicker makes, this one wasn’t a UFO for long!
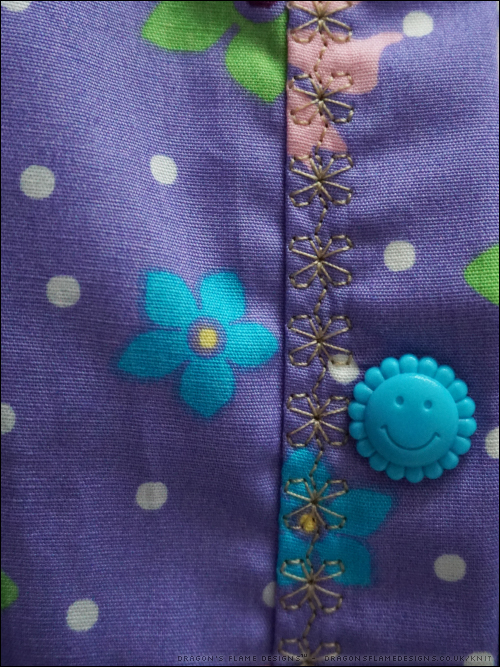
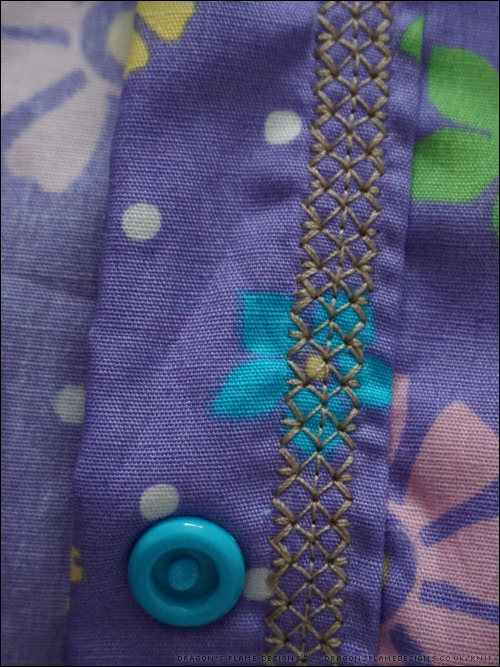
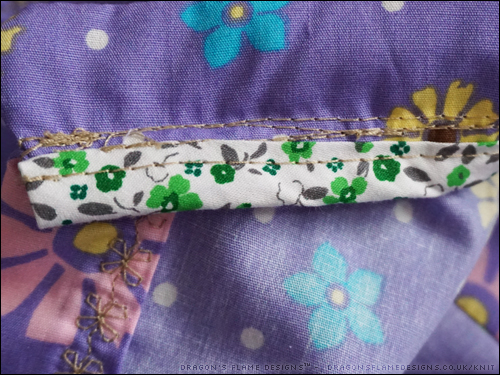
Not only did I add in the bias binding for the armhole and side seams, but I decided to be creative with the stitching on the front panels. I picked a contrast goldy brown thread which stands out against the purple without being too ‘in your face’, and chose a couple of decorative stitches to top stitch those seams.
I cheated and used poppers instead of buttons, but with smiley poppers like these (especially those which match the flowers on the shirt), how could I resist?
It might be meteorological Autumn, but I’m still in a summery mood – I’ve been working on my latest Button-Up Top*. Like with my strawberry button-up, I decided to make this one sleeveless, which shortens the sewing time quite a bit.
I used some bias binding I had lurking in my sewing bag to bind the collar, and I think I might use the same to bind the armhole and side seams as well, just to add a little bit of interest to the inside.
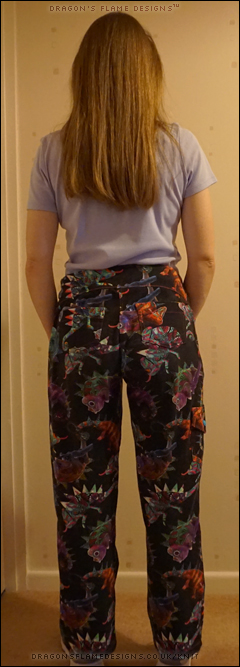
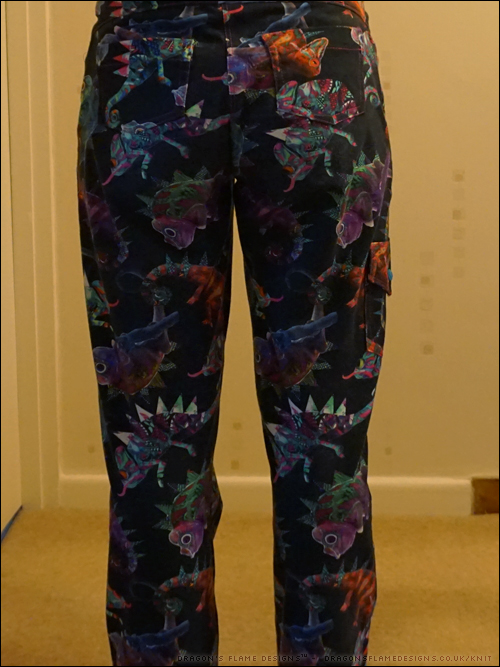
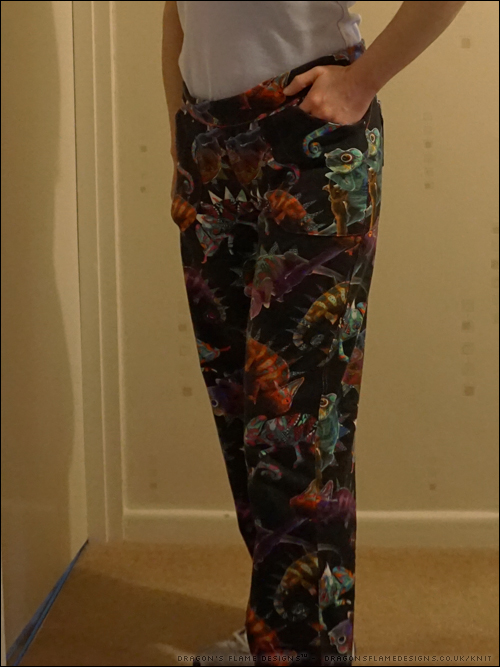
It’s been a long time coming, but I’ve been determined to finish some of my UFOs over the summer, and my Real Deal Jeans are my latest completed project!
Ok, so I admit that the Real Deal Jeans* by WinterWear Designs* are really designed for denim, but I didn’t want to attempt that just yet! This fabric is a lot lighter weight than denim, but should be perfect to wear on late summer evenings and into the autumn.
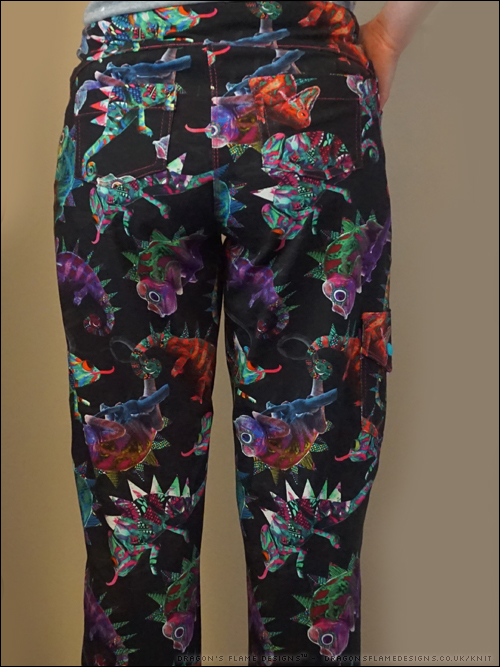
I think I lined up the back pockets a little incorrectly – they seem a lot further around to the side than they should be…. but they’re still wearable, and that’s what matters!
As you can tell, I didn’t bother pattern matching any of these pieces – with a splotchy pattern to the fabric, I didn’t really feel there was any need. And without the need to do that, I managed to get these jeans made from just one metre of fabric!
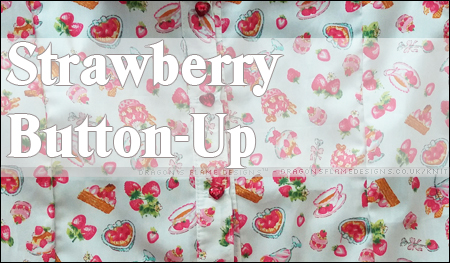
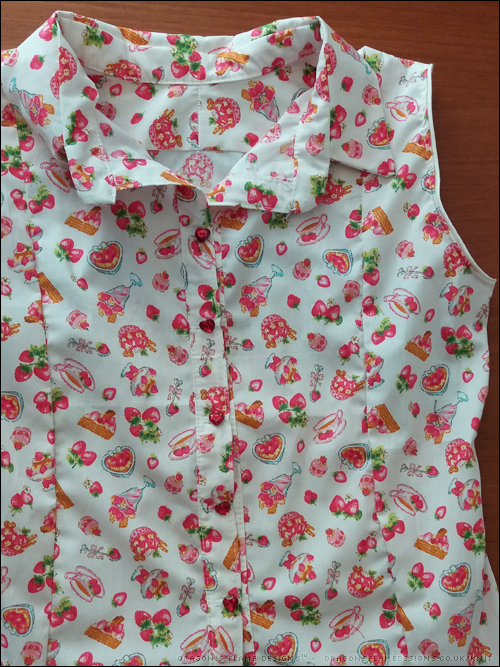
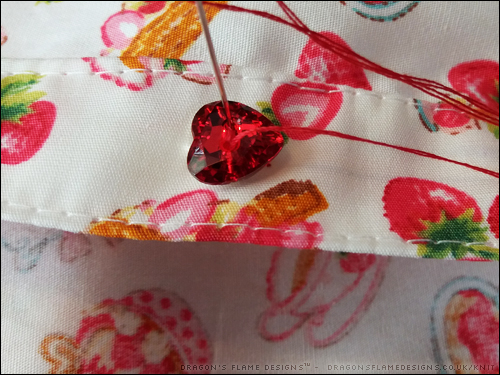
Following on from my Owl Button Up shirt, I rediscovered this metre of strawberry fabric I had purchased in the Abakhan sale last year, and thought it would be ideal for another Button Up*.
Rather than using poppers this time, I thought I’d do it the ‘proper’ way and use some fancy buttons instead. The only disadvantage is that the buttons really need hand sewing in place, because of their shape – I couldn’t get them to sit level for machine sewing!
I’m hoping this one won’t take too long to finish – they’re forecasting some more warm weather for September, so it’ll give me a great opportunity to wear it if I’ve finished it by then!