Tag Archives: hoodie

Celstial Plushies – part five

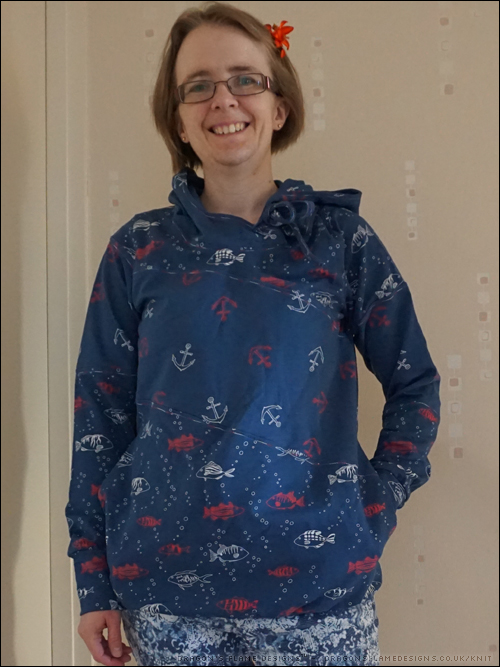
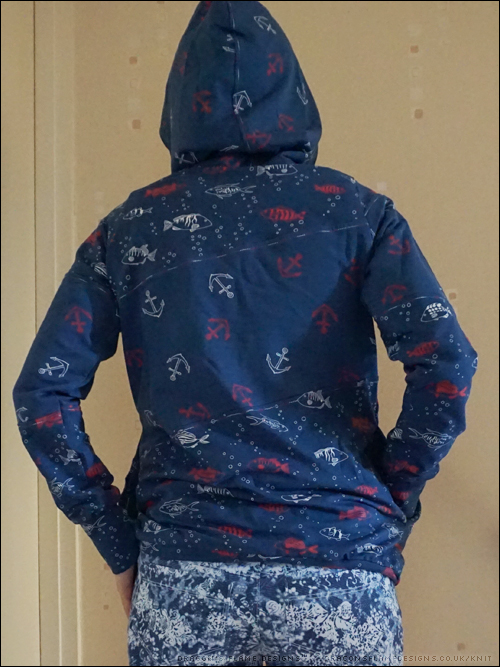
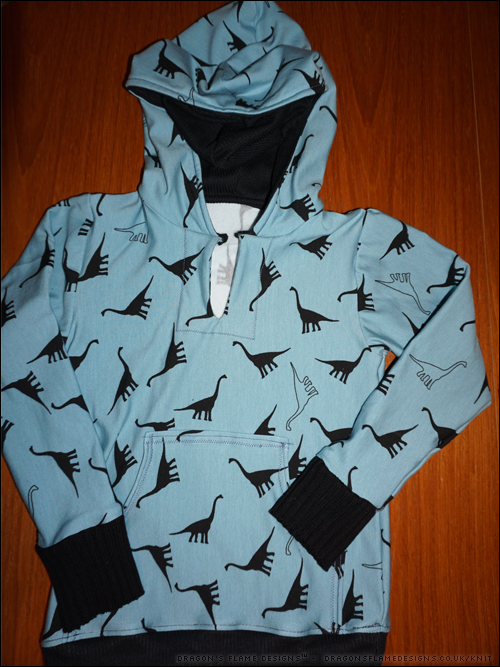
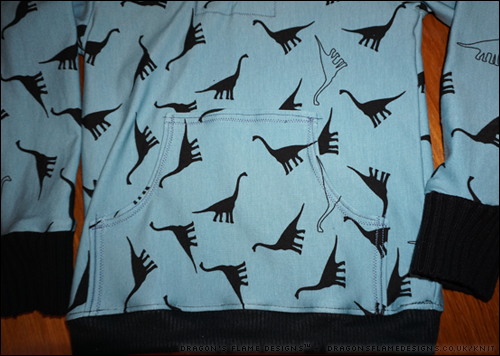
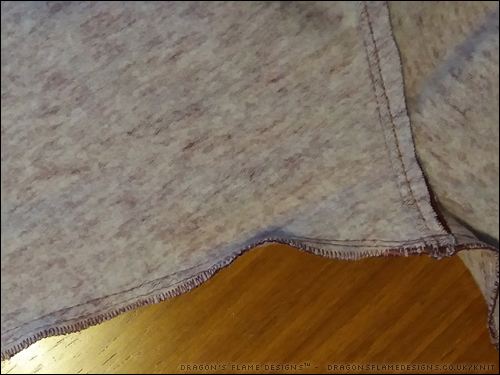
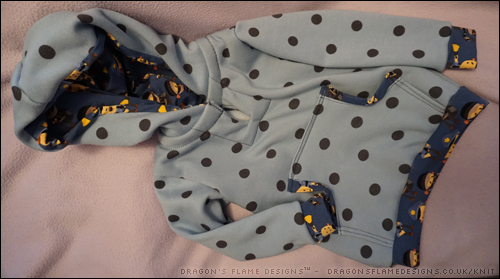
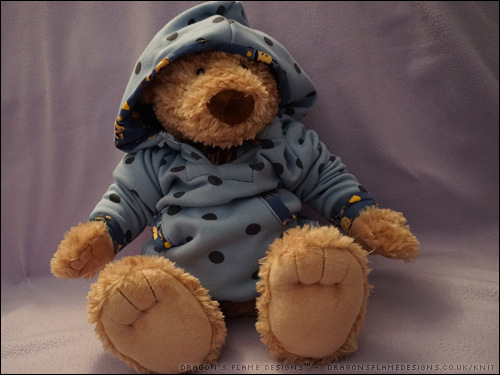
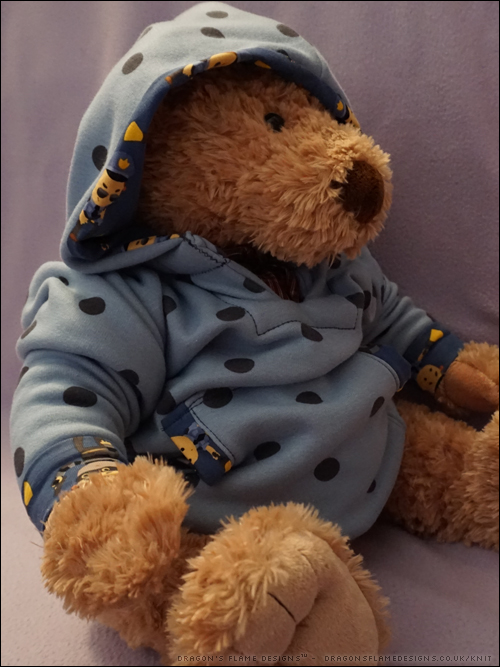
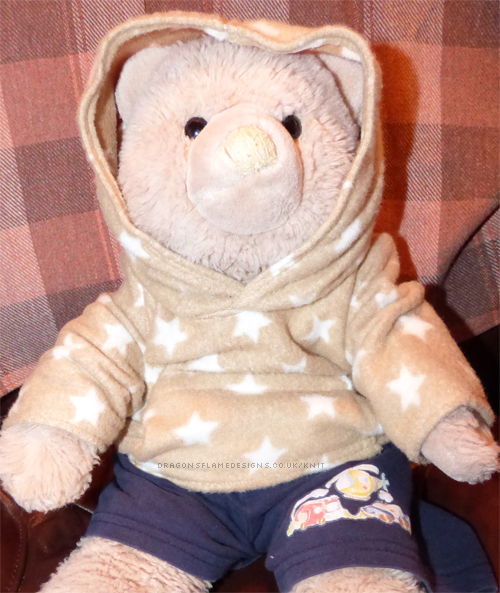
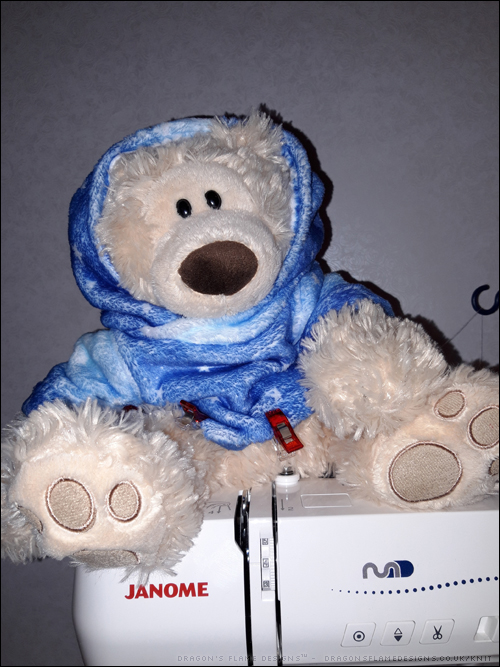
Ok, so this isn’t actually a plushie, but it was made for a friend’s plush bear so it still counts! I didn’t want to try resizing a standard hoodie pattern, so I used the Apostrophe Patterns MyFit Tee for the bodice. You can enter the measurements of whoever (or whatever plush / doll) you are making for, and the pattern is generated for you, with your chosen seam allowance!

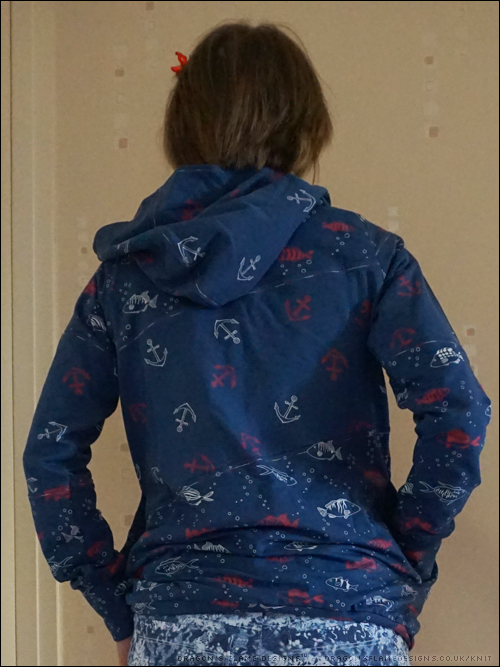
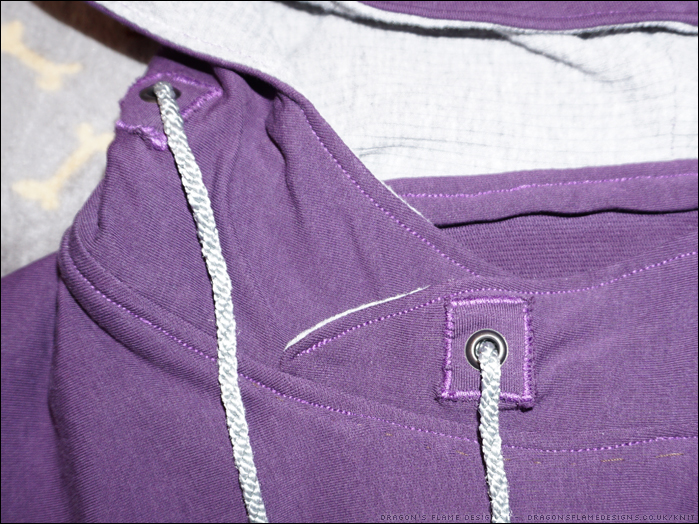
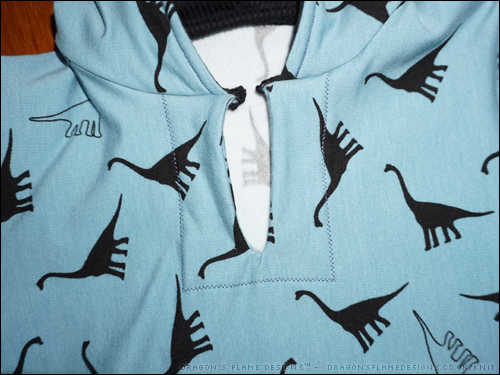
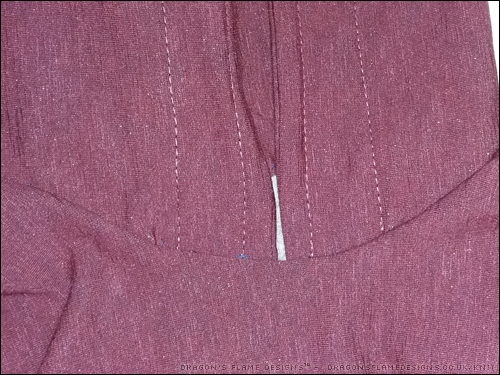
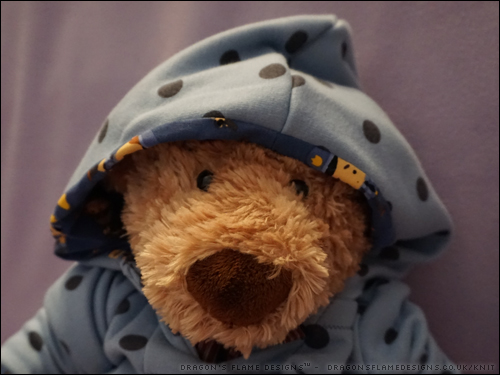
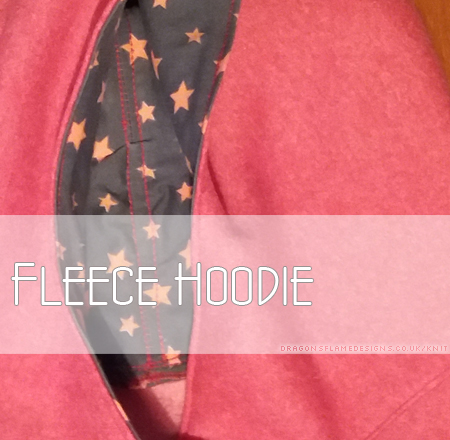
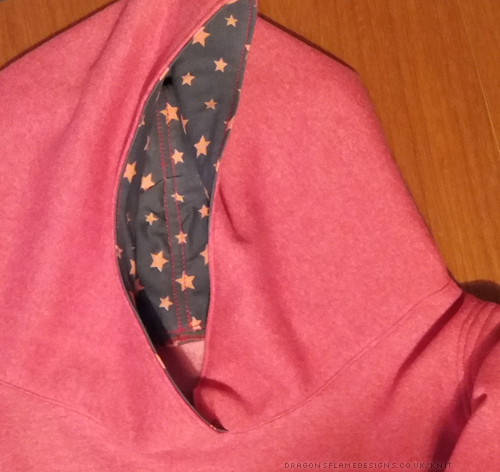
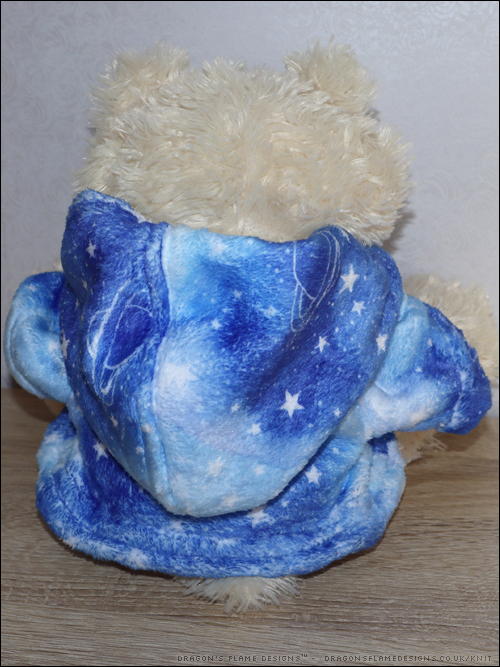
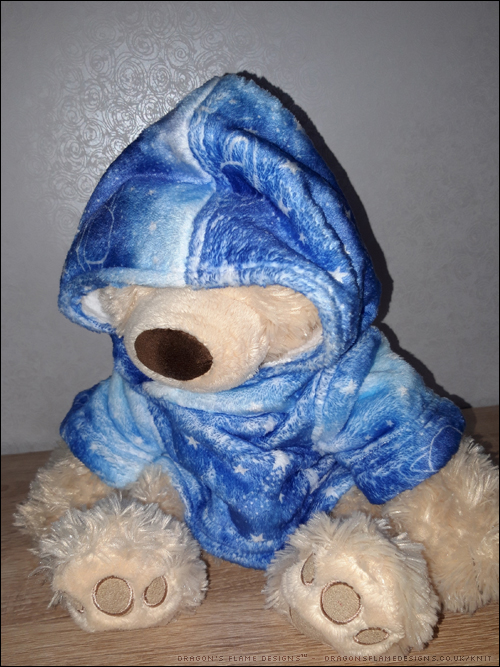
That bodice would give a t-shirt or a sweater, but my friend wanted a hoodie for their bear. So, I printed off the hood from the 12 months Ellie & Mac Around the Block Hoodie at 75% and removed some of the height of the hood to fit the bear’s head.

Why not head over to Minerva to see all the details of this make!


* – affiliate link
Hoodie bodice pattern: Apostrophe Patterns MyFit Tee (https://apostrophepatterns.com/collections/customizable-patterns/products/myfit-tee) Hood from Ellie & Mac Around the Block Hoodie* age 12 months printed at 75% and edited for height.
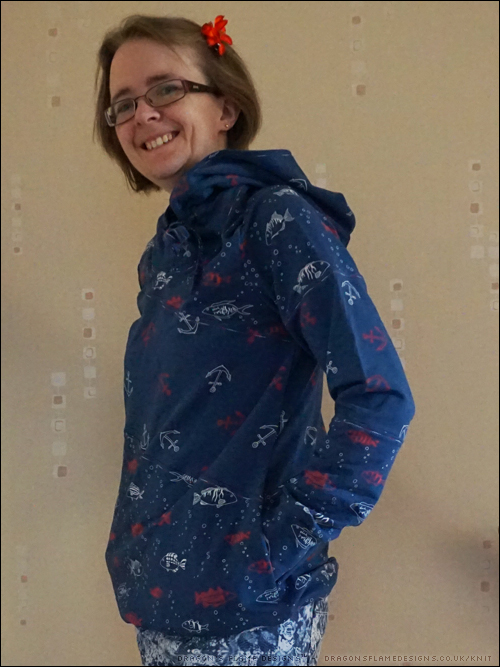
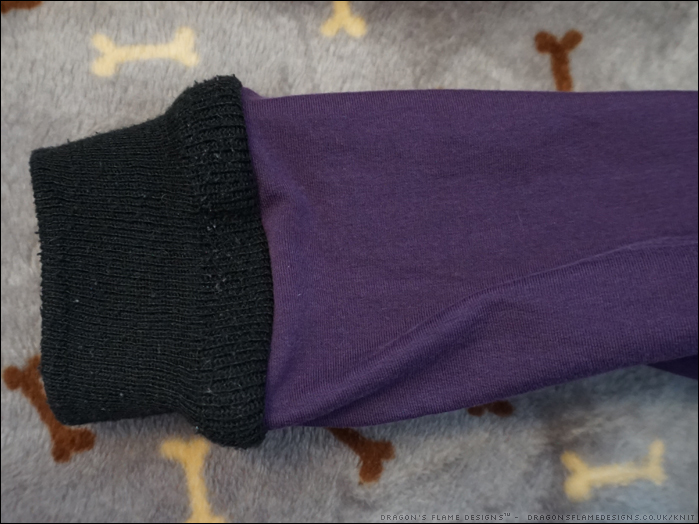
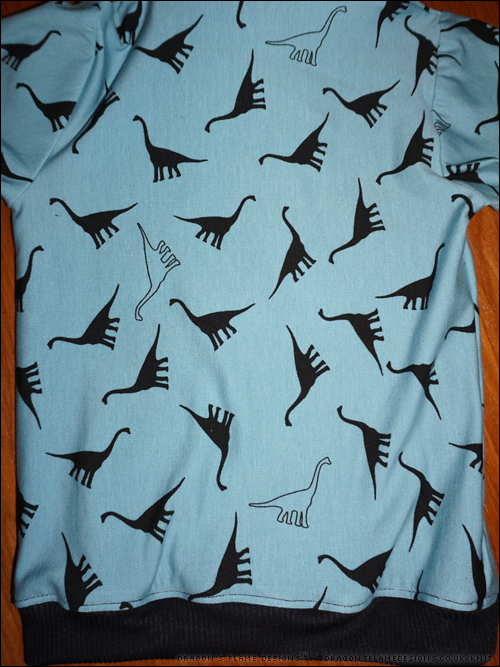
Fabric: Celestial plush fleece from Minerva (provided as my Brand Ambassador project for this month)

Around the Block – Nautical Style

Going through my photos, I realised there were quite a few sewing projects that I hadn’t actually blogged, so be prepared for some random changes in my hair length with photos!

This is the Around the Block Hoodie, which features a contrast diagonal panel across the bodice and sleeves, plus in-seam pockets and a cross-over hood.

I didn’t want my contrast panel to be really contrasting, so I picked out two designs of French Terry which had matching background colours, while still being within the same nautical theme.

The hood itself is lined with the contrasting fabric, which I also used for the ties. So far I’ve not been able to find some quality ribbing to use for the cuffs and waistband – everything I’ve used has either been quite thin, or has lost its shape after a few washes. Rather than risk that again, I stuck with the main fabric for the waistband and cuffs – if that stretches out in the wash, then at least the entire hoodie will stretch along with it!

The only thing I wish I had done, is shorten the pattern to allow for being 5′ tall! This hoodie is considerably longer than the ones I’d normally wear. However, after wearing it for a while, I’ve got used to the longer length, and it does keep my warm!

Most, if not all, hoodies have a kangaroo pocket on the front, but because of the diagonal panel, the Around the Block hoodie has in-seam pockets. They weren’t hard to sew, but sometimes I find myself going to put something in the pocket on the front – which of course isn’t there!

My nautical hoodie is finished off with some multi-coloured topstitching – I had some Gutermann red white and blue variegated thread left over from a previous project, which worked really well.

With the way our weather seems to be heading, it won’t be long before it’s chilly enough to wear this again!


Pattern: Around the Block by Ellie and Mac
Fabric: French Terry from Mibs

Purple Mash Hoodie

You’re probably sitting there thinking “what on earth is a Mash Hoodie?”… well, it’s simply a combination of two patterns. In this case, it’s the main body and sleeves of the
Hey June Handmade* Halifax Hoodie* with the neckline and hood of the Ellie & Mac Around the Block Hoodie.

This is the first time I’ve tried mashing two patterns together, let alone two patterns from different designers, but I wanted to try the hood and neckline of the Around the Block Hoodie without risking the rest of the hoodie being too snug as this French Terry wasn’t the cheapest fabric out there!

I was going to use the hood lining fabric for the cuffs, but it was disappointing in it’s thickness and strength. So instead, I used some premade ribbing fabric for the waistband, and found two premade cuffs that worked really well for the sleeve cuffs.

All I need to do now, is get it finished so it’s able to be worn!


* affiliate link
Patterns: Halifax Hoodie by Hey June Handmade*
Around the Block Hoodie by Ellie & Mac
Fabric: French Terry from Mibs Fabrics, hood lining from Minerva Crafts

Dinosaur Hatteras Hoodie

What do you make for a young relative who loves dinosaurs, when you’ve already made him a cuddly dinosaur before?

I settled for my tried-and-tested Hatteras Hoodie, and went to find some suitable fabric… which was harder than I’d first thought! Eventually I came across this dinosaur sweatshirt fabric at Sewing Studio, and despite the main stretch being vertical rather than horizontal, the random positioning of the dinosaurs meant I could still use it

I’d purchased some black ribbing fabric to use for the hood lining, waistband and cuffs. Unfortunately (the disadvantage of buying online) this fabric was a lot thinner than I’d anticipated. The hood lining didn’t need to be heavy, so I used the ribbing for that, but it wasn’t going to work for the cuffs as it was.

I had part of a pack of cuff ribbing left over, which worked for the cuffs on this hoodie, but there wasn’t enough for the waistband. 

Playing around with the original ribbing fabric, I tried holding two layers together and realised that might just work to give enough stretch and strength for the waistband. This hoodie is an age 6, but made for a child who wears an age 4 at the moment. It should give him a nice long time to wear it before he grows out of it, but it does then need a decent rib for the waistband to help hold it in until he grows more!

I cut four waistband pieces instead of two, and just used the additional ones inside the main waistband pieces to give it more strength. To me, that feels strong enough, but we’ll have to see how well it holds out – he won’t have the chance to try this hoodie on until Father Christmas delivers it next week, so I won’t know for certain just yet!

The Halifax Crossover

You know when you go into a fabric shop to look for a specific type of fabric, then spot the perfect fabric for something entirely different? That’s exactly why I ended up with two metres of this thin but snuggly sweatshirt fabric! I knew it was going to make either a hooded Lane Raglan by Hey June Handmade* or a Halifax Hoodie by Hey June Handmade*, but I stashed it away in the cupboard last year as I hadn’t even attempted the Halifax at that point.

Then I spotted a notice for a Halifax sew-a-long for the last week in January, and knew it was the perfect opportunity to use that fabric. Because it is so stretchy (for some reason it stretches most across the length of the fabric rather than across the width), I decided to size down for this one. I did want to try out the crossover hood hack just to make it a little different, and also to avoid having the facing and slit at the front neck.

The hood has my neatest ever top-stitching, but when I followed the instructions and tacked it to the body, the hood didn’t even meet at the front, let alone cross! After a few “what have I done wrong?!” messages, I had a very helpful response which pointed out that the neckline can stretch out of shape quite easily; to sort it, I needed to pin the back centre neck, then cross the front by about 1/2″ and pin, then stretch the hood slightly to make it fit around the rest.

Thankfully that did the trick, and some top stitching worked to hold the seam allowance down towards the body. I used the same technique with the shoulder and sleeve seams, which will hopefully make them a little stronger too.

Using a regular straight stitch, I tacked the sleeve and side seams at 1/4″ first, just to check the fit. That seemed fine, so I left the tacking stitches in (to give the seam more strength), and used the straight stretch stitch to sew the seam at 3/8″.

It wasn’t possible to top stitch all the way down the sleeve and side seams, so I zig-zagged the seam allowance on that just to keep it tidy.

Because I didn’t use a contrasting fabric for the pocket binding and hood lining this time, I felt it needed something to liven it up a little, so I added in a funky blue and white patterned cord. The cord is a little long still, but that is a simple fix to resolve that.


* affiliate link

Pattern: Halifax Hoodie by Hey June Handmade*
Fabric: Fashion Fabrics


An Early Christmas Present

Seeing as the Halifax Hoodie went so well, I had a crazy idea to make K a hoodie as an early Christmas present. Hey June Handmade’s Hatteras Hoodie* is made in exactly the same way as the Halifax, so I felt reasonably confident at my ability to make it.

I chose some blue spotty sweatshirt fabric for the main body, along with some ‘cops and robbers’ t-shirt fabric for the hood lining. To break up the spots, I also cut the cuffs and waistband from the t-shirt fabric.

The Hatteras pattern doesn’t include a drawstring around the hood, which meant I could skip hammering in any eyelets! It also doesn’t include binding on the edges of the pocket, but I added those in just to give some interest to the front panel.

The sweatshirt fabric isn’t brushed like you would expect – it has a furry feel to it, and a definite nap. This means it should be snug and cosy to wear, but did give me some challenges when it came to sewing. I’ve sewn faux fur fabric before, but never anything with the furry side facing out. Of course that resulted in the fabric slipping mid seam, which was a nightmare when it came to attaching the hood.

After two mis-sewn seams, and unpicking far too many stretch stitches, I was at a loss for how to resolve the problem. In desperation, I attached a walking foot, and reverted to a zigzag stitch instead of a stretch stitch – it was the only thing I could think of to try.

Much to my amazement, that did the trick! The hood stayed pinned as it was meant to, and even the cuffs weren’t as terrible as I thought they could be.

The pattern on the cuffs is upside-down…. but that’s an intentional design. I like the idea of K being able to see the pattern the right way up when he’s wearing the hoodie.

The sleeves are a little snug for the bear that’s modelling it, but hopefully it will fit K perfectly, and keep him warm when he’s playing outside this winter.


* affiliate link

Fabric: Fashion Fabrics

Halifax Hoodie

Ever since I made a hoodie from a Craftsy course last year, I’ve wanted to make a hoodie with more of a traditional sweatshirt style. Searching through various websites, I eventually came across the Halifax Hoodie by Hey June Handmade* which looked perfect for the style I was after.

As this was my second ever hoodie that I’d made for myself, I decided to keep things relatively easy, and make style A – a regular-styled hoodie with a split neck. I did make things a little more complicated by choosing to line the hood, and add in the thumbhole cuffs from the Lane Raglan Top* too.

There were a few points where I started arguing with my sewing machine, especially at the point where the neck band is meant to cover the raw edges of the hood and the main body. But a couple of hand stitches helped just to hold the band in place.

I do need more practise (or maybe better instructions!) at adding in eyelets for the drawstring cord. The back of one of the eyelets came off as I was sewing the drawstring channel, and I’m not convinced it’ll stay in position when the top gets washed. At least with the drawstring in place, the eyelet won’t fall off completely – it’ll get caught on the drawstring itself, so I shouldn’t be able to lose it!

I lined the hood with some grey swan jersey fabric and used the same fabric for the binding on the edge of the kangaroo pocket. The drawstring tape is a little brighter than I’d expected, but it picks out the orange bills of the swans.

The instructions for the Halifax are really easy to follow, and it resulted in such a great hoodie, I’m already planning my next Halifax top.


* affiliate link

Pattern: Halifax Hoodie by Hey June Handmade*
Fabric: Fashion Fabrics


Sewing With Knits – Fleece Hoodie

The thought of sewing with stretchy fabric terrified me – I’d heard all sorts of horror stories about how the fabric stretched out of shape while sewing, or all the stitches snapped when the person tried on the finished item. However, I couldn’t find a hooded sweatshirt in the shops that suited me, so I wanted to try making my own.

Craftsy had a sale, so I decided to take the plunge and enrol on the Sewing With Knits course. It includes 5 patterns for different items of clothing, including a fleece hoodie. I printed off the pattern in a smaller scale to start with, and stitched a teddy bear sized hoodie as a test run.

Pockets are always useful, so I added a free-style kangaroo pocket to the front.

Mini Fleece Hoodie

Spurred on by my success, I went searching for sweatshirt fleece. This was surprisingly hard to find, but I eventually came across a really nice red fleece, which has slightly lighter red stars printed on it. Not wanting the fleecy side to be against my hair on the hood, I also picked 50cm of jersey fabric to use as the hood lining.

The pattern doesn’t include a hood lining, so I used my usual method of trial-and-error to get it to line up. Admittedly some of the top stitching down the sides of the seam aren’t entirely level on the lining, but that’s not overly noticeable unless you look really closely. To get the lining attached to the hood, I left a small gap on back neck edge to turn it the right way out – as that’s underneath the hood, it’s not too obvious that there’s an extra line of top stitching there just to hold that seam closed.

Fleece Hoodie

All the seams were sewn on my regular sewing machine, using a zigzag stitch. I do have a stretch stitch option, but the craftsy course used zigzags, so that’s what I stuck with. I haven’t decide yet if I should attempt a double zigzag hem, or if a twin needle hem would work better – it’s mainly down to the bulk of the fleece, which one would look the neatest.