With Euro 2020 taking place, I had to draw a football themed envelope, although I’m not convinced that Donald Duck would get through the entire match without at least a yellow card!
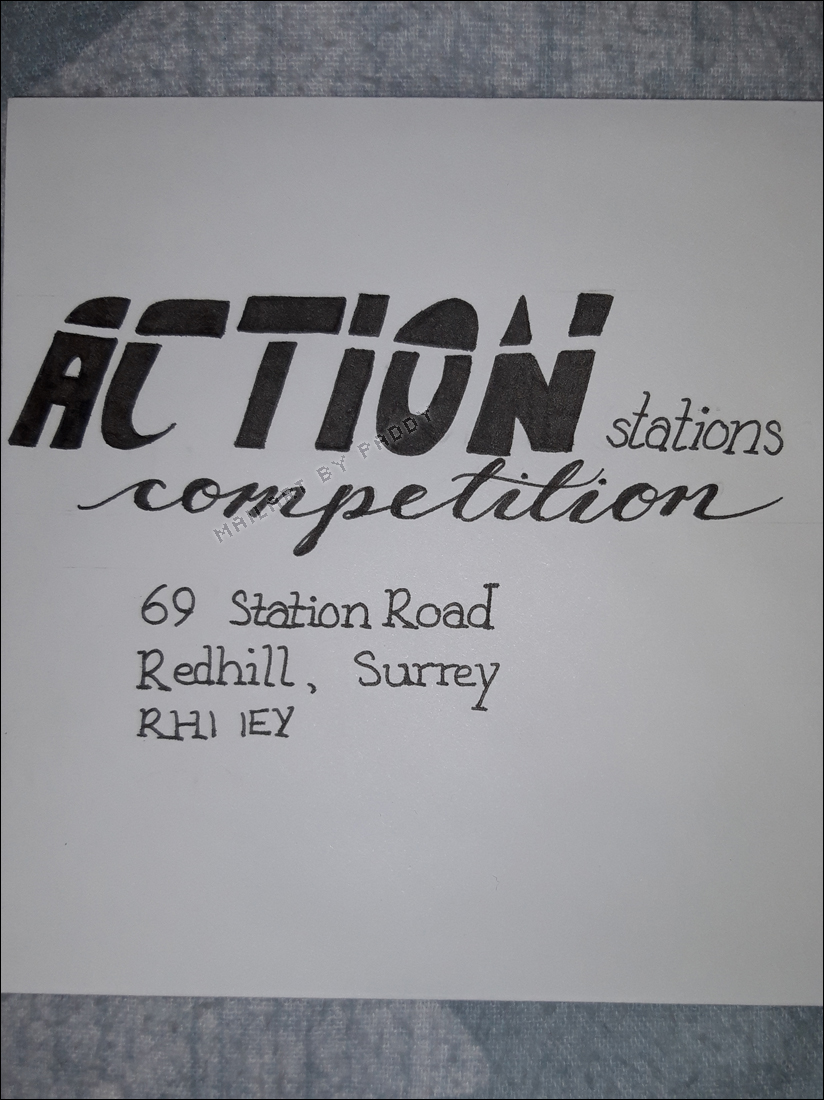
Because I want to make sure the address doesn’t run if the envelope gets wet, I used a permanent pen for the faux calligraphy, and also for the typewriter-style address lettering. Maybe I need to get a permanent brush pen, so I can write the address in ‘proper’ calligraphy!
“This just in” – the classic words of news anchor Kent Brockman on The Simpsons. I had another attempt at using my watercolour pens to colour the drawing – this came out better than my previous attempt, but it still doesn’t really look fully blended. Maybe I need to use specific watercolour paper instead of a generic envelope!
I’ve never made plushie frogs before, but when I had the opportunity to make something from Velboa, it seemed a natural choice!
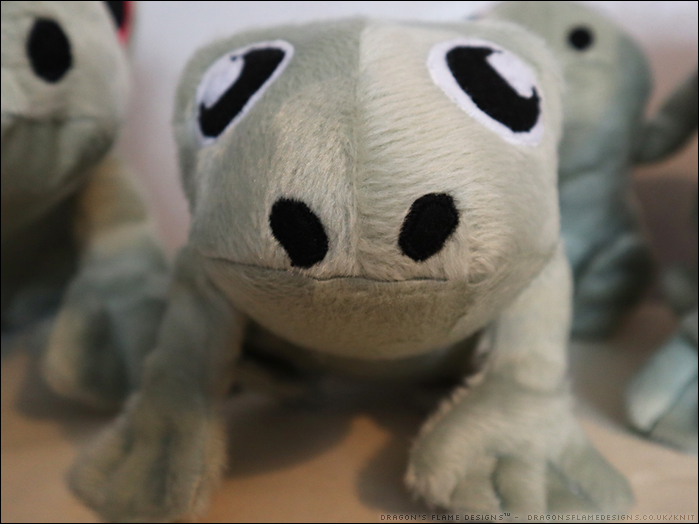
I’ve sewn with various styles of faux fur before, but Velboa is totally new to me. It does have a nap (so the fur can be brushed in one direction), but this particular velboa has an abstract pattern where the nap changes direction multiple times. This meant it was a bit more challenging to lay the pieces out, but I tried to just get the background nap in the same direction at least.
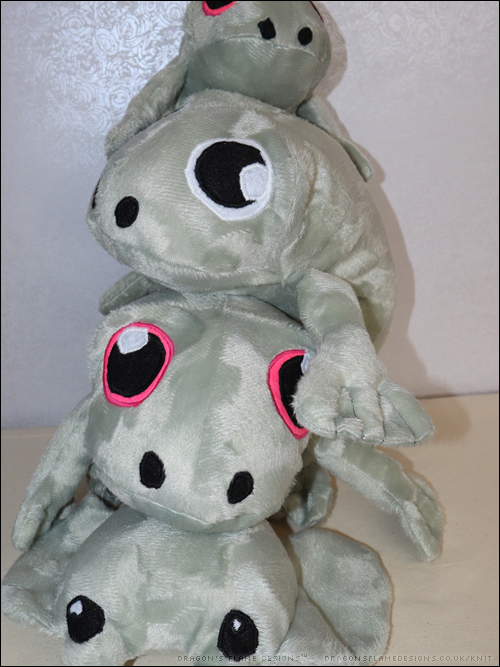
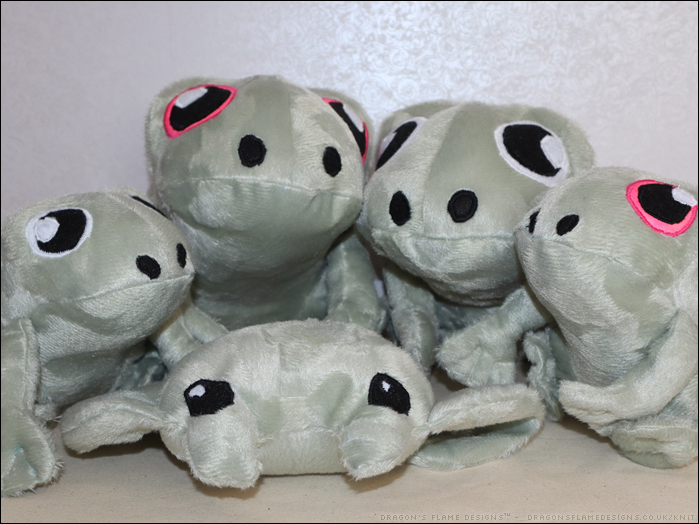
I wanted to try out the glow in the dark fabric paint I bought in the sale from Minerva a couple of years ago, so I used that on the white felt eyes for two frogs. It does give them a bit of a strange look in daylight, but the glow works perfectly once the lights are out at night.
As you can tell from my stack of frogs, there’s also a Manta Ray lurking with them. I had enough fabric left over after making those four frogs, and thought a Ray would be a good companion for them.
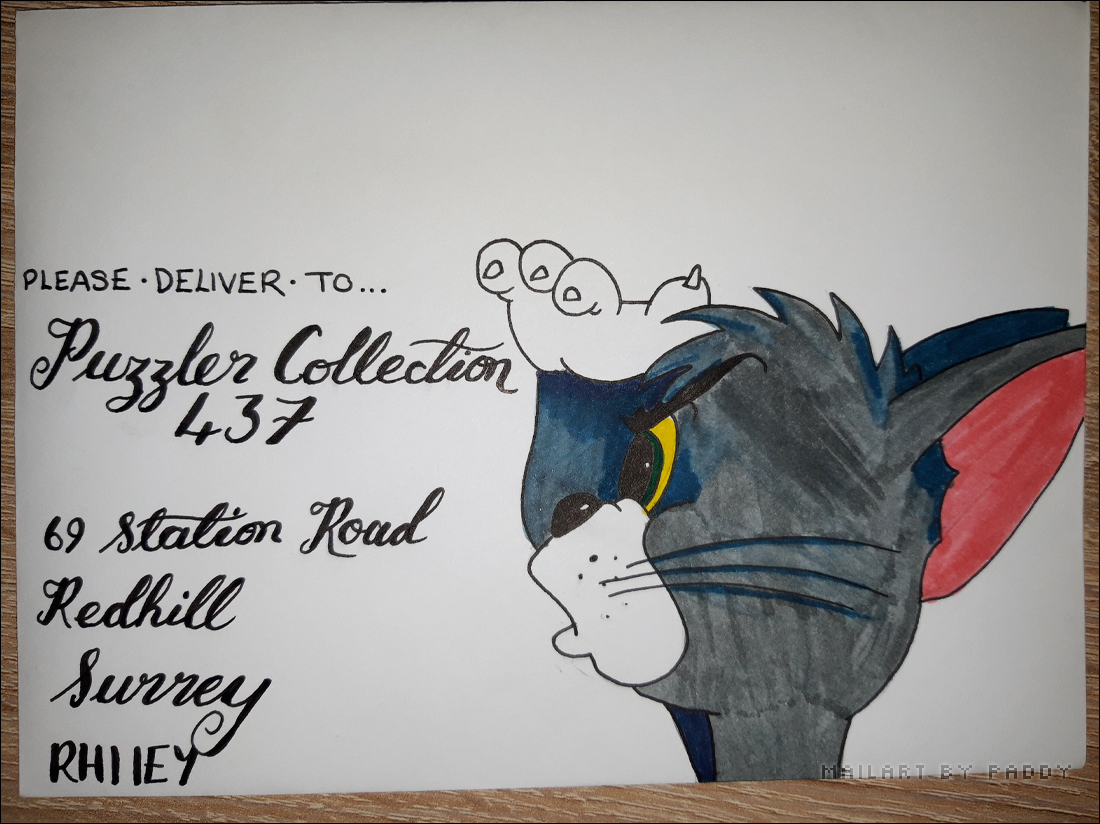
I tried using watercolour pens for this envelope, but I can’t get them to blend properly. So Tom has to put up with some unusual blue shadows and some darker grey where I’d coloured over one section again.
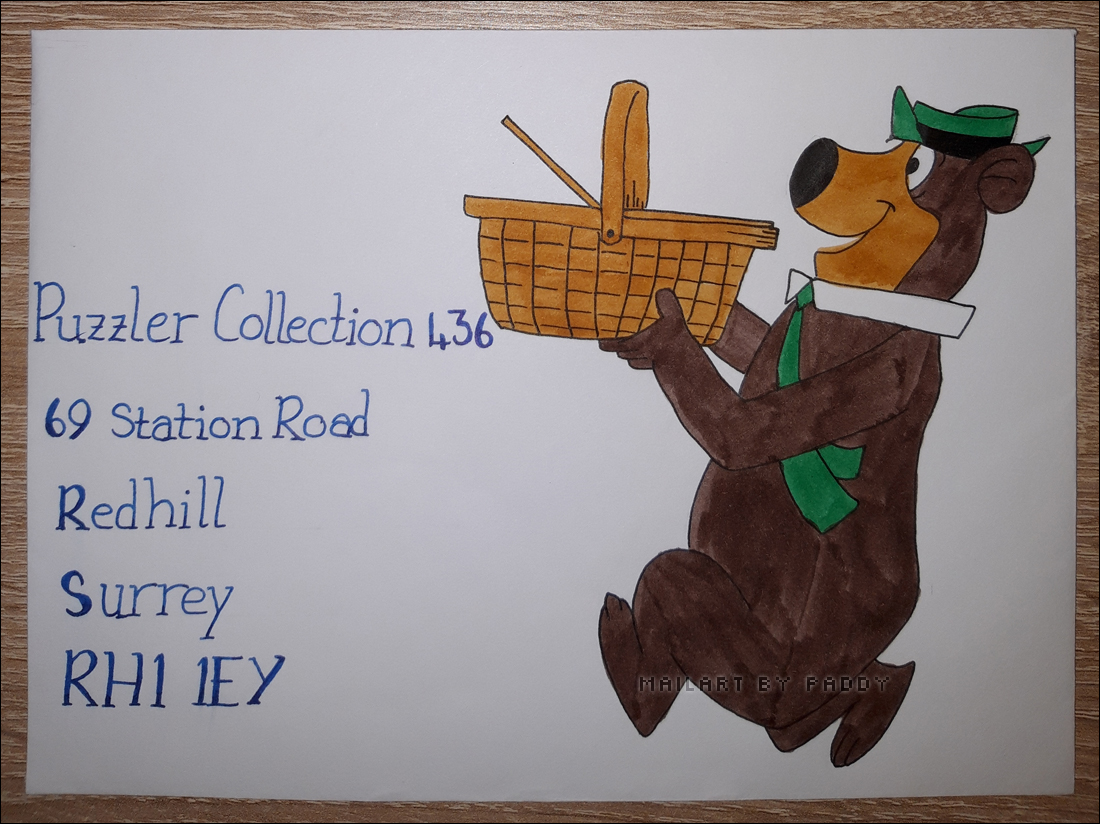
I haven’t drawn Yogi Bear much, so for this month’s competition envelope, I thought he should be running in with a pic-a-nic basket he’d just liberated from an unsuspecting tourist.
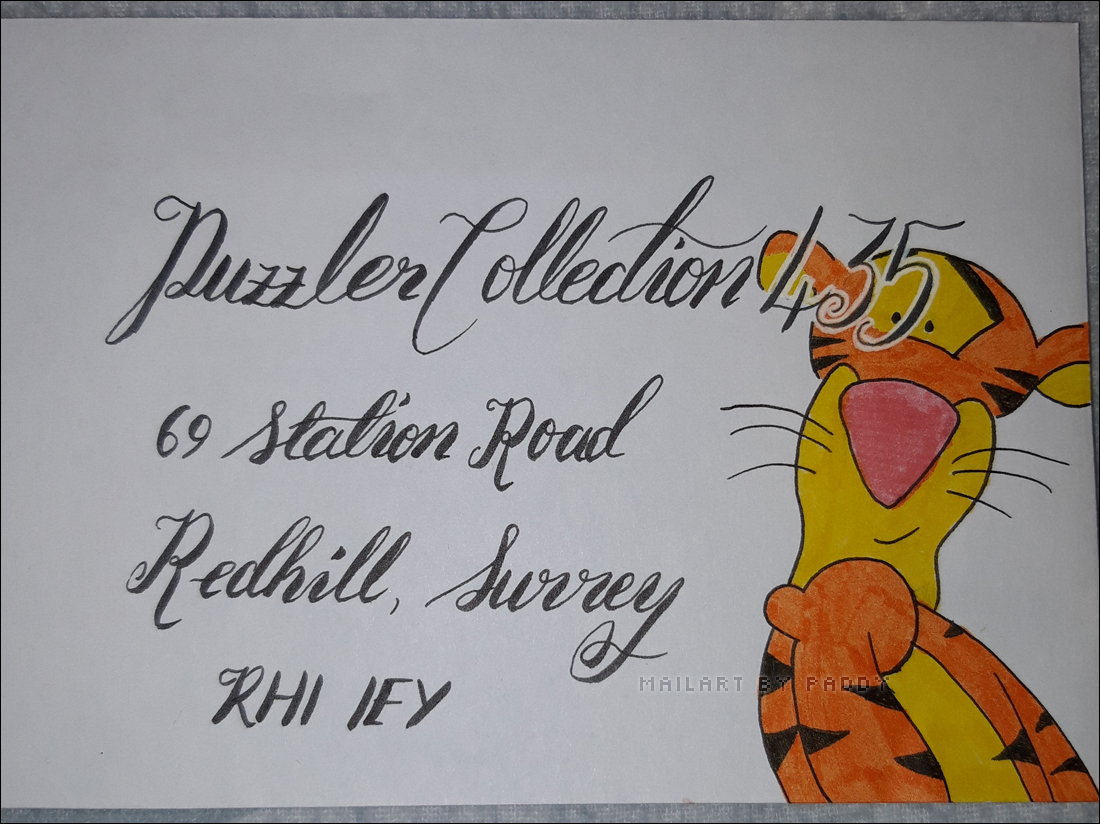
Tigger is looking pretty thoughtful… maybe it’s because the address went over his face! I wrote the address first, then tried to fit the drawing around it, but couldn’t quite make it work without it overlapping.
Since Lockdown 1.0, I haven’t done much sewing – the majority of things I made were face masks for friends and family. I wanted to sew something as a Christmas present for K, but what do you make a young boy who loves dragons? A dragon backpack of course!
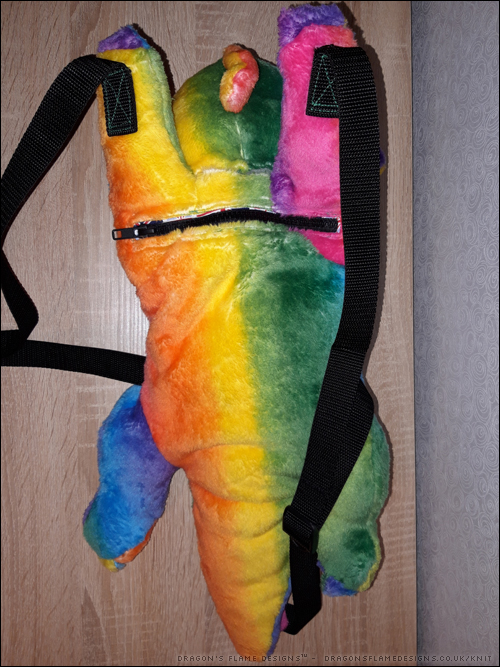
I’ve made plush toys before, but this would be the first backpack I’ve ever attempted…. I like to make things challenging!
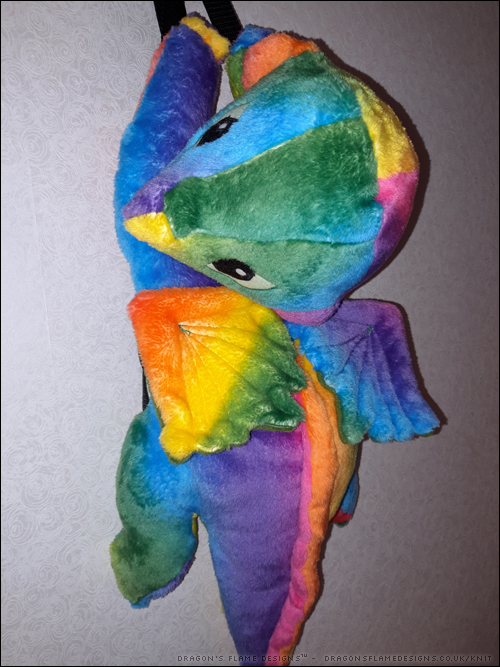
My original plan was to use some glow in the dark fabric paint on the eyes to add an extra fun little detail. However, the glow paint I’d purchased online was a ‘lucky dip’ when it came to colour, and I ended up with pink – perfectly fine, but I didn’t really want this dragon to have pink glowing eyes! So I stuck with the pattern’s recommendation and appliqued the felt eye pieces onto the face.
This fleece fabric is surprisingly slippy – it behaves almost like a fake fur rather than fleece when you’re sewing. As a result, the zip on the main pocket isn’t the neatest of stitching.
I had a Union Jack patterned fat quarter lying around, which worked perfectly for the pocket lining. I didn’t want anything too dark, as it would make it quite challenging to find something in the bag otherwise.
After a while of fighting the fabric, I tried an alternative technique – placing a layer of calico fabric against the feed dogs when sewing. That worked like a dream, allowing the fabric to feed through evenly, and no more squished stitches!
Because the dragon needed to be stuffed and the fabric had a slight stretch, I wanted to make sure the seams would allow some stretching, so I trimmed down the calico to as small a piece as possible. Ideally I would’ve used a tear-off fabric stabiliser or even tracing paper, as both of those could be fully removed after sewing. But as usual, I didn’t have either to hand, and I really needed to get this dragon finished!
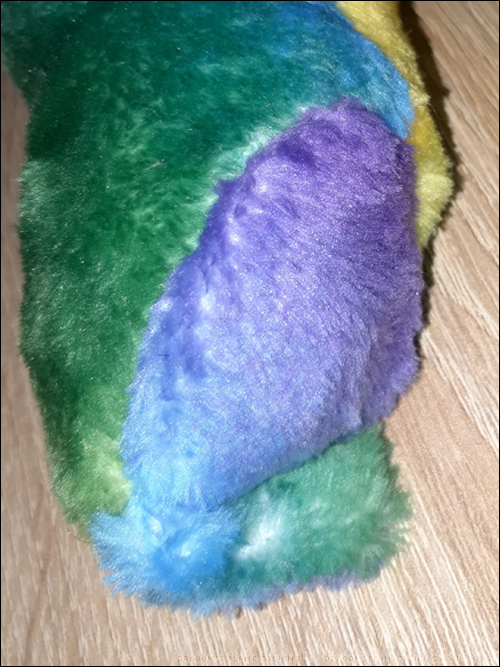
As an optional extra in the pattern, there’s a hidden pocket in the dragon’s tail. I thought this would be a neat addition (which I didn’t point out when I gave K his present – I wanted him to discover it for himself), so not only is this my first backpack make, it’s also my first attempt at sewing in an invisible zip (albeit without an invisible zipper foot)!
My only other slight mishap was when I stitched the strap to the wrong side of the dragon’s paw (oops!) and had some well-nigh impossible unpicking to do to resolve it. But thankfully you couldn’t see the mistake once I’d finished.
And I can safely say that K loves his new backpack – after he’d opened it, he put the bag on his back and ran round the room shouting “I’ve got wings”!
It was almost impossible to look at sewing posts last year without seeing at least one face covering, or a pattern for one. Some people were making hundreds of them to give away, others made hundreds to sell, and for a while I felt that I was “failing” for not making them or scrubs!
However, I eventually came to accept that while I have the skill to be able to make things and I also liked the idea of helping out charities and local organisations / the local doctor’s surgery & hospital, the whole ‘production line’ way of making multiples of the same item like that, just isn’t something I am able to do.
I didn’t actually make any face coverings until the first mention that they were going to be essential to wear when entering a shop – so I made my first few for my parents.
A little while later, another relative requested masks for their family members which included a 5 year old child. By this point I was feeling comfortable with the adult patterns I was using, but what was I going to do for a child’s pattern? The first pattern I found was marked as age 2-5 and age 6-10 – how on earth was I going to know which would work the best, given that the masks were going to be posted?
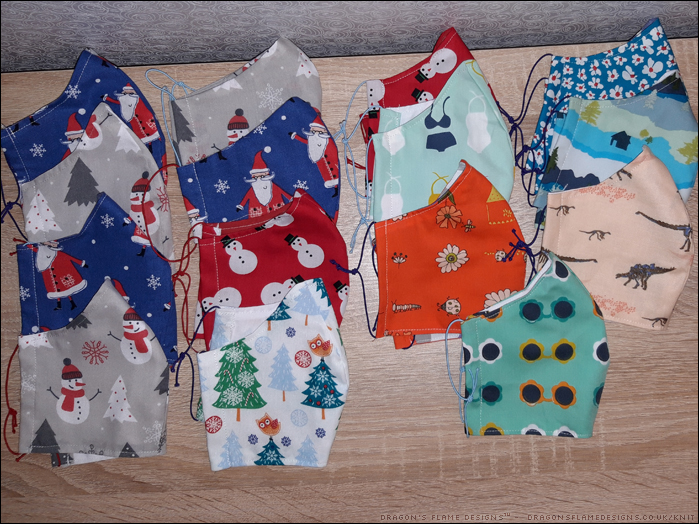
In the end, I made three different child’s masks (one of each size, and another from a different pattern) in the hope that at least one would work well. I made the two different sized ones in totally different fabric (the foxes and dinosaurs on the bottom right of the photo above) so it would be easier to work out which face covering actually fitted the best.
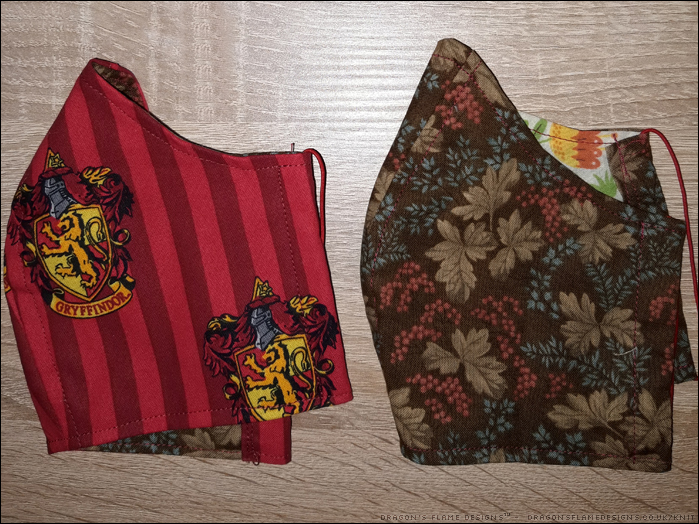
Spurred on by my success, I made two matching masks for a friend’s birthday (who would’ve thought that a face covering would be a suitable birthday present?), picking the same adult patterns I’d used previously. Again, I wasn’t too sure which that friend would find most comfortable to wear, hence the two different designs. These were made from a fat eighth that I’d won as part of a bumper prize from Sew Magazine a couple of years ago.
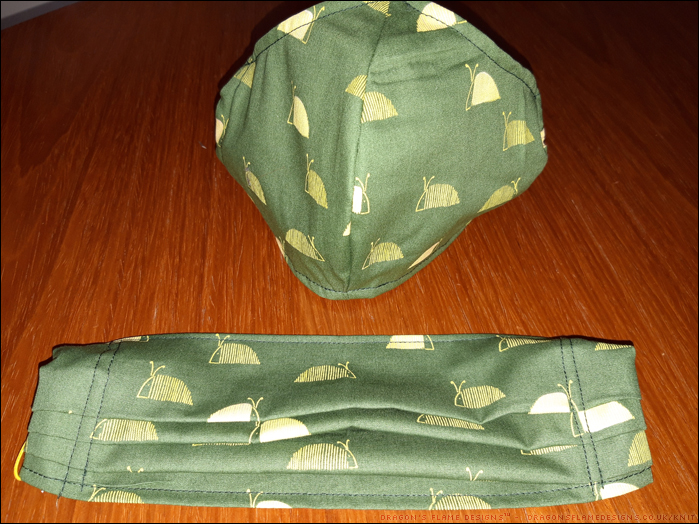
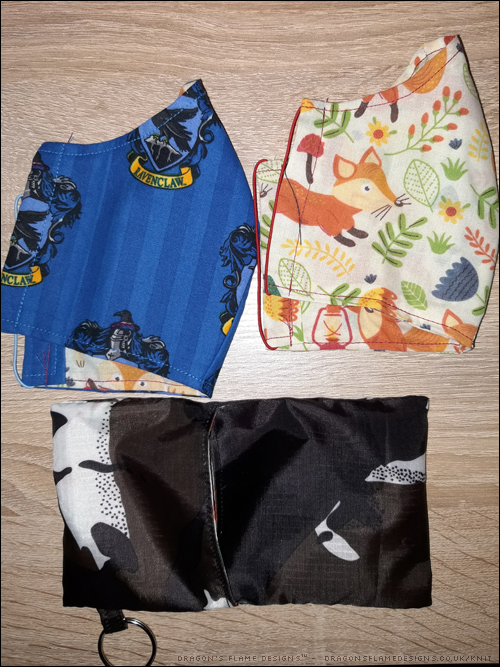
Of all the masks, the pleated ones were the hardest to make as threading the elastic through the tunnel with all those pleats in place, was almost impossible at times. So for my next batches, I stuck with the shaped masks. These two went to a friend in Norway, while the ones below were sent to a friend in America. You can just about see the same fox fabric on the lining for the right-hand mask – these work really well for using up those smaller pieces of fabric that you’re not quite sure what to make from!
More foxes! I used the same foxes for the lining on the right-hand mask, which probably wasn’t overly intelligent – while the shaped mask is reasonably clear which way round it goes, having a different pattern to the lining (or even a plain fabric) makes it really clear for those “not quite awake” mornings when you need to go grocery shopping!
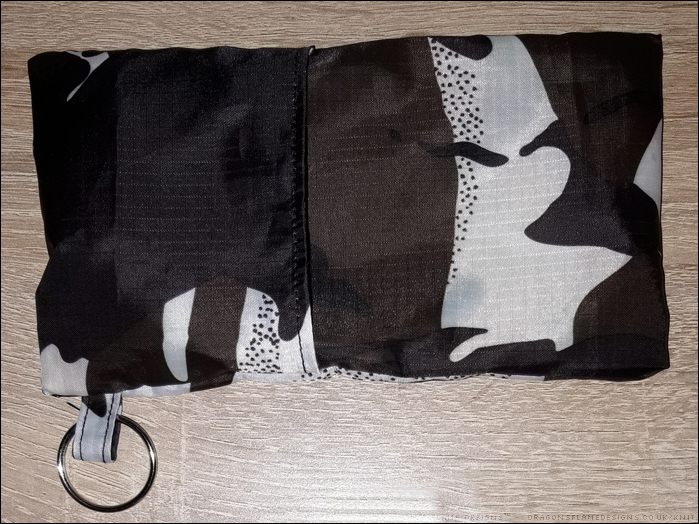
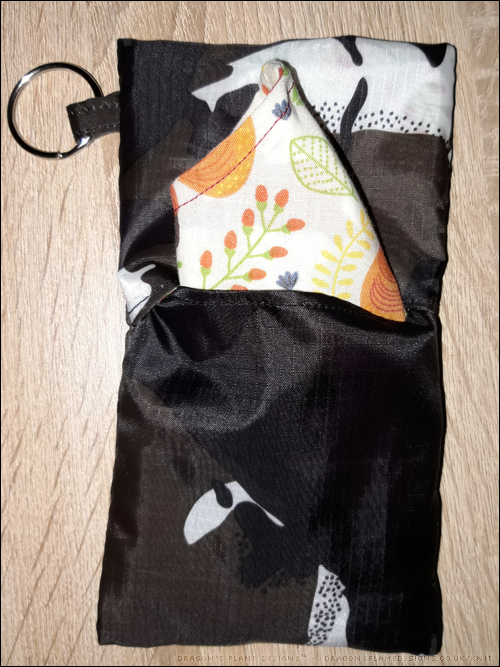
I also added in a little waterproof ripstop carry bag for the face coverings – the ring on the edge means you can clip it to your keys, or into your bag so you should never be caught out without a mask!
And finally, I had another request from the same relative for some Christmas-themed masks just to make work seem a little more fun in the run up to Christmas last year. They also requested a couple of matching sets to include a children’s mask.
I not only made the Christmas themed ones, but also added in some more spring and summer face coverings just to give them something fun for the warmer months when Father Christmas and snowmen didn’t quite seem ‘right’.
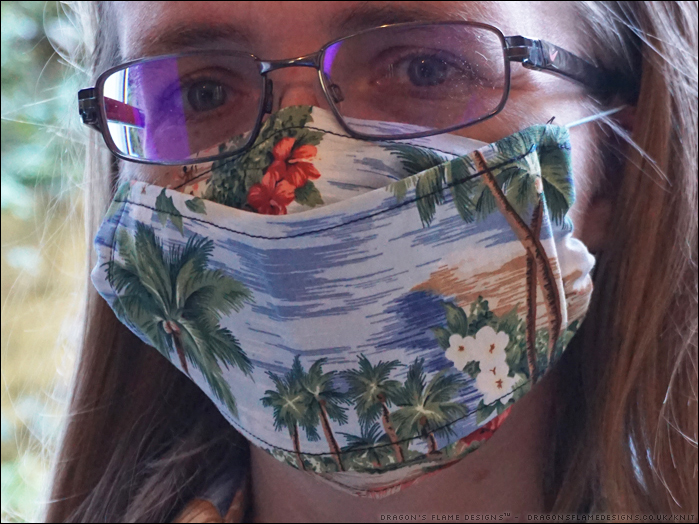
And just to try out a different pattern, I made one of the 3D Masks for myself. I didn’t get the topstitching quite as close to the fold, so the shape feels a little smaller than I think it should, but it does feel pretty comfortable.
I used the same thin elastic for all my face covering makes, as I felt that thicker elastic might cause a problem if it caught the back of the glasses arm behind the ear.