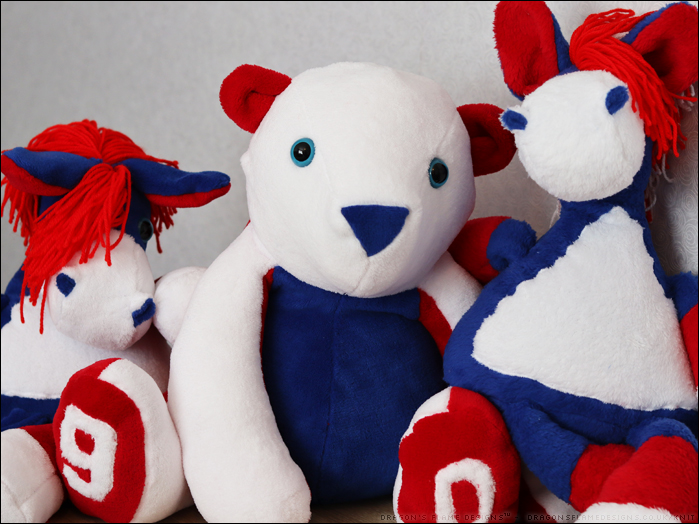
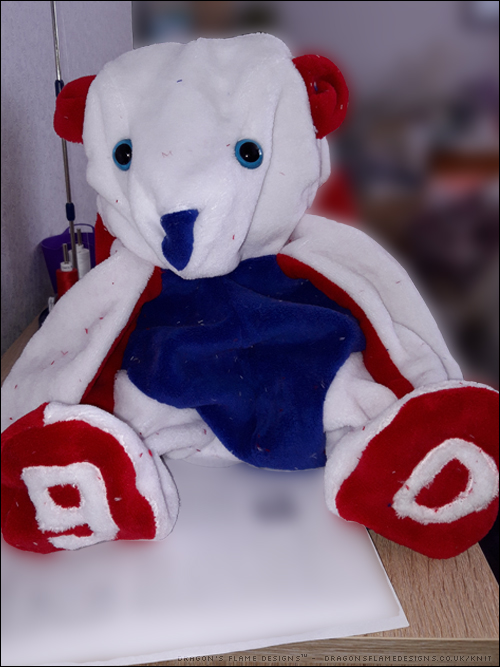
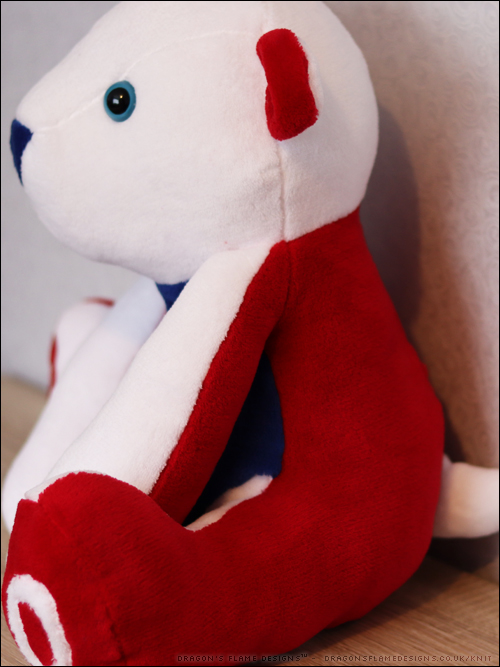
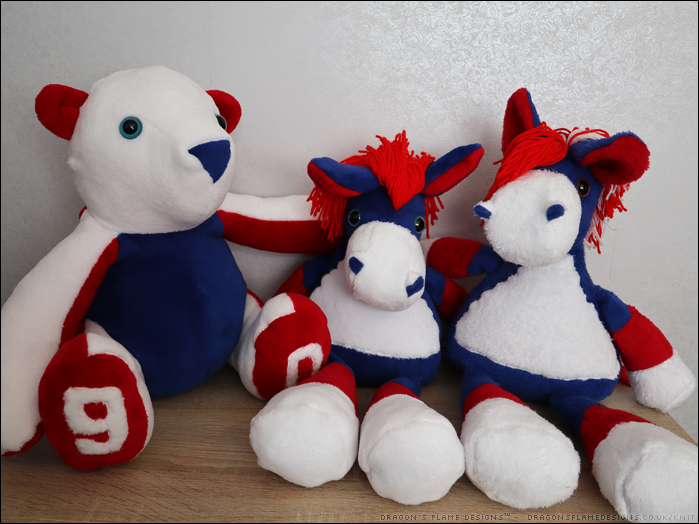
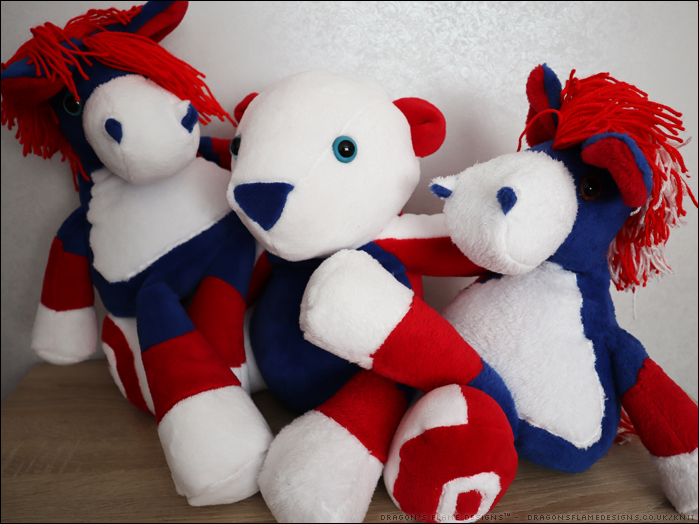
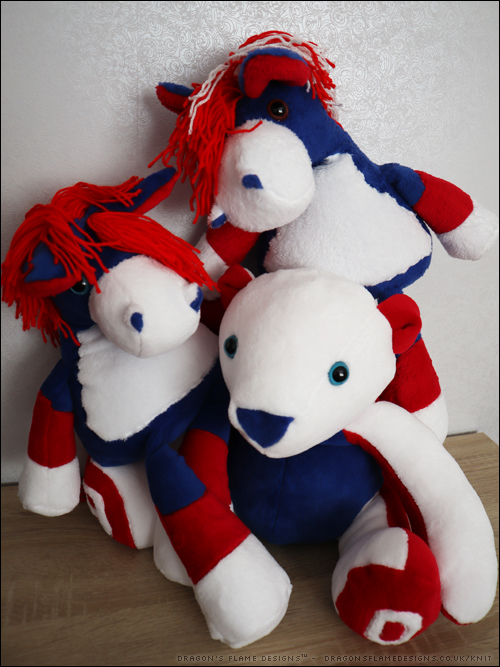
We’re going back all the way to 2022 for this make – two nutty Nags and a Polar Bear!
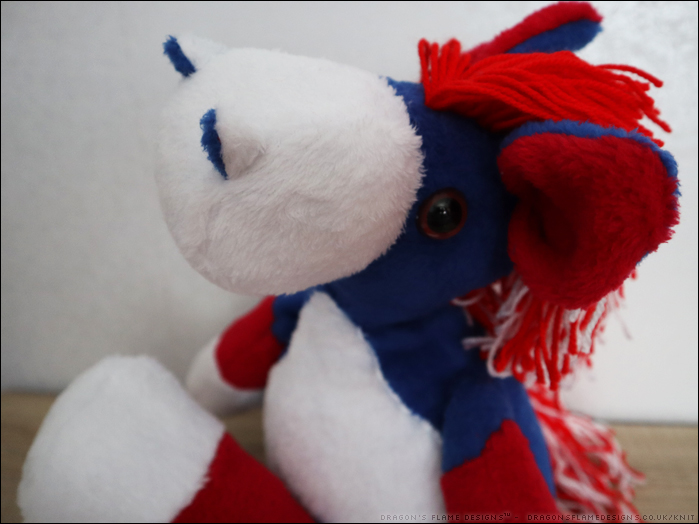
2022 was the Queen’s Platinum Jubilee, so of course I chose blue, red and white fleece for my makes.
One horse was sewn with the fleece smooth-side out, the other was sewn with the fleece smooth-side in. I do prefer the feel of the smooth side of the fleece, but you could say that the other side is a little more tactile.
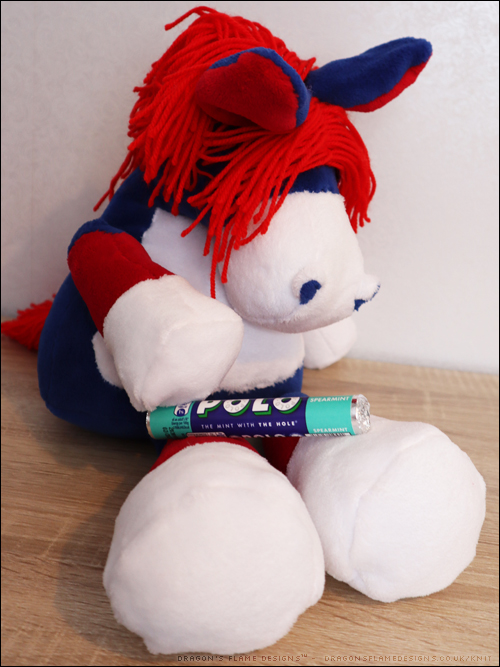
I ran out of red yarn for the mane on the second horse, so I added in some white.
Of course being horses, they found my stash of Polos!
I wanted to make the bear to celebrate a 90th birthday, so of course I had to applique 90 onto the paw pads. I did back the pads with some calico before zigzagging the numbers on, just to make them a little more stable.
I did print the pattern at a larger scale than it’s meant to be – otherwise the applique would’ve been almost impossible…. and the numbers would be a little too small to read clearly.
What do you think of my Jubilee trio?
One of the horses is now named Jubilee, and has been on multiple adventures with her young human, even going on a plane to get to Scotland!
Ok, I will admit this make was actually finished two years ago, which shows how far behind I am with updating my blog (sorry about that!).
I couldn’t resist sewing a bear for my neighbour’s baby son T, although I was a little apprehensive as I’ve never sewn anything for such a young child before and I wanted to make sure there weren’t any potential problems or eyes that could come loose.
This bear is a drastic departure from my usual bear style, but it made for an interesting sew.
I used multi-coloured fleece fabric to give an eye-catching look, with the appliqued nose cut from a plain purple section. Attaching the muzzle was a little more challenging, but I actually quite like the line of purple stitching as it gives the bear a nice quirkiness.
While the front section was cut from chevron-design fleece, the back was cut from fleece in the same colours but with a striped design. I didn’t quite have enough of either fabric to make the entire bear, but I think that using the stripes on the back makes the bear look even better!
Of course no ‘new baby’ gift would be complete without a card as well, so I did my best to draw a cute baby-bear.
I’m pleased to say that T absolutely loves his bear, and I hope they’re able to go on some amazing adventures!
I can’t remember which pattern I used to make this bear (sorry), but once I find the link, I will add it here!
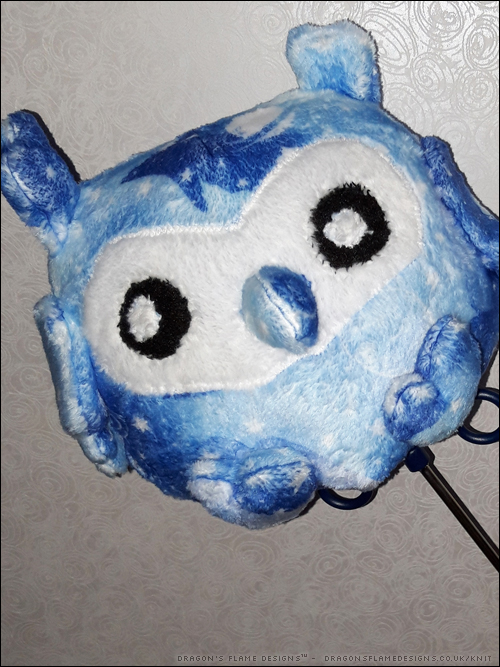
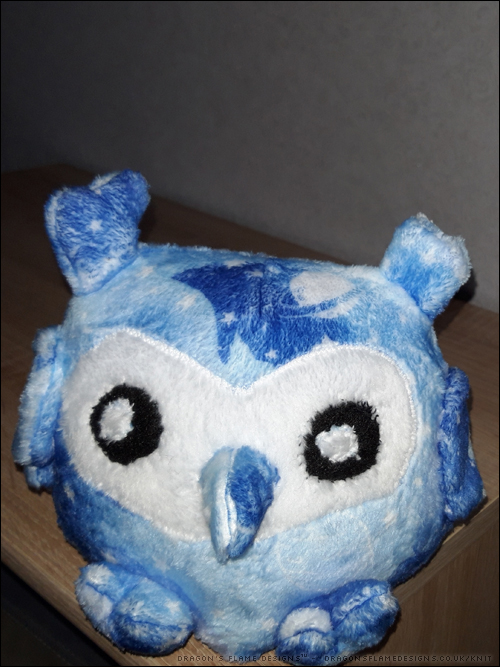
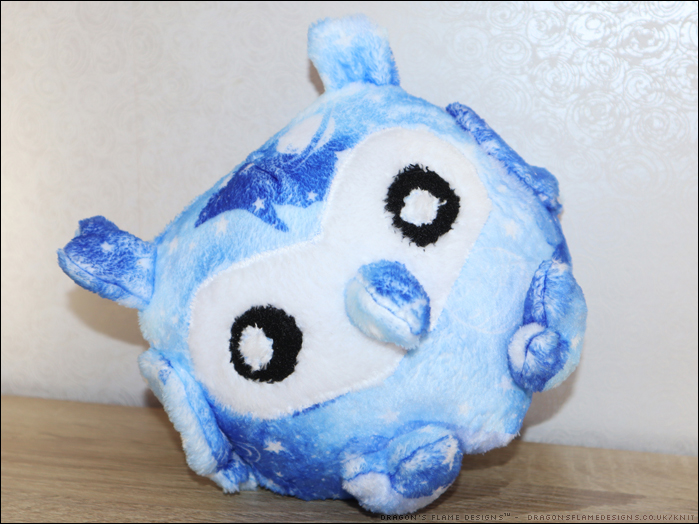
Having made two bears and two penguins from ‘tried and tested’ patterns, I thought I’d dive in with a pattern I’d downloaded but never actually made before.
Choly Knight’s Owl Plush pattern is a relatively simple shape, but the main feature is the applique face pieces. I used some black felt I had lying in my sewing box for the pupils, but all the white detailing is the reverse side of the fleece.
Ok, my last penguin was a little bit of mess in places! But I didn’t want to leave it as a ‘failed’ make, so I decided to make a 150% sized penguin to prove that it is possible for me to make one properly from this fabric!
Enlarging the pattern worked perfectly, and my penguin actually came out almost how I expected it to. It does have a twist to the tail but I think that adds some quirky character, so I’m not too worried about that.
Following on from the two bears, I wanted to make another penguin from a pattern I’d used before. This one wasn’t so successful, and resulted in a lot of frayed tempers and arguments… never argue with a plushie penguin – somehow you will never manage to win!
Head on over to Minerva to check out the full details of my make
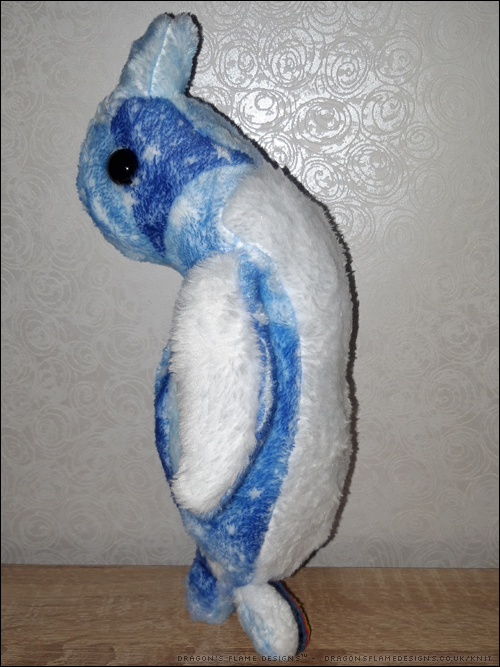
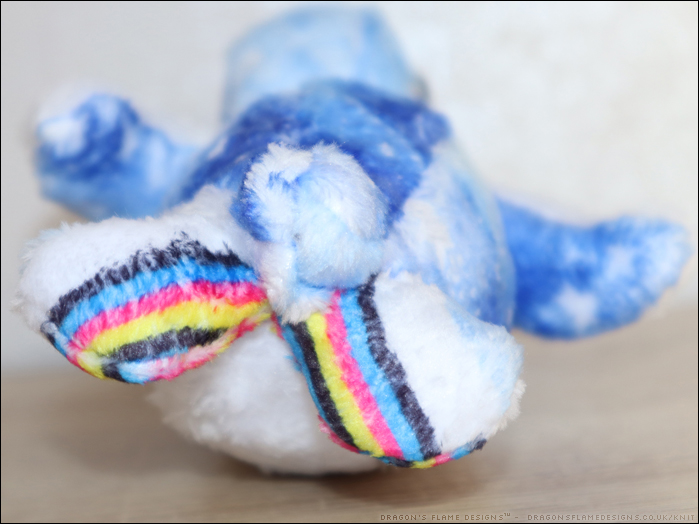
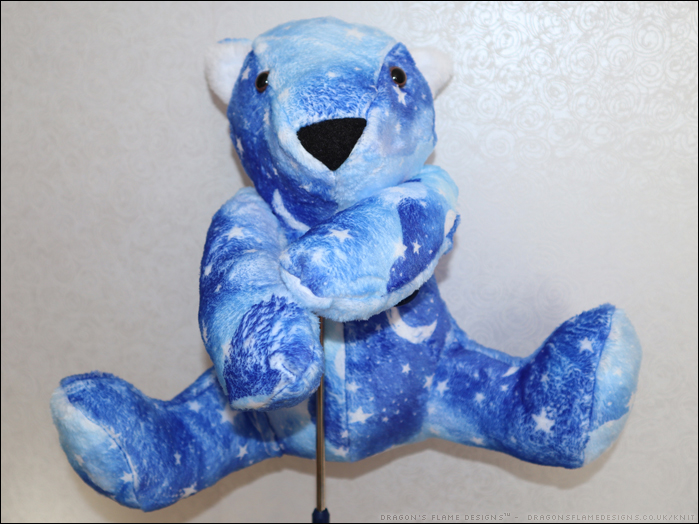
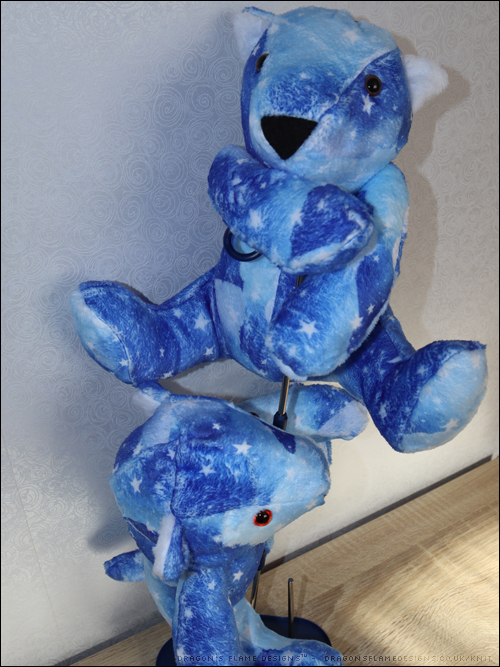
I wanted to do something different for my latest Minerva Brand Ambassador project, so I decided to see how many things I could make from a metre of fleece. I started with two bears, using the white reverse of the fabric as a contrast for the ears.
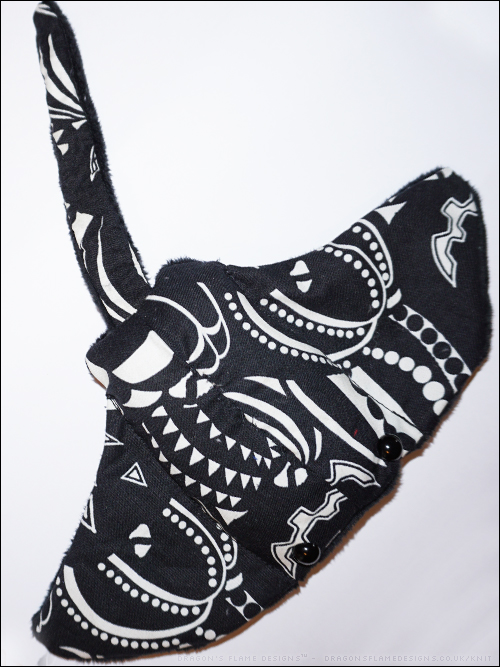
You’ve probably noticed that I like quirky fabrics, and what could be more quirky than a glow in the dark Halloween fabric?
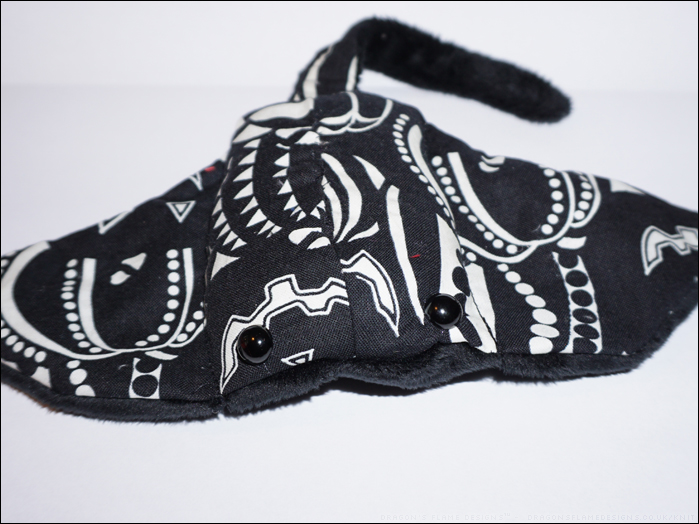
In daylight the stingray is just plain old black and white cotton, with a plush fleece underside. Because the cotton doesn’t stretch, I did find it challenging to sew the top seam neatly after stuffing the stingray, as I’m used to using stretchy fabrics for toys.
I didn’t want the eyes to stand out and detract from the glowing fabric, so I used some plain black eyes which I think look a little more natural than the coloured ones.
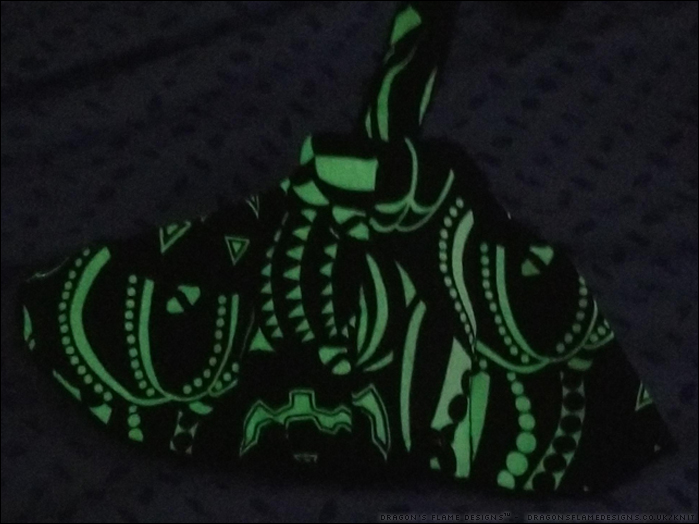
But I know you’re waiting to see what this little stingray looks like in the dark, and I will admit I actually failed at getting a photo in focus with the stingray glowing!
But fear not, this stingray was actually a present for a friend, and she had much better luck with taking a photo:
I’m amazed with how well the fabric actually glows, as some of my glow-in-the-dark fabrics have felt a little underwhelming in the dark. I might have to see if I can get some more of this fabric, and make a few more stingrays!
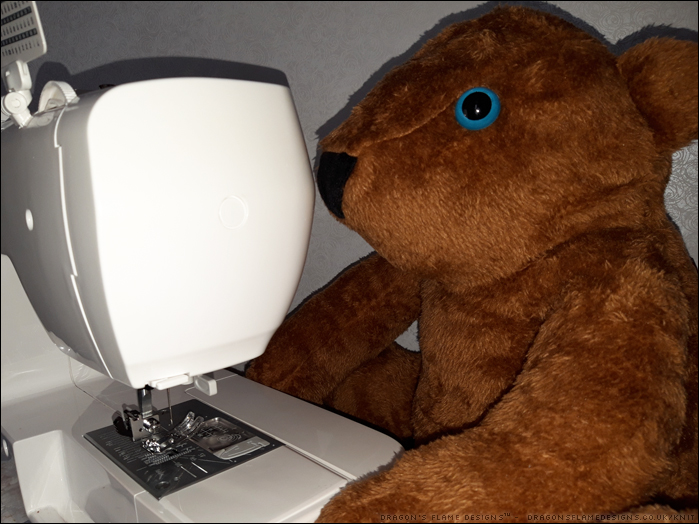
I’m sure you’ve realised that I really enjoy sewing bears – especially ones from the Polar Bear pattern that was in Simply Sewing several years ago. I was offered the opportunity to make something using this faux fur, and it just had to be two brown bears!
These bears were made at 200% sizing, which was just the right height for this one to try helping to sew his brother!
I’d crocheted these mugs and cakes several years ago, and they seemed the perfect photo props to use for these two bears.
Not long after these photos were taken, these two bears went on a little adventure of their own, moving to live with an old school friend’s two sons.
Head over to the Minerva site to find out more about these really cuddly bears I made.
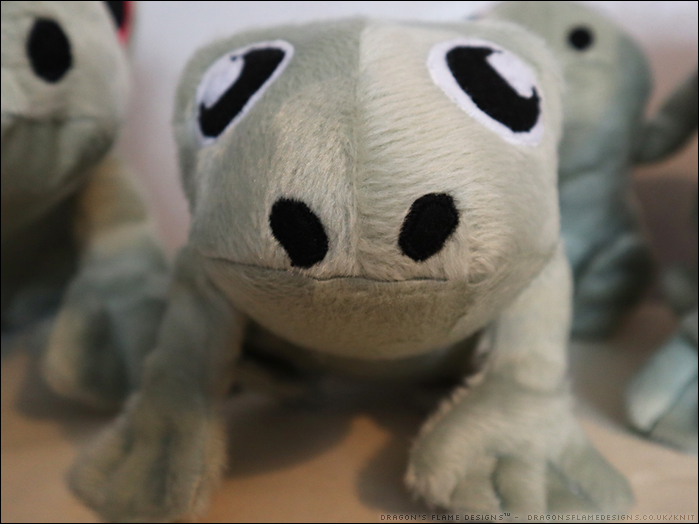
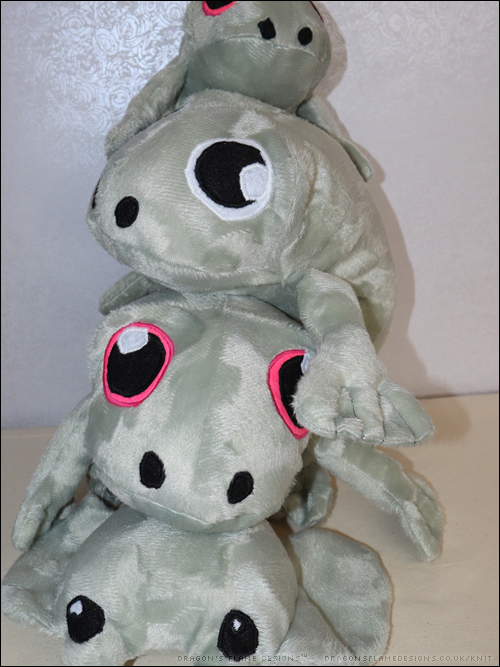
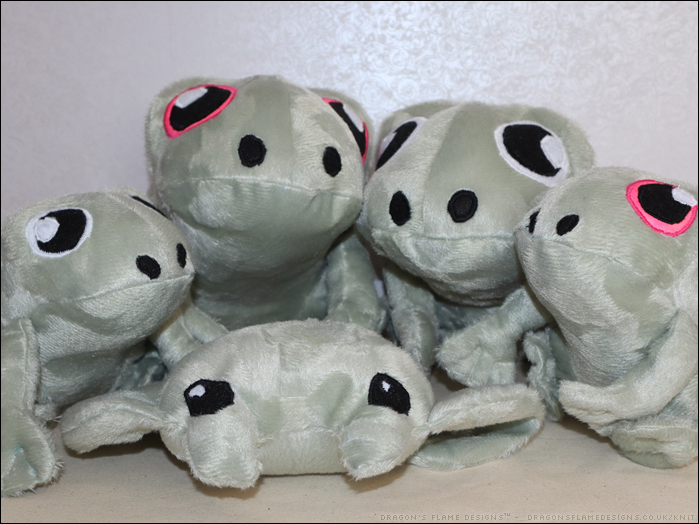
I’ve never made plushie frogs before, but when I had the opportunity to make something from Velboa, it seemed a natural choice!
I’ve sewn with various styles of faux fur before, but Velboa is totally new to me. It does have a nap (so the fur can be brushed in one direction), but this particular velboa has an abstract pattern where the nap changes direction multiple times. This meant it was a bit more challenging to lay the pieces out, but I tried to just get the background nap in the same direction at least.
I wanted to try out the glow in the dark fabric paint I bought in the sale from Minerva a couple of years ago, so I used that on the white felt eyes for two frogs. It does give them a bit of a strange look in daylight, but the glow works perfectly once the lights are out at night.
As you can tell from my stack of frogs, there’s also a Manta Ray lurking with them. I had enough fabric left over after making those four frogs, and thought a Ray would be a good companion for them.
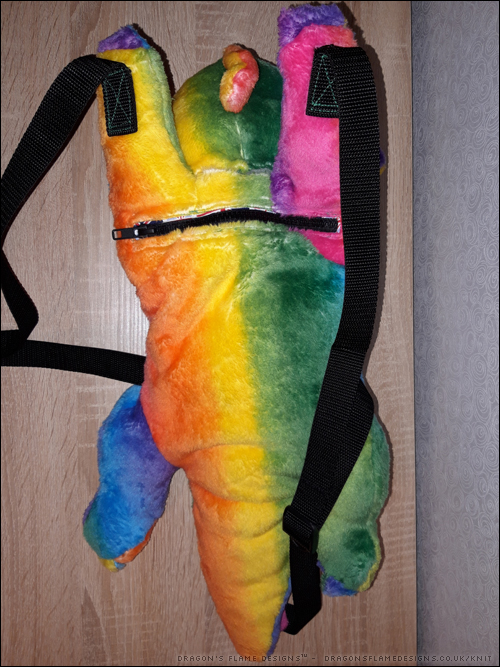
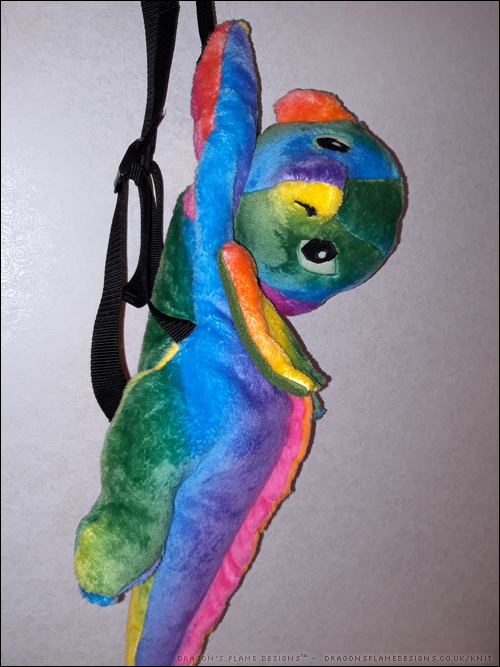
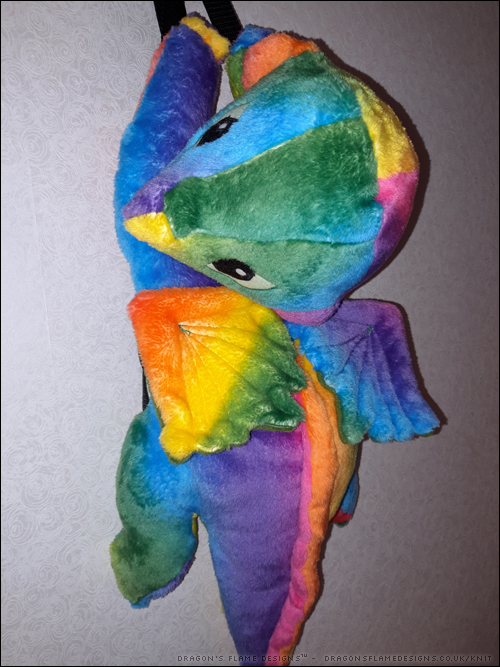
Since Lockdown 1.0, I haven’t done much sewing – the majority of things I made were face masks for friends and family. I wanted to sew something as a Christmas present for K, but what do you make a young boy who loves dragons? A dragon backpack of course!
I’ve made plush toys before, but this would be the first backpack I’ve ever attempted…. I like to make things challenging!
My original plan was to use some glow in the dark fabric paint on the eyes to add an extra fun little detail. However, the glow paint I’d purchased online was a ‘lucky dip’ when it came to colour, and I ended up with pink – perfectly fine, but I didn’t really want this dragon to have pink glowing eyes! So I stuck with the pattern’s recommendation and appliqued the felt eye pieces onto the face.
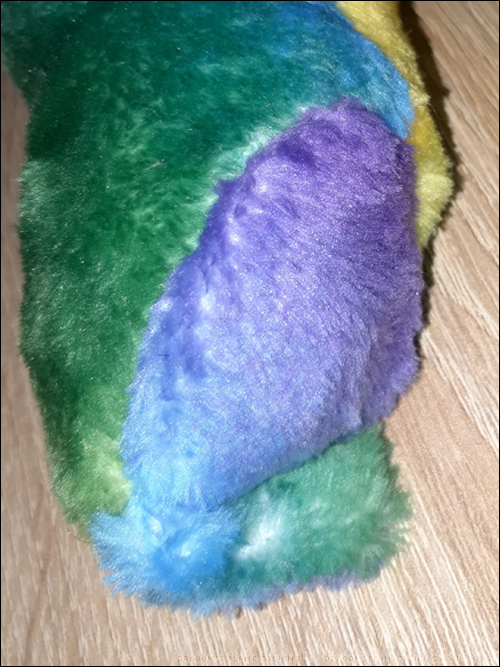
This fleece fabric is surprisingly slippy – it behaves almost like a fake fur rather than fleece when you’re sewing. As a result, the zip on the main pocket isn’t the neatest of stitching.
I had a Union Jack patterned fat quarter lying around, which worked perfectly for the pocket lining. I didn’t want anything too dark, as it would make it quite challenging to find something in the bag otherwise.
After a while of fighting the fabric, I tried an alternative technique – placing a layer of calico fabric against the feed dogs when sewing. That worked like a dream, allowing the fabric to feed through evenly, and no more squished stitches!
Because the dragon needed to be stuffed and the fabric had a slight stretch, I wanted to make sure the seams would allow some stretching, so I trimmed down the calico to as small a piece as possible. Ideally I would’ve used a tear-off fabric stabiliser or even tracing paper, as both of those could be fully removed after sewing. But as usual, I didn’t have either to hand, and I really needed to get this dragon finished!
As an optional extra in the pattern, there’s a hidden pocket in the dragon’s tail. I thought this would be a neat addition (which I didn’t point out when I gave K his present – I wanted him to discover it for himself), so not only is this my first backpack make, it’s also my first attempt at sewing in an invisible zip (albeit without an invisible zipper foot)!
My only other slight mishap was when I stitched the strap to the wrong side of the dragon’s paw (oops!) and had some well-nigh impossible unpicking to do to resolve it. But thankfully you couldn’t see the mistake once I’d finished.
And I can safely say that K loves his new backpack – after he’d opened it, he put the bag on his back and ran round the room shouting “I’ve got wings”!
Pattern: Dragon Backpack by Choly Knight Fabric: Rainbow Fleece from Mibs Fabrics (now closed)