Category Archives: Bags

Rainbow Dragon

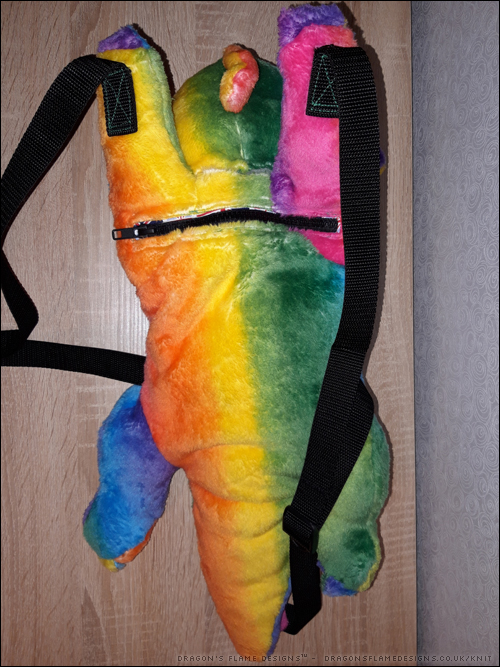
Since Lockdown 1.0, I haven’t done much sewing – the majority of things I made were face masks for friends and family. I wanted to sew something as a Christmas present for K, but what do you make a young boy who loves dragons? A dragon backpack of course!

I’ve made plush toys before, but this would be the first backpack I’ve ever attempted…. I like to make things challenging!

My original plan was to use some glow in the dark fabric paint on the eyes to add an extra fun little detail. However, the glow paint I’d purchased online was a ‘lucky dip’ when it came to colour, and I ended up with pink – perfectly fine, but I didn’t really want this dragon to have pink glowing eyes! So I stuck with the pattern’s recommendation and appliqued the felt eye pieces onto the face.

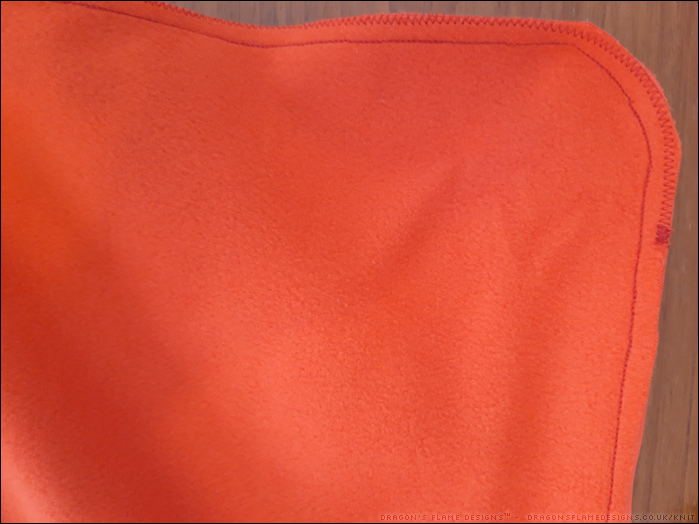
This fleece fabric is surprisingly slippy – it behaves almost like a fake fur rather than fleece when you’re sewing. As a result, the zip on the main pocket isn’t the neatest of stitching.
I had a Union Jack patterned fat quarter lying around, which worked perfectly for the pocket lining. I didn’t want anything too dark, as it would make it quite challenging to find something in the bag otherwise.
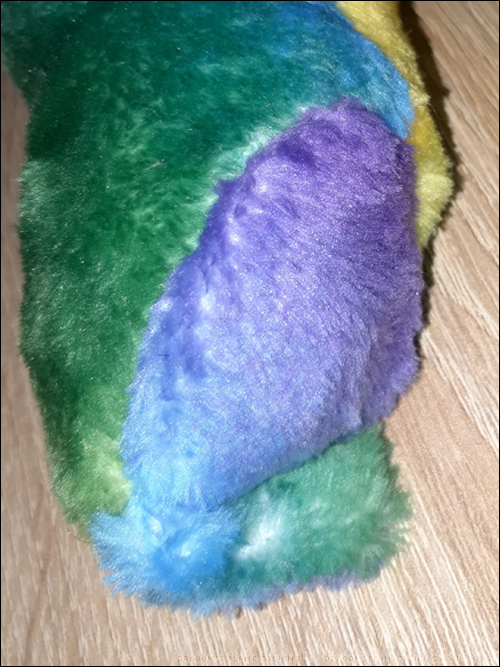
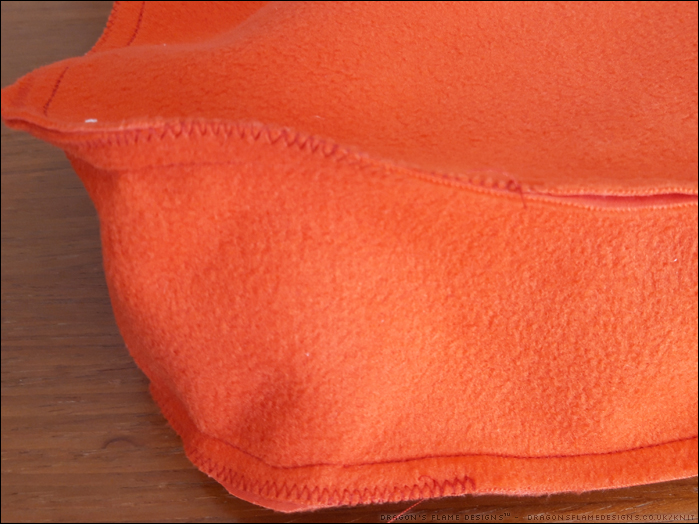
After a while of fighting the fabric, I tried an alternative technique – placing a layer of calico fabric against the feed dogs when sewing. That worked like a dream, allowing the fabric to feed through evenly, and no more squished stitches!

Because the dragon needed to be stuffed and the fabric had a slight stretch, I wanted to make sure the seams would allow some stretching, so I trimmed down the calico to as small a piece as possible. Ideally I would’ve used a tear-off fabric stabiliser or even tracing paper, as both of those could be fully removed after sewing. But as usual, I didn’t have either to hand, and I really needed to get this dragon finished!

As an optional extra in the pattern, there’s a hidden pocket in the dragon’s tail. I thought this would be a neat addition (which I didn’t point out when I gave K his present – I wanted him to discover it for himself), so not only is this my first backpack make, it’s also my first attempt at sewing in an invisible zip (albeit without an invisible zipper foot)!
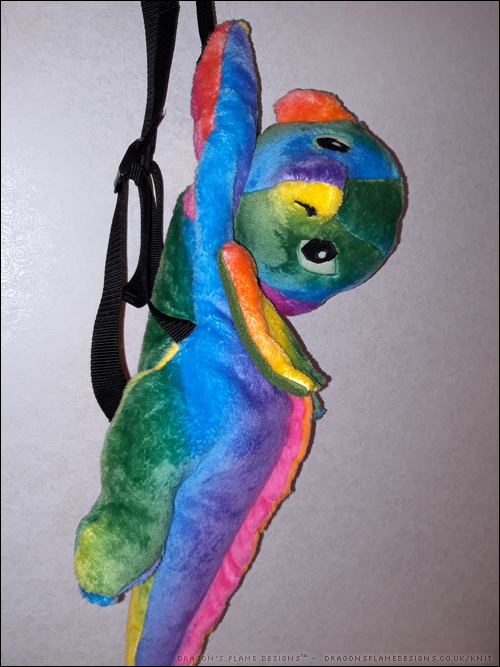
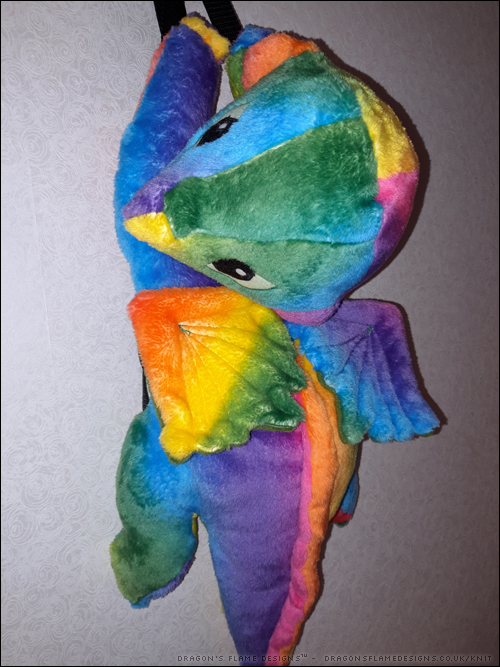
My only other slight mishap was when I stitched the strap to the wrong side of the dragon’s paw (oops!) and had some well-nigh impossible unpicking to do to resolve it. But thankfully you couldn’t see the mistake once I’d finished.

And I can safely say that K loves his new backpack – after he’d opened it, he put the bag on his back and ran round the room shouting “I’ve got wings”!


Pattern: Dragon Backpack by Choly Knight
Fabric: Rainbow Fleece from Mibs Fabrics (now closed)
Minerva’s Craft Club Day

If you’re reading this today (Saturday 13th March 2021) then Minerva are holding one of their special discount days for Craft Club members today! Craft Club membership is £20 for the year, and gives you 10% off all purchases year round, plus a couple of these special 20% off days in the year.

*aff
Offer valid Saturday 13th March 2021

But “what can I make from Minerva fabric?” I hear you ask – here’s a selection of my makes but I’m sure you would be even more creative.

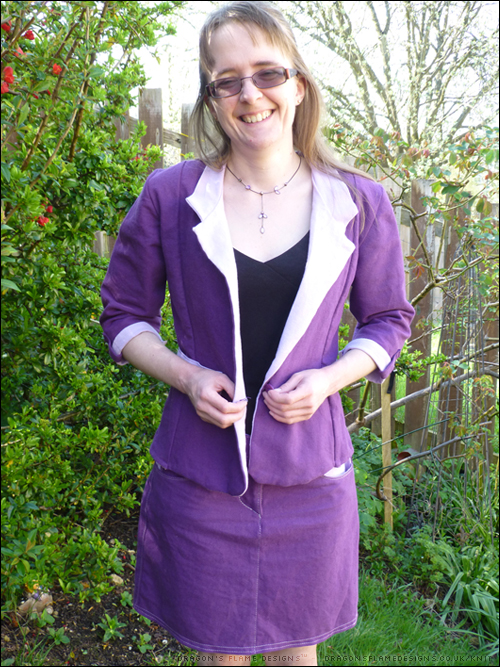
This cotton linen blend was crying out to be a skirt & jacket combination and the contrast facing & cuffs really help to lift it from being just plain purple.

My first time sewing with Scuba fabric, resulted in this top & trouser combination. I could’ve made the top a little larger to compensate for the fabric being more structured, but the trousers worked particularly well.

And speaking of trousers, these jeans were made from a super stretchy fabric which removed most of the jeans-fitting problems I’d had previously. I do need to add some elastic to the waistband though, as I made it a little too generous on the sizing!

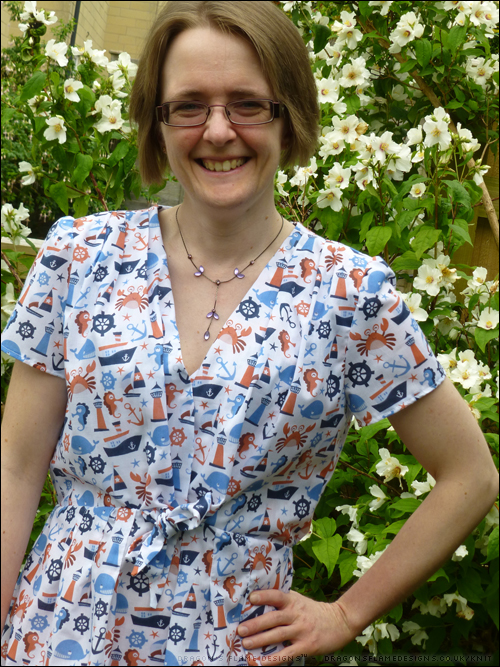
Onto a more summery make, with this nautical polycotton. I made this dress and a pair of shorts from this fabric, which definitely helps liven up a dull rainy British summer’s day. I did line the shorts with some plain white polycotton just in case this was a little see-through, and they’ve held up to multiple wears on long walks so far.

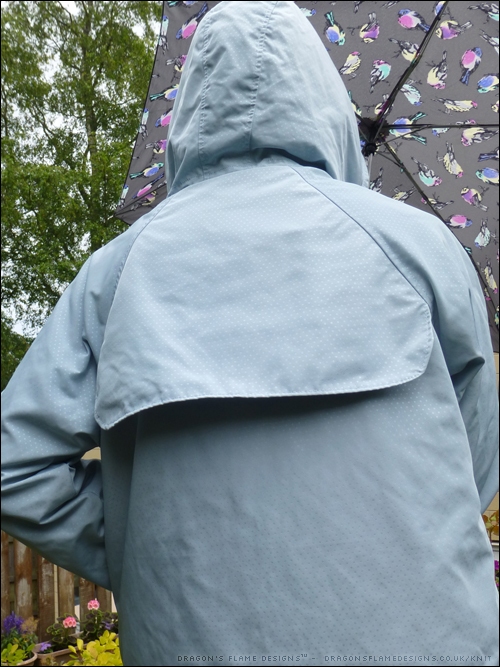
Typical British Summer’s weather means I really needed a decent waterproof coat to wear. I really never thought I’d ever sew myself one, but this memory raincoat fabric (lined with a spotty polycotton) was perfect! I used the Tilly and the Buttons Eden jacket pattern for this, with no alterations.

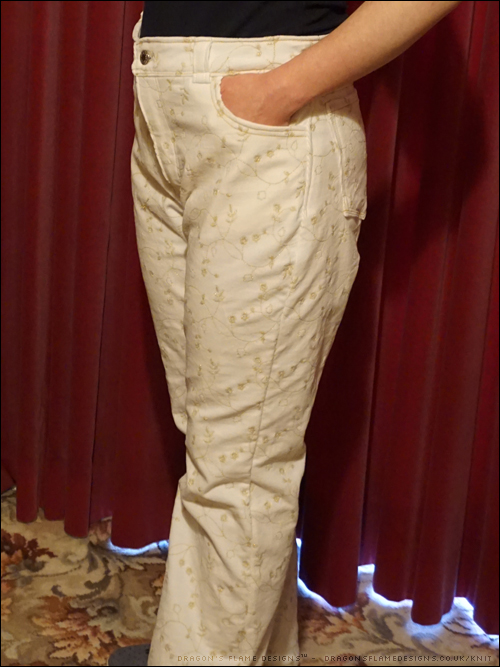
Another pair of jeans, this time in an embroidered cord fabric. These are made from the Megan Nielsen Dawn jeans patterns, with a few alterations (I think I still need to tweak the pattern to get the best fit for me). It was an experience sewing with embroidered cord, but once I had a new denim needle in my machine, it was pretty easy to sew.

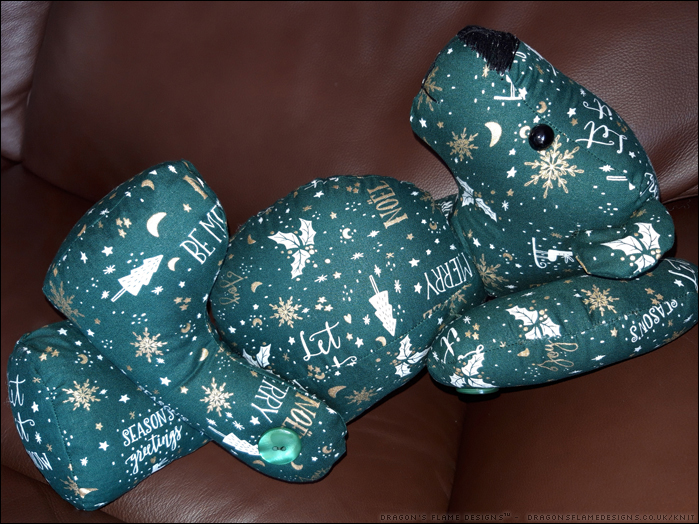
It’s not just clothing – I made a family of three bears from some Christmas cotton fabric! I would normally pick stretchy fabric for bear-making, but this cotton worked really well. The advantage of this fabric is that the pattern is non-directional, so it didn’t matter which way up I had the pieces.

My most recent Minerva make is this Halifax Hoodie from a textured knit fabric. I’d never sewn with textured knit before, so I was wondering how well it would work. I’m pretty pleased with the end result!

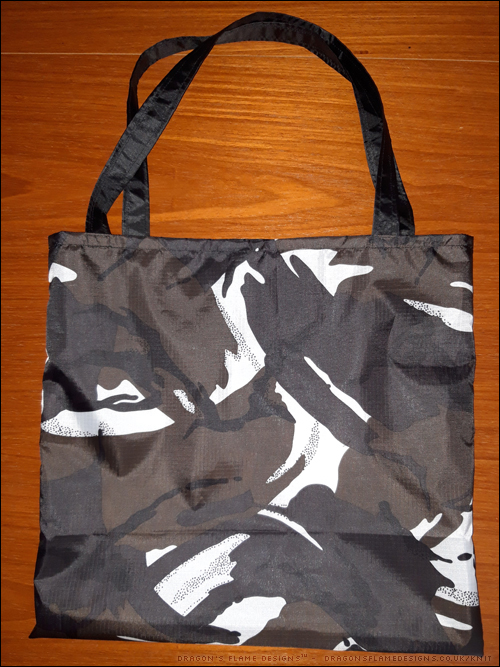
And finally, this is a bag which will (eventually) be a tutorial here. It’s made from ripstop fabric which is showerproof and also can be wiped clean. The bag can also be folded up to fit in a trouser pocket, so it’s a great reusable alternative to plastic carrier bags.

I hope that’s given you some inspiration for what you could make – why not check out what Minerva have available (even if you miss the 30% off day, it’s worth just browsing their fabric and sewing supplies)?

*aff
Offer valid Saturday 13th March 2021

* aff – The banner link at the top & bottom of this post are affiliate links. This means I get a small amount of commission if you click through my link then go on to purchase anything from the Minerva website. It does not cost you anything extra to use these links, but does help fund my next fabric purchase!

I am a Minerva Ambassador, which means that I have the opportunity to get a piece of fabric for free, in exchange for photos and text to feature on their website. Some of the makes in this post were done as part of that role, and others are made from fabric I purchased myself.

2019 Nine to Try – recap

And we’re back! That was a longer hiatus than I’d anticipated, so I do have a few blog posts I’d planned for December, which will obviously now be pretty unseasonal… but they’re heading onto the blog over the next few weeks anyway!

So let’s start with the recap of my 2019 Nine to Try


How can it be the end of 2019 already?! The biggest question though, is have I managed to make any of my 2019 Nine to Try, or have I just been making other items instead?

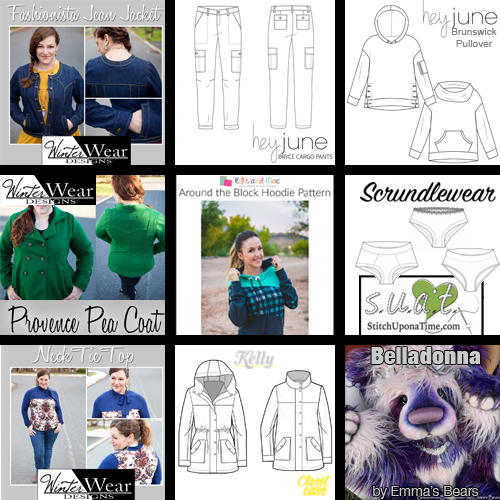
  • Fashionista Jacket* by WinterWear Designs
    I’ve actually made two Fashionista Jackets – one from softshell, and the other from denim…. and I have a linen-like fabric set aside to make a third Fashionista too!
  • Bryce Cargo Trousers* by Hey June Handmade*  
    I haven’t even got as far as printing off the pattern for these. I do like the idea of them, but the shape looks like it could be quite complicated to get the fit just right.
  • Brunswick Sweater* by Hey June Handmade*
    Again, I love the shape of the sweater, but I haven’t got close to getting this one printed off even… maybe 2020 will be the year for that pattern?

Middle Row:

Bottom Row:

  • Neck Tie Top* by WinterWear Designs*
    Despite my best intentions, I didn’t even take another look at this pattern in 2019!
  • Kelly Anorak by Closet Case Patterns
    I was all set to make this pattern, when the Eden jacket was released by Tilly & the Buttons. The Eden jacket is less fitted in its shape (there’s no waist drawstring either), so I decided to swap the Kelly over to the Eden instead!
  • Belladonna Bear by Emma’s Bears
    I have made several bears this year, but not from this particular pattern! If I can find some cotter-pin teddy bear joints, then I might give this pattern a go in the future though.


Overall, I made a grand total of three of my nine to try (or 4 if you count the Kelly anaorak swapping over to the Eden jacket) *laughs*
But really, it doesn’t matter how many I made – it’s fun to pick out some patterns at the beginning of the year, and have a rough idea of “I’d like to make that”, but those ideas are allowed to evolve and change through the year. Nothing is set in stone!


* affiliate link
WinterWear Designs*
Hey June Handmade*

The Magic Softshell Bag is finished!

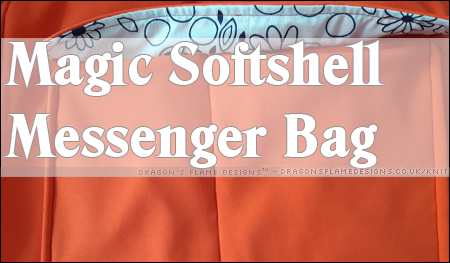
Remember the Magic Softshell Bag I shared last month? I finally finished it, and it’s turned out exactly as I hoped!

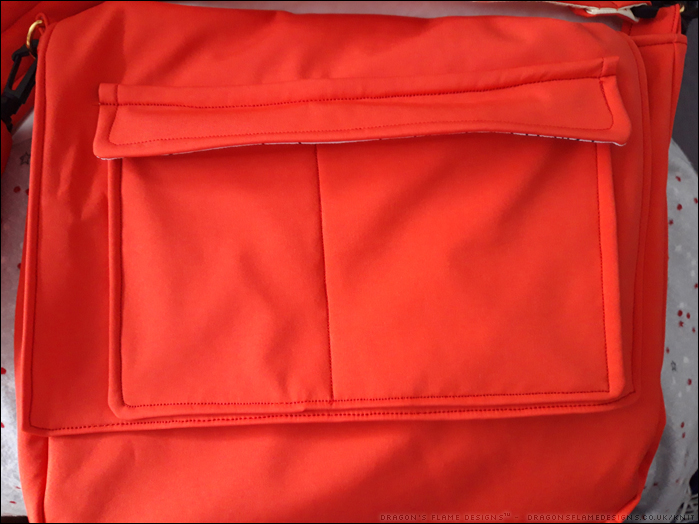
I skipped the poppers on the front flap pocket, but so far it looks like the combination of soft shell, poly cotton and a clear piece of vinyl (for extra waterproofing) is doing a good job of holding the pocket flap down.

I could’ve added some vinyl to the back of the front panel where the pockets are, just to ensure nothing could soak through, but I’m hoping the soft shell will be waterproof enough to not need that.

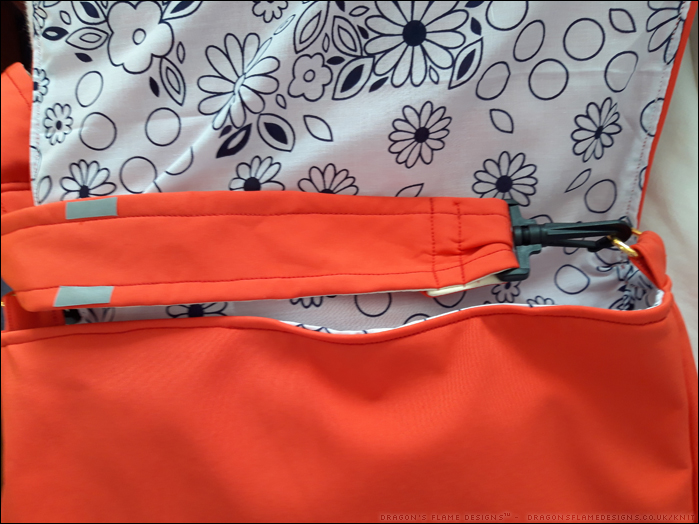
Because most of my winter walks result in me walking home in the dark, I’ve added a couple of reflective strips to the strap. I’ve never tried using this reflective tape before, and found it a challenge to sew into the softshell. So, I fused some no-sew Heat ‘n’ Bond to the back and ironed it in place instead. I’m not sure how well that will hold up to being washed, but at the moment it’s working well.

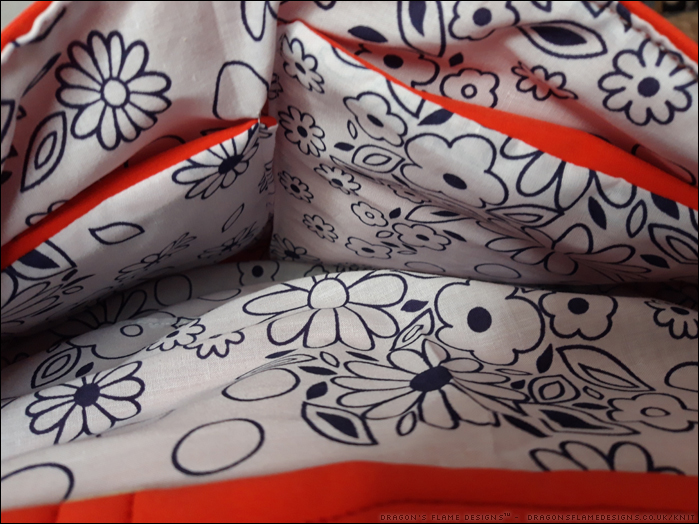
The pockets were originally going to be soft shell with a polycotton lining, but I decided the polycotton looked better as the outer, leaving the softshell to be the lining. The bit of red softshell at the top of the pockets make them easier to spot.

Hopefully if I get caught in torrential rain again, this bag will actually keep the contents dry! All I need is to make myself equally waterproof!


Pattern: Messenger Bag by Crazy Little Projects
Fabric: Magic Softshell by Mibs Fabrics (now closed)

Bear Phone Case

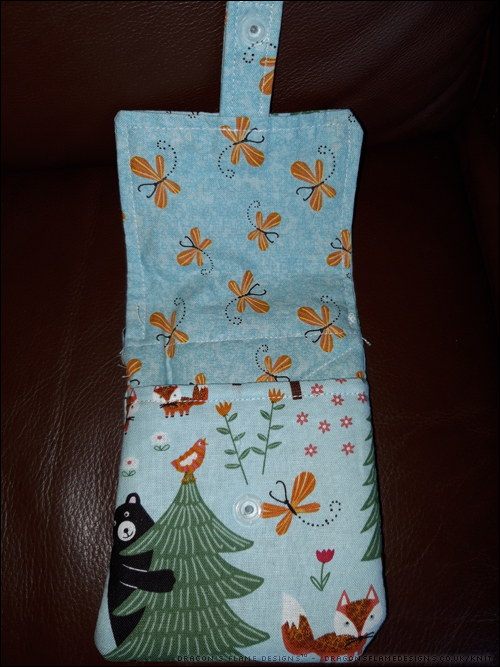
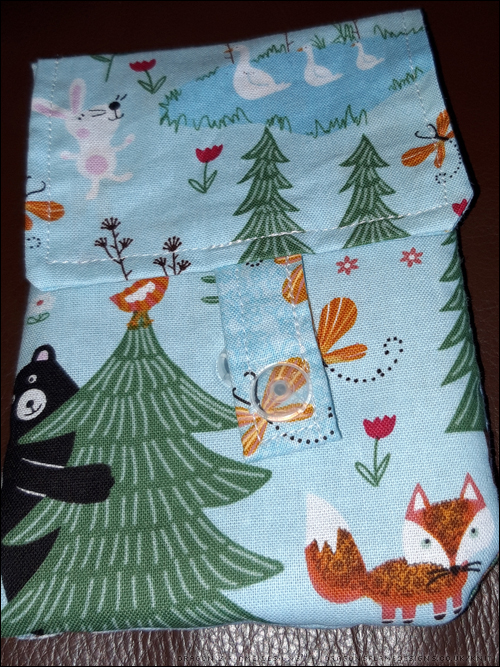
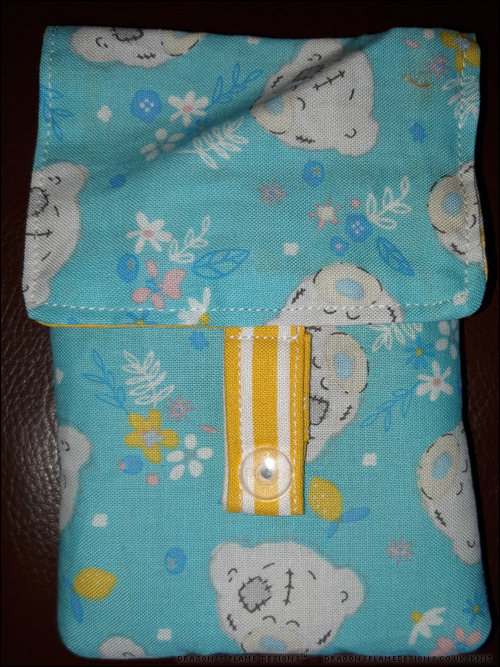
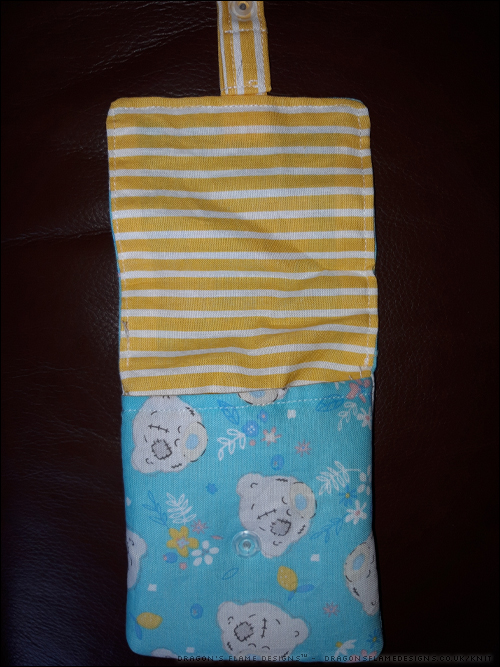
I couldn’t decide on the fabric to make Mum’s phone case – so I made her two! This one is made from the same fat quarter design as her baseball cap, in case you’re wondering where you’ve seen it before!

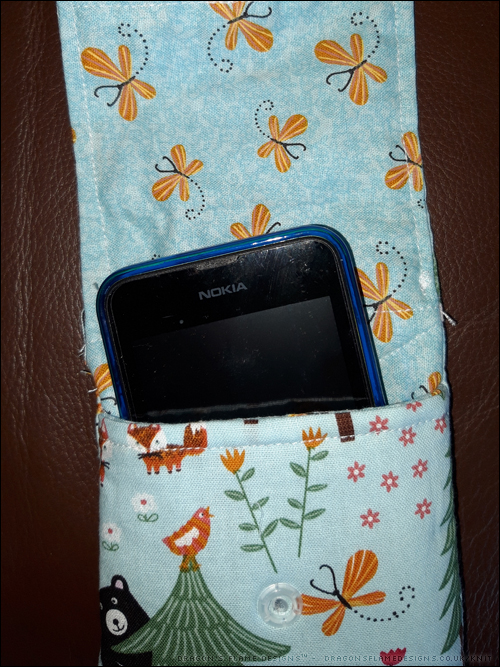
Thankfully Mum’s phone is quite small, as when I tried testing the case for size with my phone, the strap wouldn’t meet the front section so there’d be no way to close it.


Pattern: Smartphone Case Tutorial by Dragon’s Flame Designs
Fabric: Fat Quarters from Hobbycraft

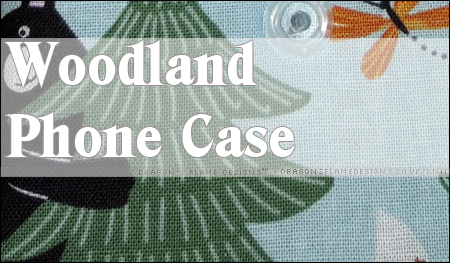
Woodland Phone Case

I never know what to make my Mum for her birthday, so it is always helpful when she puts in a request! This year one of the things she asked for was a new phone case… so of course I need to go one better and make her two.

This is made from my Phone Case Tutorial, although due to user error in marking out the pattern pieces, this is a little shorter than the original. As luck would have it, Mum’s phone is quite small, so it still fits perfectly!

Because it was a little shorter than it should be, I added in a popper and strap to close the case just to give a little ‘wiggle room’ in sizing. I do need to redo the popper though, as it has actually fallen off since then (oops).


Pattern: Smartphone Case Tutorial by Dragon’s Flame Designs
Fabric: Fat Quarters from Hobbycraft

Magic Softshell Bag – second attempt

I started a Magic Softshell messenger bag earlier in the year. I almost finished it, then discovered that the dimensions I had used for the pocket weren’t right. After some unwise unpicking where I accidentally made a small hole in the lining, I added the bag to the depths of “UFO Mountain”.

A while later, I made the mistake of being on a 3 mile walk while it was raining – the rain came through the waterproof bag I had taken with me. So I realised it would be wise to have a properly waterproof bag before the winter.

Luckily I had enough of this Magic Softshell left over to cut another bag, and armed with some printed poly cotton left over from another project, I set to worry cutting out a new bag from my favourite Crazy Little Projects pattern.

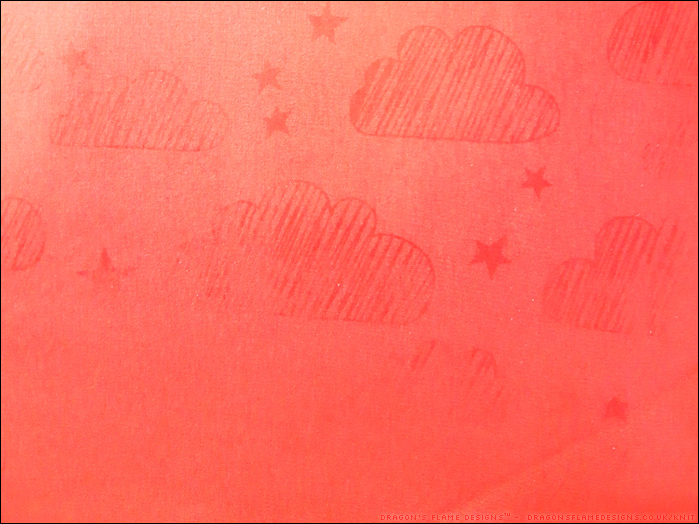
It’s not the easiest fabric to get a decent photo of. The original fabric I was aiming on buying didn’t get enough preorders, so I had to change to the red soft shell. When the fabric is wet the magic happens, and clouds & rain appear.

I’m sticking with my previous amendment to this pattern, of including a patch pocket with a flap on the front flap instead of a zipped pocket. This actually makes it a lot easier to open, and there’s less things that can go wrong (like the zipper pull coming off when I unzip the pocket!).

All the seams are sewn with a triple straight stretch stitch for strength, and I also zigzagged the curved corners just for ease of mind if I put anything heavy int he bag. The main seam stitches should be fine without that, but I like to err on the side of caution.

Just the lining to sew, then I can start putting it all together!


Pattern: Messenger Bag by Crazy Little Projects
Fabric: Magic Softshell by Mibs Fabrics (now closed)

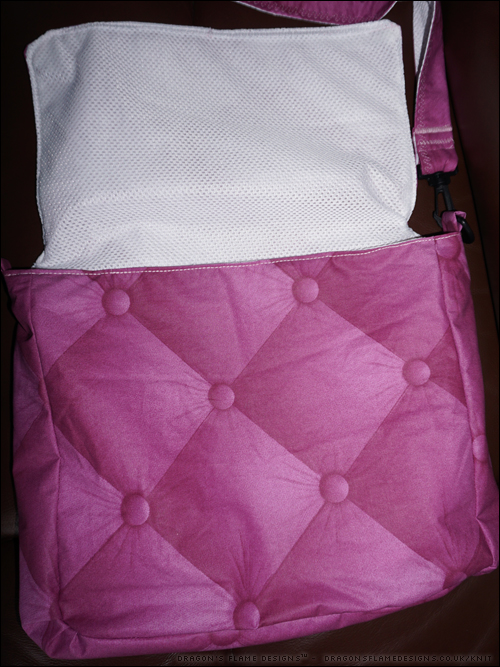
Showerproof “Quilted” Bag

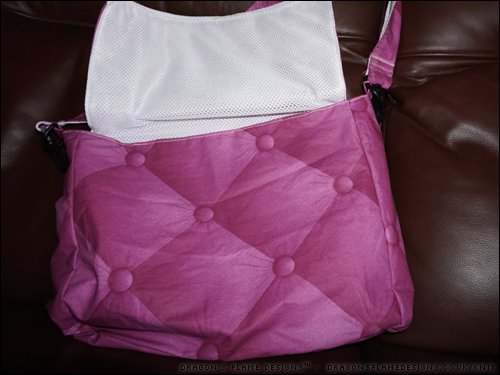
I’ve had enough of soggy bags when I’ve been out for a walk in the rain, so I thought it was time I tried sewing one in a showerproof fabric. I spotted this laminated cotton with a nifty quilted picture printed on it at Mibs Fabrics, and thought it’d be ideal. I picked out an airtex mesh for the lining, and because that obviously has holes in it, added in a sew-in interfacing just to strengthen the lining a little.

The mesh was an experience to sew, having never used anything like that before! I found that backing it with interfacing also helped my eyes, as being able to see the dark table through the holes in the fabric was starting to get challenging.

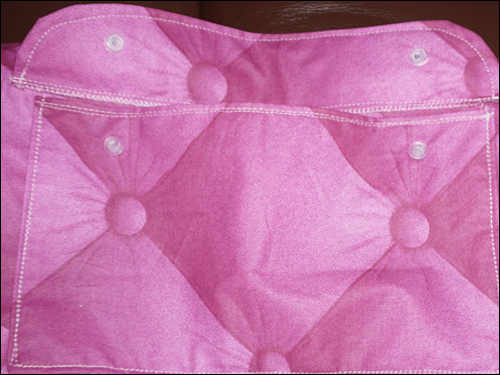
Originally I was going to add a zipped pocket to the front flap, but I made a mess of the sewing on that, and had to improvise. Thankfully I had just enough fabric left to cut a (slightly short) replacement panel, and salvaged some of my mistake piece to make a basic patch pocket with a flap closure instead.

I think the flap works better for a bag that’s likely to get caught out in the rain though, as in theory the rain should just run off the flap, and not end up in the pocket itself!

I didn’t bind my seams with any waterproof tape, so I know the bag won’t be 100% waterproof, but I’m hoping it’ll be a great deal better than my usual bags bade from canvas!


Pattern: Messenger Bag by Crazy Little Projects
Fabric: Laminated Cotton and Airtex Mesh  from Mibs Fabrics (now closed)

Beachy Sunday My Way

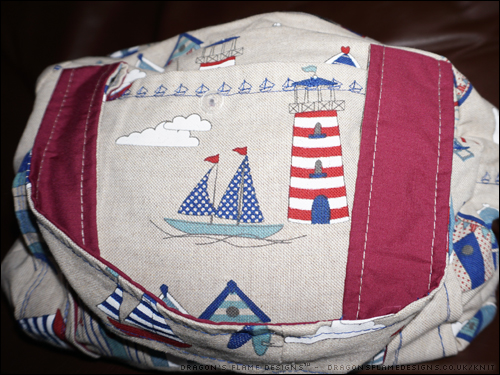
Something a little different today, and my latest Sunday “My Way” bag! I wanted to try out my sewing machine’s decorative stitches, and what better way than on the top stitching for the pockets?

I added in a clear popper to both pockets just to help keep it closed, while hopefully not detracting from the stitching. 

I struggled with the curved edges this time – the lining ended up caught up in places, and even gets caught in the zip! I think that was down to inaccurate cutting in the first place…. maybe the lining is a bit bigger than the bag itself? 

I had added in some extra height to the bag, so I can fit a water bottle in it – I forgot to change the markings to enable me to match the front and side pieces together, which would’ve helped tremendously if I’d remembered those!

It’s still a usable bag (as long as I’m careful with the zip) though, and that’s what matters.

Pattern: Sunday “My Way” bag
Fabric: Fashion Fabrics

Criss Cross Card Holder Wallet

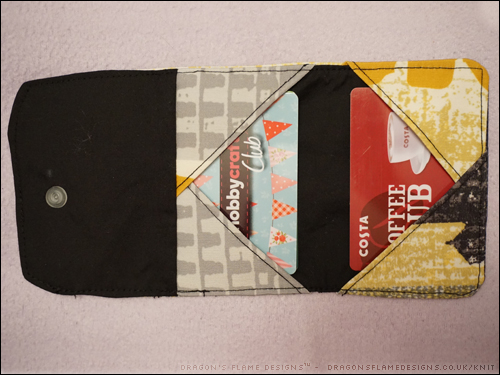
I’ve made several card holders before, but they’ve either not had a closure, or relied on either velcro or a button and hair elastic to hold them closed. After a friend mentioned how easy she was finding poppers to install into sewn items, I thought it was time I tried them out; and as luck would have it, I also came across the pattern for these Criss Cross Card Holders.

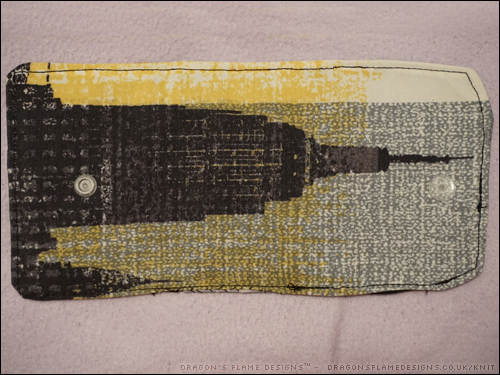
Although I haven’t made any ‘real’ new year’s resolutions, I do want to try and use up some of my fabric offcuts, so the triangular sections on these card holders might be the ideal use for some smaller offcuts. As a first attempt at the pattern, I used some of the ‘Skyline’ canvas-type fabric I had previously made a bag and notebook holder from.

It took a little while to get the placement right to make sure the skyscraper was visible…. then I realised that once the card holder was folded, the top of the skyscraper would actually be upside down (whoops!).


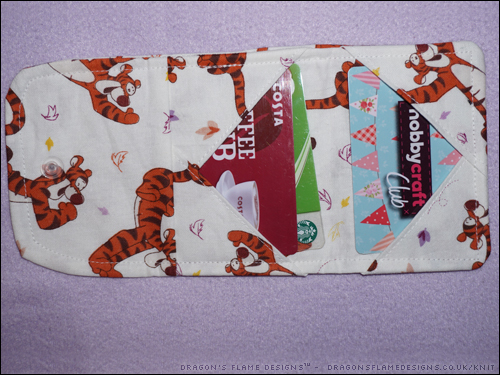
But it is perfectly functional as a card holder. The only thing I found which I wanted to change, was the card sections being a little too wide. I had a feeling that the cards might slide out a little too easily from that, so I decided to try making a second card holder that might be a little more suitable.

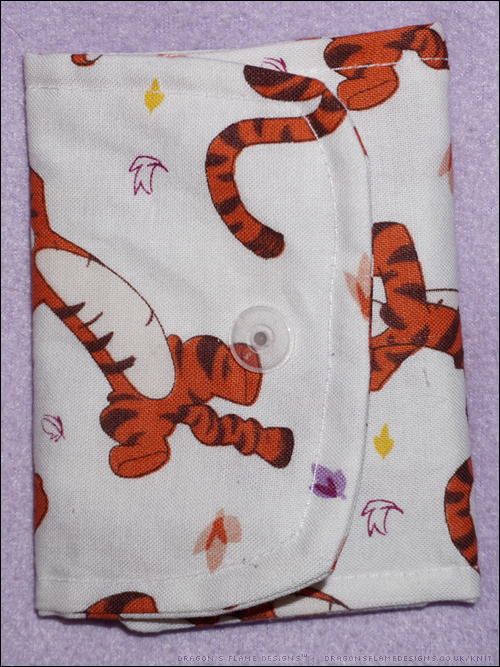
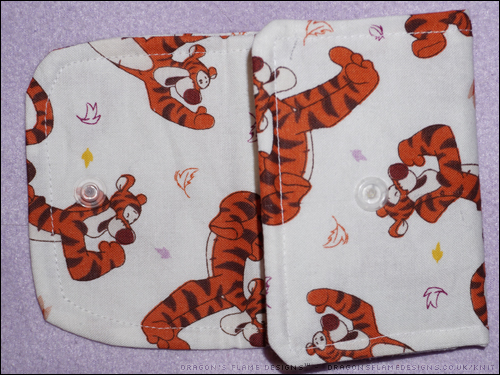
This fabric came from Hobbycraft last year – I’ve been waiting for the ‘perfect’ project to use it, and what better than a little card holder? I didn’t quite line up the popper perfectly, hence the slightly wonky front, but it’s still usable.

I increased the seam allowance when sewing the front and back together, and also increased the top stitching to 1/4″ which holds the cards in much tighter.

I’ve made some notes on the pattern so I know what alterations I need to make for future card holders.


Pattern: Craftsy
Skyscraper Fabric: Local fabric shop
Tigger fat quarters: Hobbycraft