Tag Archives: Softshell

The Magic Softshell Bag is finished!

Remember the Magic Softshell Bag I shared last month? I finally finished it, and it’s turned out exactly as I hoped!
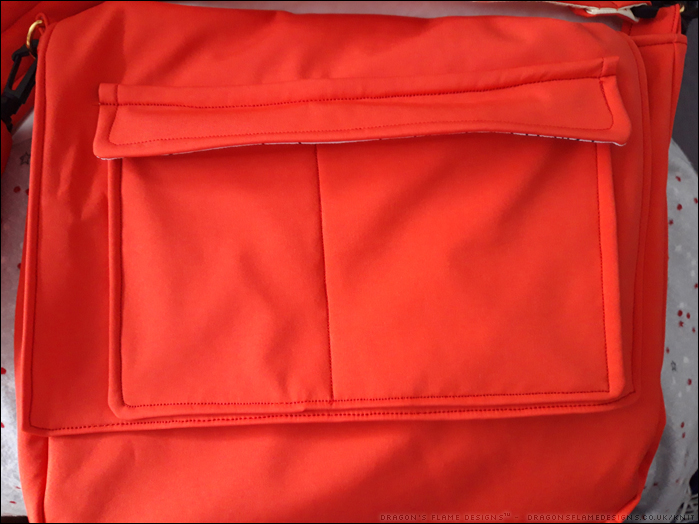
I skipped the poppers on the front flap pocket, but so far it looks like the combination of soft shell, poly cotton and a clear piece of vinyl (for extra waterproofing) is doing a good job of holding the pocket flap down.

I could’ve added some vinyl to the back of the front panel where the pockets are, just to ensure nothing could soak through, but I’m hoping the soft shell will be waterproof enough to not need that.
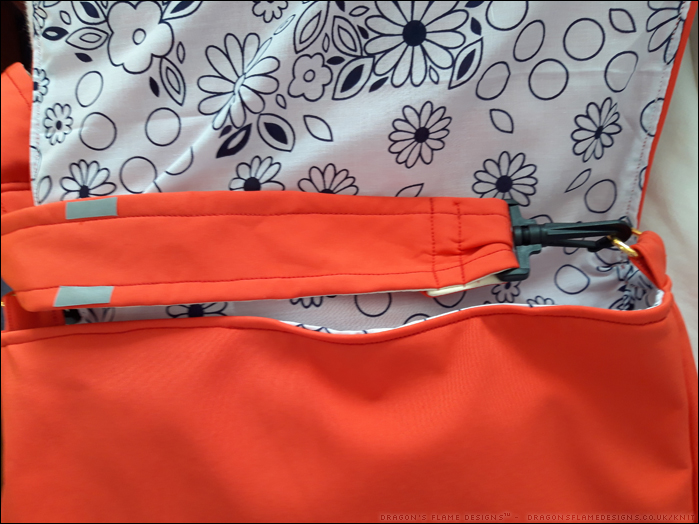
Because most of my winter walks result in me walking home in the dark, I’ve added a couple of reflective strips to the strap. I’ve never tried using this reflective tape before, and found it a challenge to sew into the softshell. So, I fused some no-sew Heat ‘n’ Bond to the back and ironed it in place instead. I’m not sure how well that will hold up to being washed, but at the moment it’s working well.
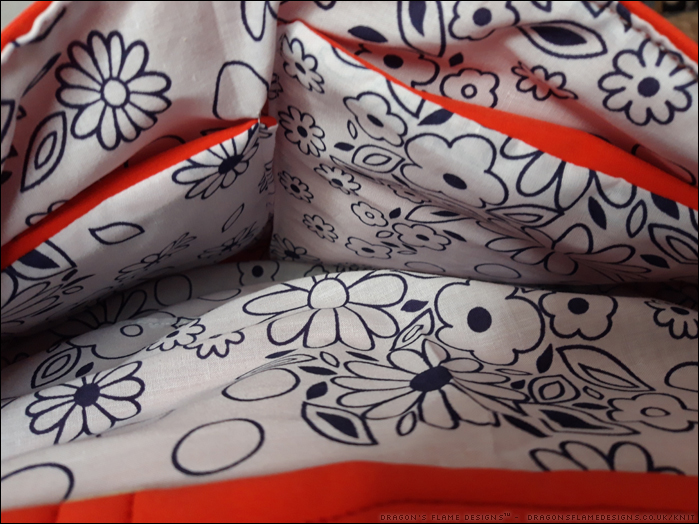
The pockets were originally going to be soft shell with a polycotton lining, but I decided the polycotton looked better as the outer, leaving the softshell to be the lining. The bit of red softshell at the top of the pockets make them easier to spot.

Hopefully if I get caught in torrential rain again, this bag will actually keep the contents dry! All I need is to make myself equally waterproof!


Pattern: Messenger Bag by Crazy Little Projects
Fabric: Magic Softshell by Mibs Fabrics (now closed)
Softshell Eden Jacket

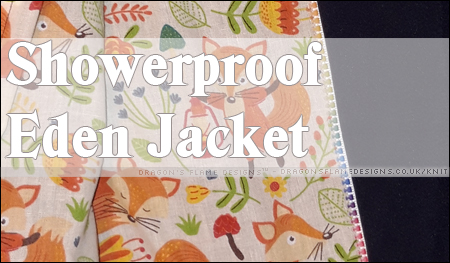
Ok, I admit I’m not exactly sewing seasonal projects right now! But I have managed to get the Softshell Eden Jacket finished…. and my Mum has already claimed it for herself!

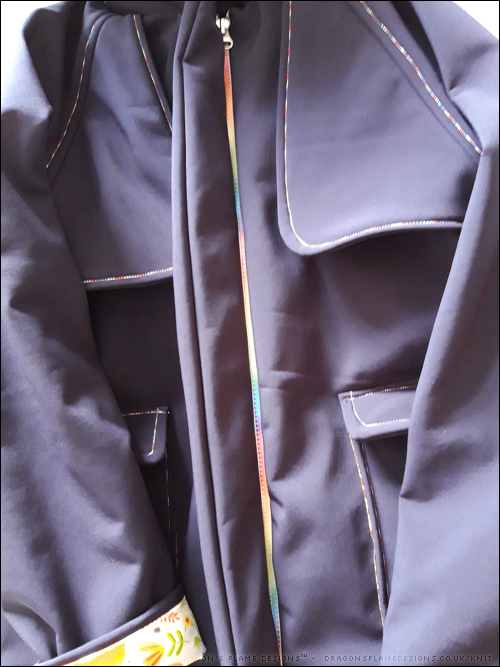
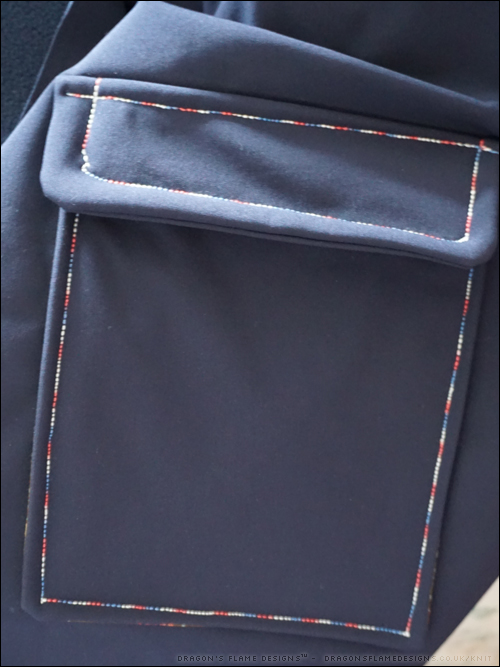
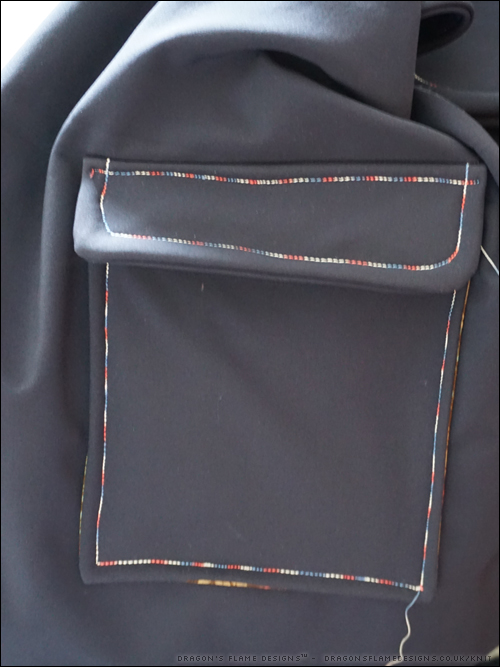
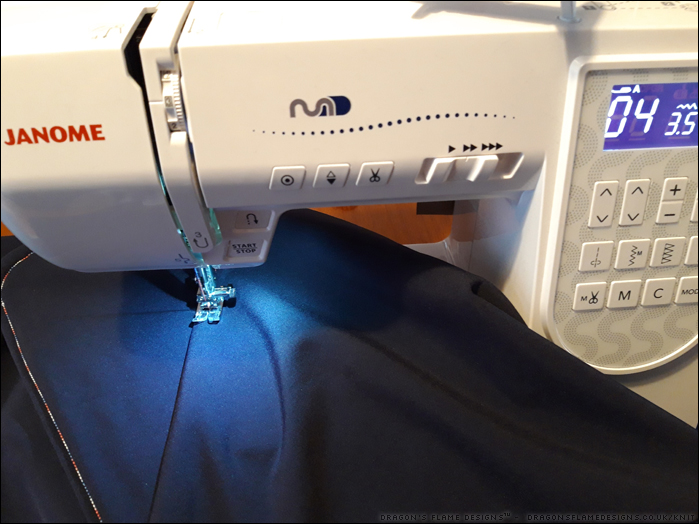
I wanted to make the topstitching quite noticeable, so I used some multicoloured Guttermann thread just to liven up the plain navy fabric. Unfortunately my sewing machine decided to skip stitches at times, so it’s not quite as evenly stitched as I’d hoped. I discovered on a later project that if I used a regular needle rather than a sharps needle, it actually sews an even stitch – just don’t ask me why!

I did purchase some poppers, but I haven’t yet tried adding them – Mum seemed quite happy with the jacket not having popped pocket flaps, and she never uses the poppers on her bought waterproof coat anyway.

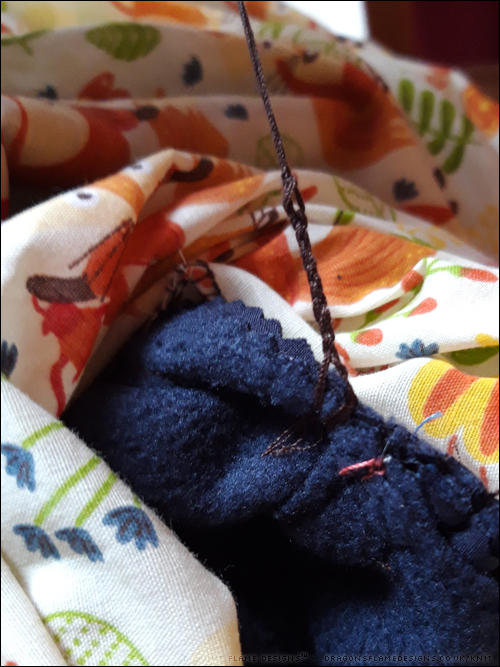
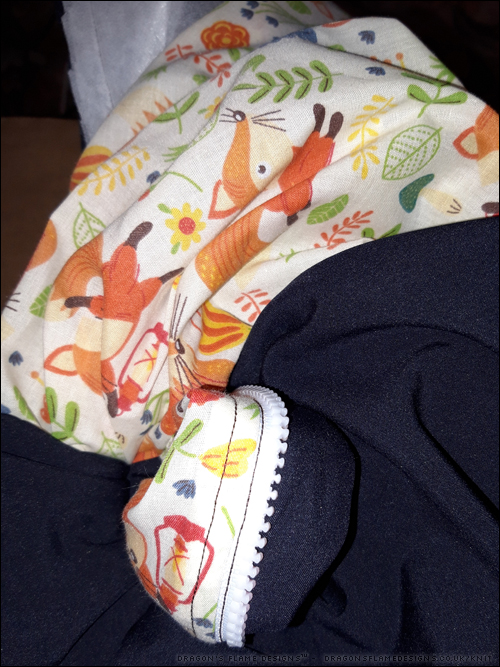
The “alien” stage of turning the Eden jacket out – not the easiest of things to do with such thick fabric!

I’d never sewn a “proper” coat before, and certainly hadn’t even considered bagging out a lining… but it all went surprisingly smoothly, even down to the thread chain to finish it all off.

The finishing touch – a thread chain to hold the lining and outer fabric together under the arms (never done one of these before)

I couldn’t resist using a rainbow zip on the front of the jacket – the front placket does cover it, but it does give a flash of colour when you go to zip it up / unzip it.

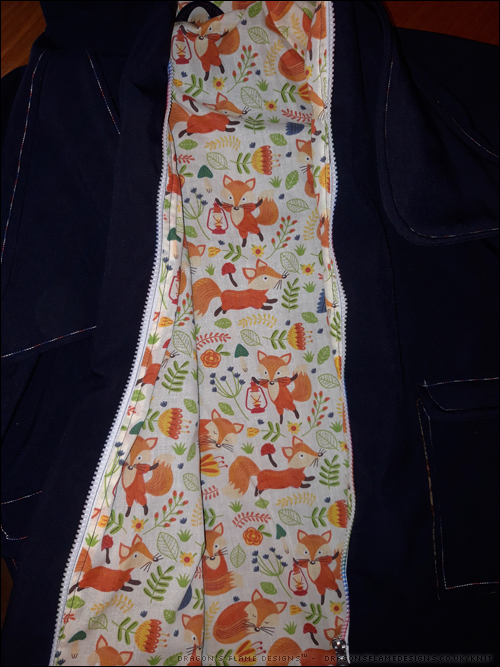
And of course a colourful lining, to make up for the very understated plain dark blue outer.

All we need now, is some suitably cold weather so Mum can test it out!


Pattern: Eden Jacket by Tilly and the Buttons
Fabric: Navy softshell from Fashion Fabrics
Other supplies: Zip from Mibs Fabrics (now closed)

Magic Softshell Bag – second attempt

I started a Magic Softshell messenger bag earlier in the year. I almost finished it, then discovered that the dimensions I had used for the pocket weren’t right. After some unwise unpicking where I accidentally made a small hole in the lining, I added the bag to the depths of “UFO Mountain”.

A while later, I made the mistake of being on a 3 mile walk while it was raining – the rain came through the waterproof bag I had taken with me. So I realised it would be wise to have a properly waterproof bag before the winter.

Luckily I had enough of this Magic Softshell left over to cut another bag, and armed with some printed poly cotton left over from another project, I set to worry cutting out a new bag from my favourite Crazy Little Projects pattern.

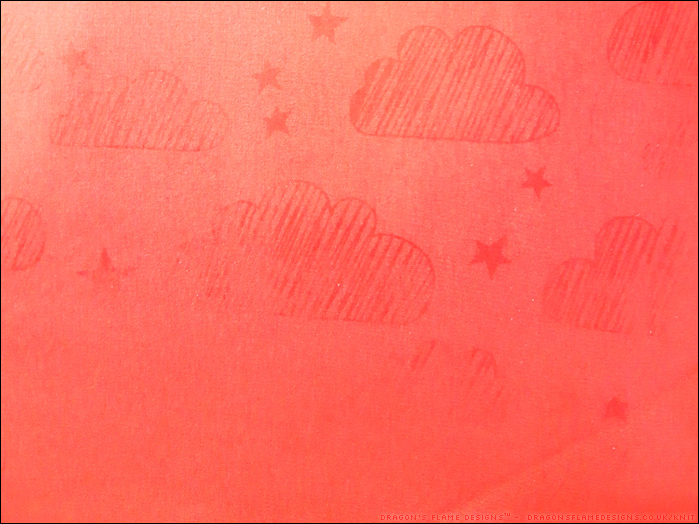
It’s not the easiest fabric to get a decent photo of. The original fabric I was aiming on buying didn’t get enough preorders, so I had to change to the red soft shell. When the fabric is wet the magic happens, and clouds & rain appear.

I’m sticking with my previous amendment to this pattern, of including a patch pocket with a flap on the front flap instead of a zipped pocket. This actually makes it a lot easier to open, and there’s less things that can go wrong (like the zipper pull coming off when I unzip the pocket!).

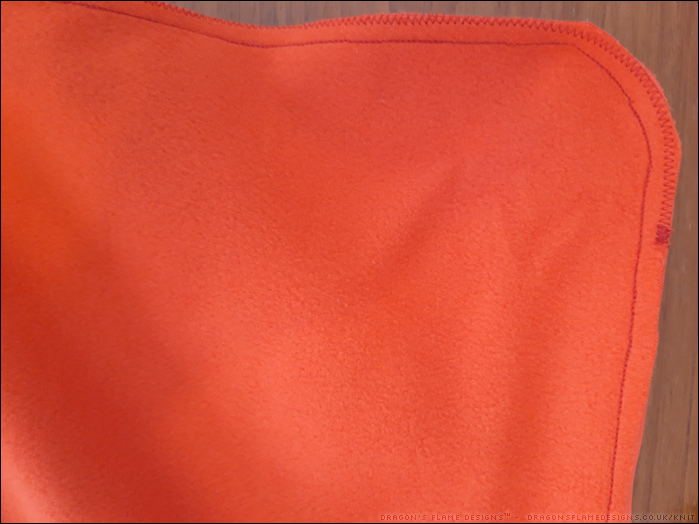
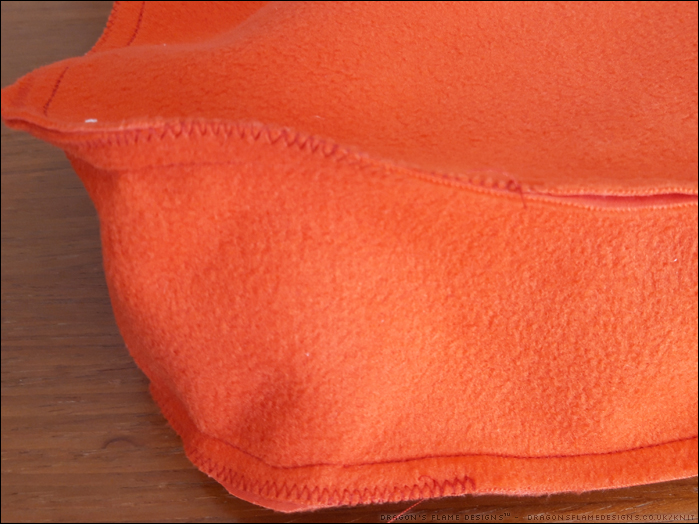
All the seams are sewn with a triple straight stretch stitch for strength, and I also zigzagged the curved corners just for ease of mind if I put anything heavy int he bag. The main seam stitches should be fine without that, but I like to err on the side of caution.

Just the lining to sew, then I can start putting it all together!


Pattern: Messenger Bag by Crazy Little Projects
Fabric: Magic Softshell by Mibs Fabrics (now closed)
Eden jacket – a work in progress

I purchased some navy softshell fabric earlier in the year, with the view of making the Kelly coat. Since then, Tilly and the Buttons released the Eden jacket pattern, which looked like it would be more forgiving on the sizing. The sleeves on the Kelly look quite fitting, whereas the Eden has a much more boxy shape.

Decision made, I set about cutting out my pieces, and also decided to use the same topstitching thread I had picked out for my denim Fashionista jacket.

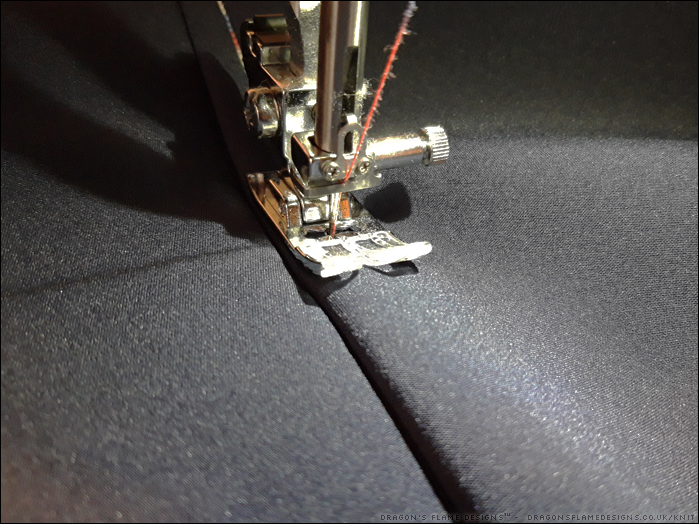
Sewing softshell is pretty easy, as long as you have a ‘sharps’ needle – a regular needle won’t have the right strength or sharpness to pierce the fabric cleanly.

So far I have the pockets and pocket flaps attached – eventually these should have poppers, if I can find some in the shop!


Pattern: Eden Jacket by Tilly and the Buttons
Fabric: Navy softshell from Fashion Fabrics

Waiting for the rain….

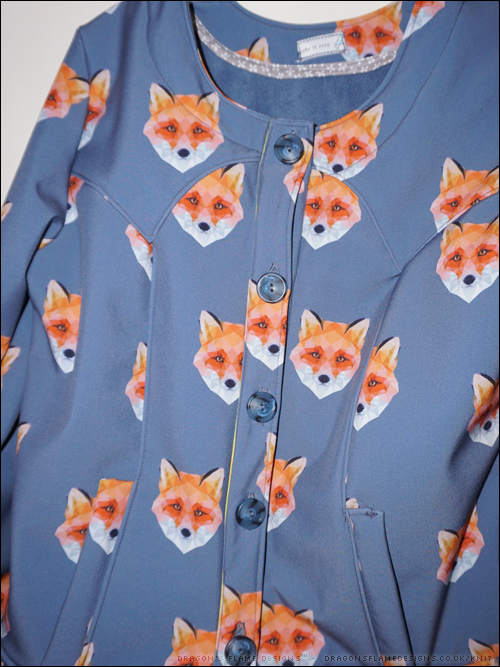
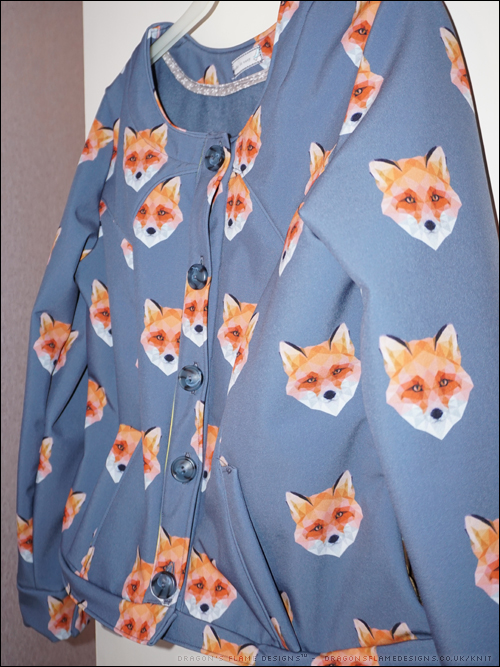
….or in other words, I’ve finished my Showerproof Softshell Fashionista jacket! I still haven’t finished my denim version of the Fashionista*, but this softshell jacket has come out looking fantastic.

I found some buttons which fitted well with the blue, and was planning on using some smaller ones on the cuffs. Unfortunately the bulk of fabric on the cuff meant that my sewing machine thought the one-step buttonhole was meant to be a lot smaller than I was aiming for. Rather than trying to unpick one line of stitches, I cheated and added a popper to the cuff instead. It’s not quite what I was aiming for, but it’s better than risking making a mess with the buttonhole!

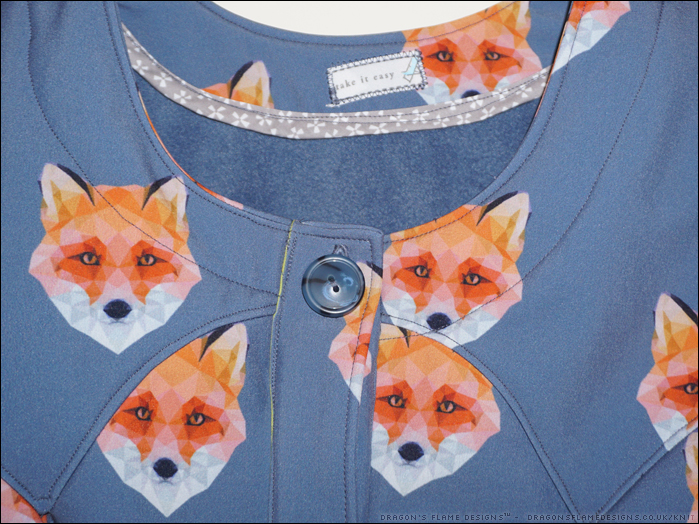
I’d already decided I wanted to have a label on the back, and assuming the neckline would be sewn as a regular facing, I added the label and some bias binding around the edge as I didn’t fancy sewing a narrow hem on the curved edge. Then I read down to the next line and realised that the neckline works more like binding than a facing. I really didn’t want to scrap my neckline piece, so I skipped the proper instructions and just attached it as if it was a facing, then topstitched around the bias bound edge to hold it in place.

This has made the neckline slightly lower, but that’s not a problem for me. I’ll have to remember that when I get to that point on my denim Fashionista though, as that bit will come after I’ve added in the lining.

I obviously wasn’t going to try ironing the softshell, so the waistband isn’t quite as crisp as you would expect. But overall, the jacket has a great look, the buttons and buttonholes all line up, the pockets work, and the jacket fits!

Now where’s that rain so I can test out how waterproof this softshell is!


* affiliate link
Pattern: Fashionista * by WinterWear Designs*
Fabric: Softshell from Fashion Fabrics
Tag – ribbon from The Makery, Buttons from Sew + Sew

Showerproof Clovelly Cap

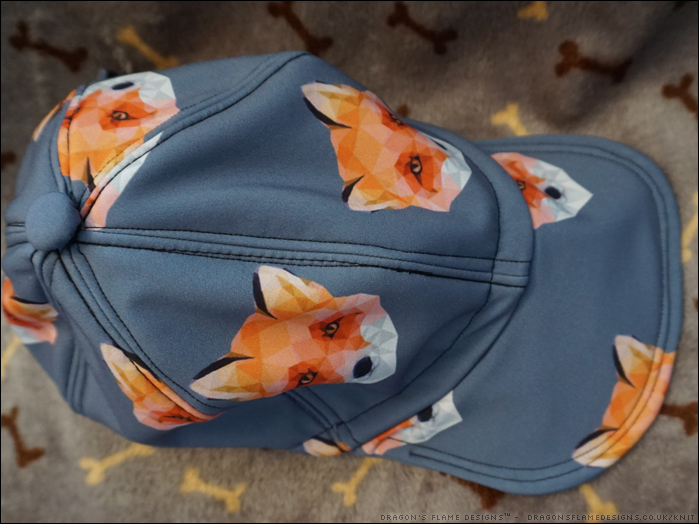
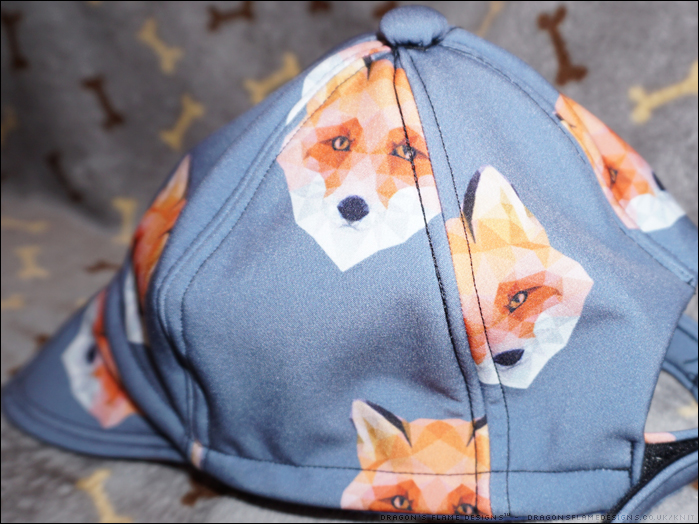
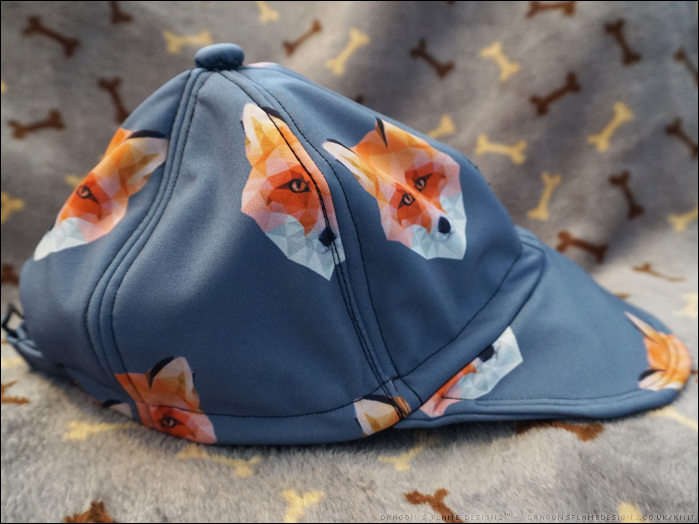
Having cut out the fabric for my Showerproof Fashionista Jacket, I wanted to use some of the left over fabric, but wasn’t too sure what to make. I liked the idea of making some kind of showerproof hat, especially as the jacket doesn’t have a hood and as luck would have it, that day I was browsing on Instagram and discovered that From the Studio (Jamie Kemp) has just released the Clovelly Cap pattern!

Whenever I go outside, I always wear a baseball cap so I don’t get caught with the sunlight, but the caps I’ve been wearing are looking past their best now. I don’t know about you, but I’d always thought that baseball caps would be really complicated to make, involve a lot of additional hardware (which no doubt would be hard to find in local shops), and wouldn’t be worth the effort.

I was intrigued to see how Jamie’s pattern instructions compare to some of the other Indie designers’ patterns I’ve been using. The most noticeable difference is that Jamie uses a more traditional style of line drawings rather than photos to illustrate each step.

But the instructions are really well written, and after holding the pieces together and reading the following step, it made sense what was being sewn where – I didn’t even need to unpick any stitches!

I wasn’t brave (or reckless) enough to iron my softshell, so I stitched the seam allowance down instead. Because those stitches were then stitched over to attach the bias binding, that did leave a few extra stitching lines on the crown. If you don’t look too closely though, you wouldn’t notice them.

As for the supplies needed to make the cap, I already had the softshell left over from cutting my jacket. The lining is a black polycotton I had in my scraps box, I bought the bias binding and velcro, and surprisingly enough finding the square buckle-like piece for the back wasn’t as challenging as I’d thought!

The only potential struggle was the brim stiffener – while my local sewing shops have a good range of items, I had a feeling this would be something too specialised for them to have in stock. I had a rummage through my sewing box, and came across some clear vinyl (pvc) I’d purchased for a different project. I cut two brim stiffener pieces from the vinyl, stitched them together around one edge, and used that inside the brim pieces. Even with the heavier weight of softshell as the underside of the brim, those two layers of vinyl seem to be the perfect choice.


Pattern: Clovelly Cap by From the Studio (Jamie Kemp)
Fabric: Softshell from Fashion Fabrics

Showerproof non-denim Fashionista Jacket UFO

I fully admit I’m already starting more projects than I’m finishing this year, but having spotted this softshell fabric in my local fabric shop for £8 a metre, I couldn’t resist getting enough to make a showerproof Fashionista* jacket for the spring!

At the moment, my Denim Fashionista is semi-shelved while I figure out where I went wrong with the lining – I’d already sewn the denim sleeve to the neckline by mistake (don’t ask how I achieved that!), and in sewing the first part of the lining together, I had more pleats and tucks than I should’ve done. So that’ll need unpicking and some careful pinning to try and resew that.

But rather than plough on through a project that wasn’t going all that well, I decided I needed to feel I could successfully make something. Softshell fabric has a waterproof outer, with a fleece backing – perfect for spring, and also perfect because it doesn’t need a lining!

Now I know this jacket won’t be 100% waterproof, because at the moment I’m not planning on using any tape or anything to seal the seam lines. That means that water could seep through the stitch holes along the topstitching. But really, I think for my first attempt at sewing a proper showerproof jacket, I’m happy with it being 95% showerproof rather than aiming for 100%.

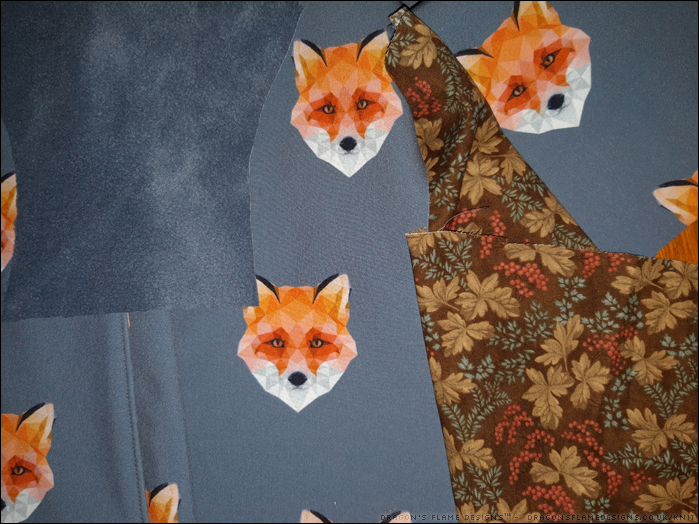
I didn’t want to try colour matching the pockets, so I picked out some ‘natural’ patterned cotton for the pocket bags – if I get them sewn in correctly, they won’t be visible from the outside so it won’t matter that they don’t match!

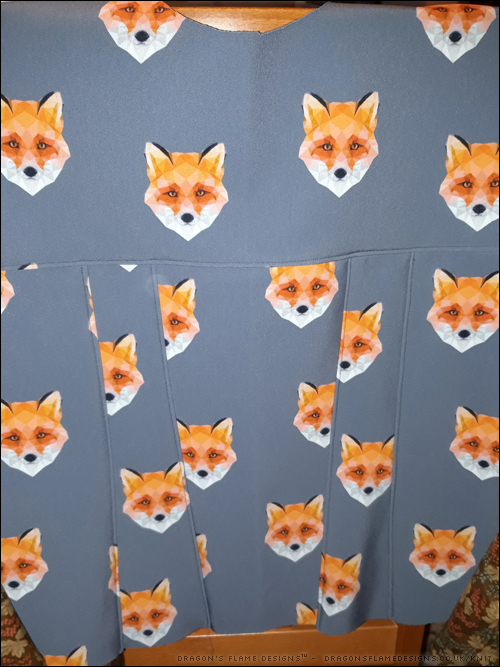
The back is all sewn and topstitched – I’m beginning to wonder if I should have made an attempt to fussy-cut the foxes, but I think this was the most realistic use of the fabric. If I’d fussy cut or tried matching the fox heads across each piece, I think I would have wasted a lot of the fabric.

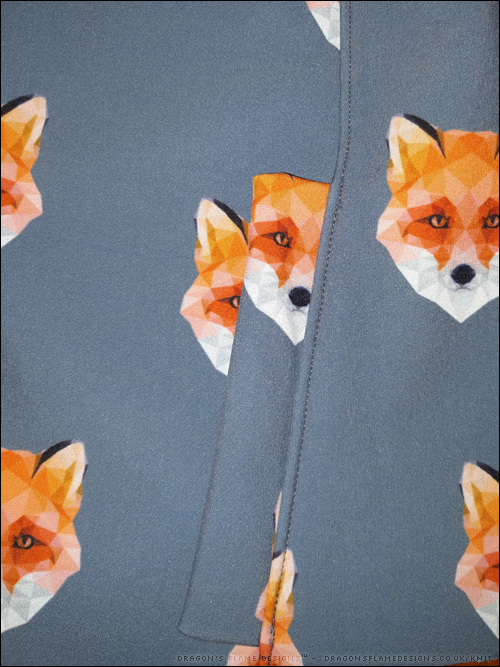
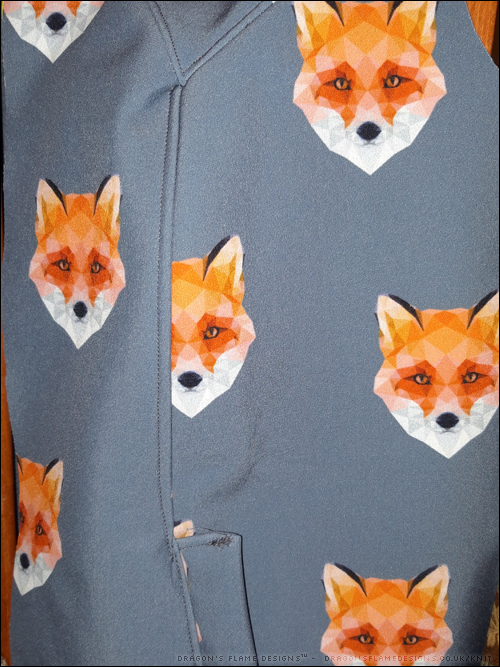
The neatest front yoke I’ve stitched so far – yes there is a slight catch where the yoke joins the front panel top stitching, but it’s much better than my denim jacket’s front yoke! I did have a bird’s nest of bobbin thread on the pocket topstitching (I hadn’t realised I was sewing that with the pocket flap upside-down), but I’m hoping I can unpick that without too much hassle.

So far so good, although I’m not looking forward to adding in the sleeves – that’s where my denim Fashionista started to go wrong!


* affiliate link
Pattern: Fashionista * by WinterWear Designs*
Fabric: Softshell from Fashion Fabrics