Tag Archives: messenger bag

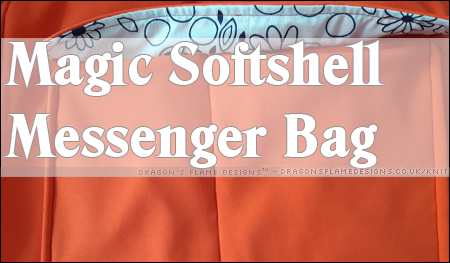
The Magic Softshell Bag is finished!

Remember the Magic Softshell Bag I shared last month? I finally finished it, and it’s turned out exactly as I hoped!
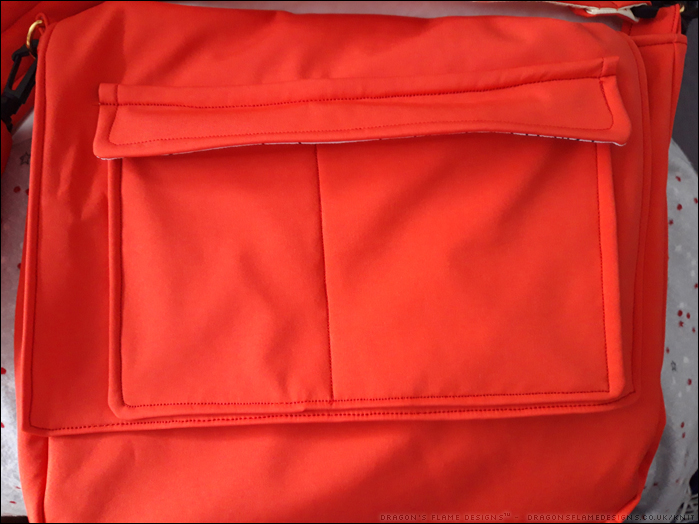
I skipped the poppers on the front flap pocket, but so far it looks like the combination of soft shell, poly cotton and a clear piece of vinyl (for extra waterproofing) is doing a good job of holding the pocket flap down.

I could’ve added some vinyl to the back of the front panel where the pockets are, just to ensure nothing could soak through, but I’m hoping the soft shell will be waterproof enough to not need that.
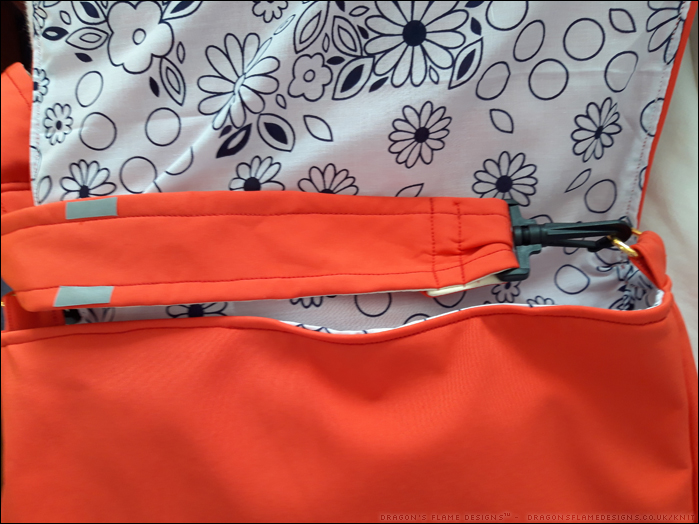
Because most of my winter walks result in me walking home in the dark, I’ve added a couple of reflective strips to the strap. I’ve never tried using this reflective tape before, and found it a challenge to sew into the softshell. So, I fused some no-sew Heat ‘n’ Bond to the back and ironed it in place instead. I’m not sure how well that will hold up to being washed, but at the moment it’s working well.
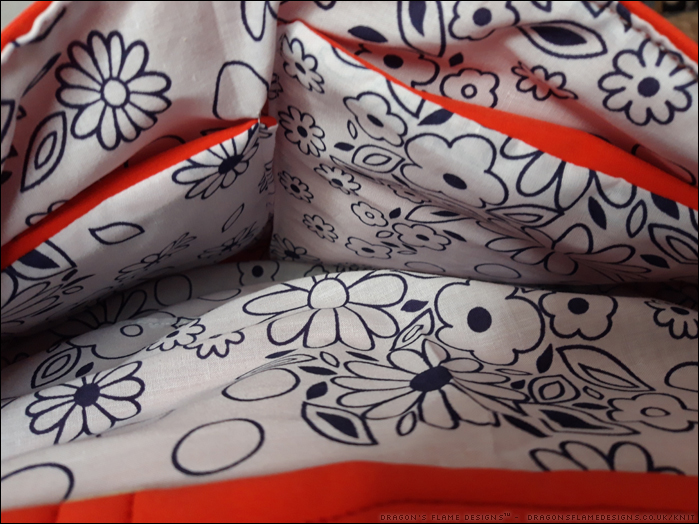
The pockets were originally going to be soft shell with a polycotton lining, but I decided the polycotton looked better as the outer, leaving the softshell to be the lining. The bit of red softshell at the top of the pockets make them easier to spot.

Hopefully if I get caught in torrential rain again, this bag will actually keep the contents dry! All I need is to make myself equally waterproof!


Pattern: Messenger Bag by Crazy Little Projects
Fabric: Magic Softshell by Mibs Fabrics (now closed)
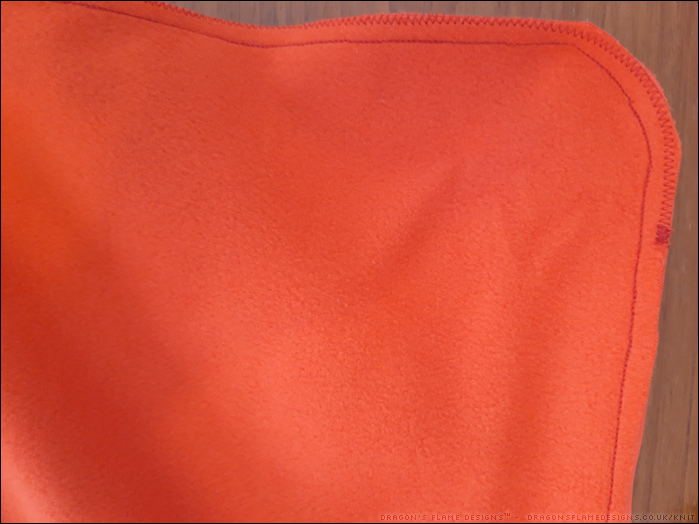
Magic Softshell Bag – second attempt

I started a Magic Softshell messenger bag earlier in the year. I almost finished it, then discovered that the dimensions I had used for the pocket weren’t right. After some unwise unpicking where I accidentally made a small hole in the lining, I added the bag to the depths of “UFO Mountain”.

A while later, I made the mistake of being on a 3 mile walk while it was raining – the rain came through the waterproof bag I had taken with me. So I realised it would be wise to have a properly waterproof bag before the winter.

Luckily I had enough of this Magic Softshell left over to cut another bag, and armed with some printed poly cotton left over from another project, I set to worry cutting out a new bag from my favourite Crazy Little Projects pattern.

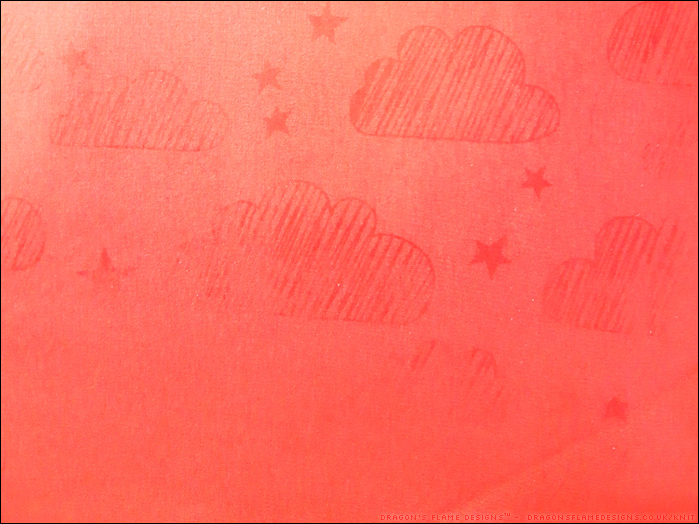
It’s not the easiest fabric to get a decent photo of. The original fabric I was aiming on buying didn’t get enough preorders, so I had to change to the red soft shell. When the fabric is wet the magic happens, and clouds & rain appear.

I’m sticking with my previous amendment to this pattern, of including a patch pocket with a flap on the front flap instead of a zipped pocket. This actually makes it a lot easier to open, and there’s less things that can go wrong (like the zipper pull coming off when I unzip the pocket!).

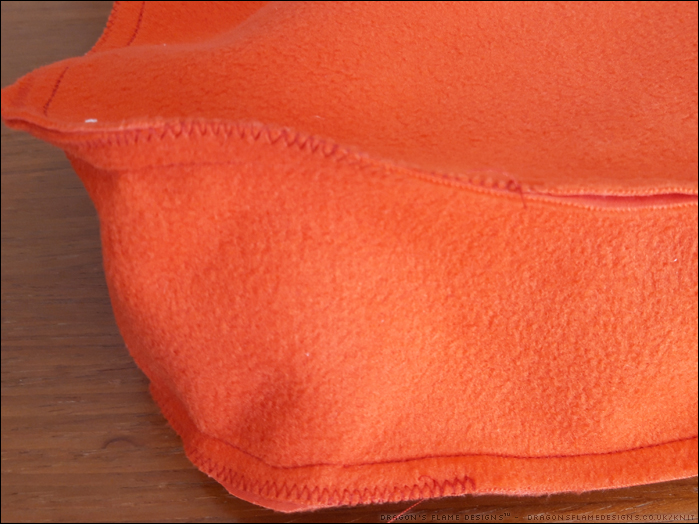
All the seams are sewn with a triple straight stretch stitch for strength, and I also zigzagged the curved corners just for ease of mind if I put anything heavy int he bag. The main seam stitches should be fine without that, but I like to err on the side of caution.

Just the lining to sew, then I can start putting it all together!


Pattern: Messenger Bag by Crazy Little Projects
Fabric: Magic Softshell by Mibs Fabrics (now closed)
Showerproof “Quilted” Bag

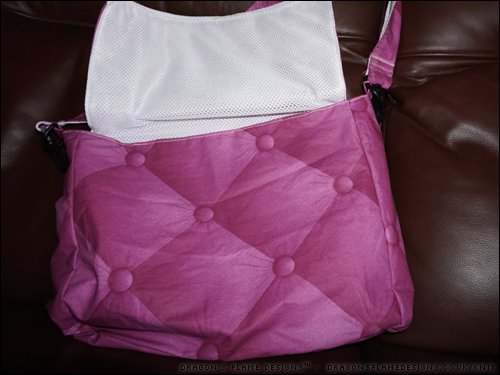
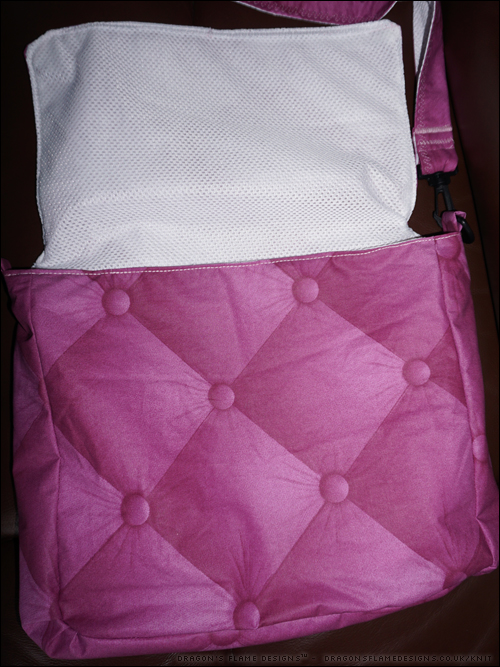
I’ve had enough of soggy bags when I’ve been out for a walk in the rain, so I thought it was time I tried sewing one in a showerproof fabric. I spotted this laminated cotton with a nifty quilted picture printed on it at Mibs Fabrics, and thought it’d be ideal. I picked out an airtex mesh for the lining, and because that obviously has holes in it, added in a sew-in interfacing just to strengthen the lining a little.

The mesh was an experience to sew, having never used anything like that before! I found that backing it with interfacing also helped my eyes, as being able to see the dark table through the holes in the fabric was starting to get challenging.

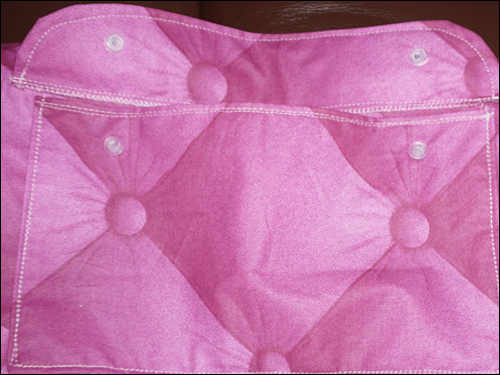
Originally I was going to add a zipped pocket to the front flap, but I made a mess of the sewing on that, and had to improvise. Thankfully I had just enough fabric left to cut a (slightly short) replacement panel, and salvaged some of my mistake piece to make a basic patch pocket with a flap closure instead.

I think the flap works better for a bag that’s likely to get caught out in the rain though, as in theory the rain should just run off the flap, and not end up in the pocket itself!

I didn’t bind my seams with any waterproof tape, so I know the bag won’t be 100% waterproof, but I’m hoping it’ll be a great deal better than my usual bags bade from canvas!


Pattern: Messenger Bag by Crazy Little Projects
Fabric: Laminated Cotton and Airtex Mesh  from Mibs Fabrics (now closed)
Beach Hut Messenger Bag

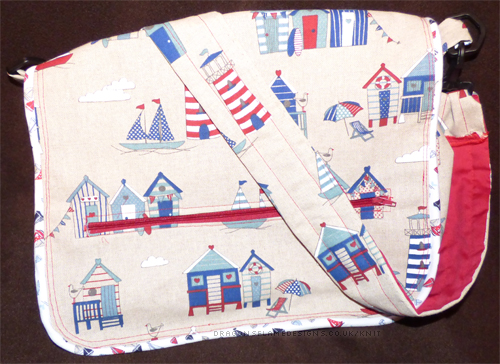
You can never have too many bags…. or at least you can never make too many bags! I’ve not been 100% certain about the way the lining looks caught up on the messenger bags I’ve previously made, so I decided to try out a new pattern. The Good-to-go messenger bag by Two Pretty Poppets, has a plain body with a patterned flap…. but I wanted to change that slightly, so I used their pattern, but with patterned fabric on the outside, and a plain lining.

I also added in a zipped pocket on the flap, piping around the flap (it’s not clear in the photo, but that’s white bias binding with sailboats on, to fit the beach theme), and added some plastic bag clips to hold the strap in place – not only does that make the strap removable if needed, but it also adds a nice touch to the finished bag.

Beach Hut Bag

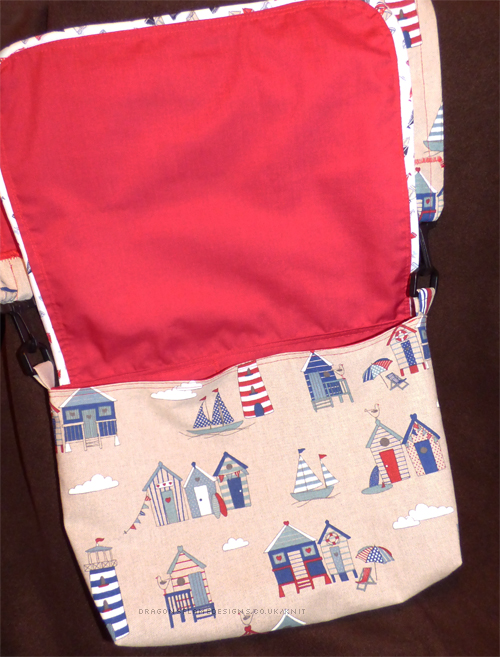
Because of the way the bag is sewn together, the lining isn’t stretched around strange corners, and there’s no weird puckers and stretches on the inside. I also changed the inside pockets, to fit a small bottle of water and a smart phone, to save rummaging around amongst everything else just to find the phone when it rings.

Beach Hut Bag

I would probably make the bag slightly taller if I made another, and maybe also add in the clasp to close it (I left that out, as I wasn’t too sure how accurately I could attach it!), but I think it’s a very good pattern, and it’s also a lot easier to sew than the previous one I tried!

A rush request

I heard from a relative that he was going to be a daddy 😀 ….only trouble is, he told me about 3 weeks from the due date, which didn’t give me much time to make something!

I’ve sewn a couple of messenger bags using the tutorial from Crazy Little Projects before, and knew I could make one in quite a short space of time….  and I’d found the perfect fabric in the sale at just one pound for a metre!

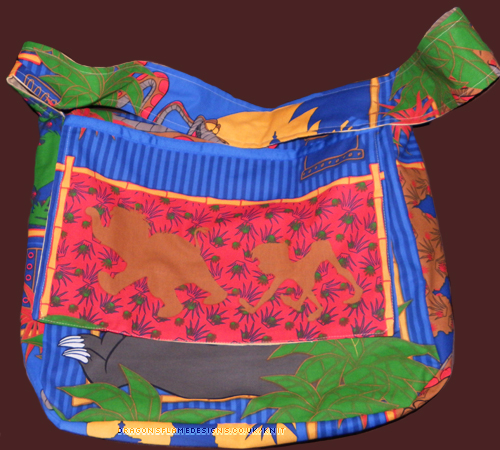
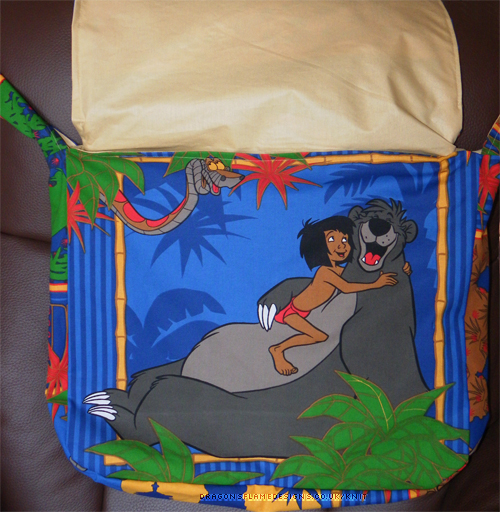
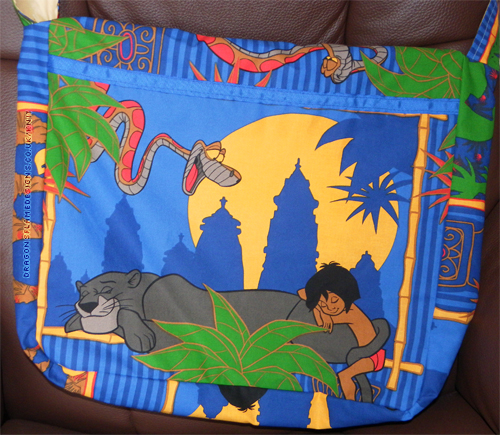
So here we have the Jungle Book Nappy Bag….

Jungle Book Bag (outer flap)

Jungle Book Bag (outer flap)

Jungle Book Bag (back)

Jungle Book Bag (back)

Jungle Book Bag (inner)

Jungle Book Bag (inner)

The panels are (almost) fussy-cut, so the characters lined up nicely. I still can’t get the lining to behave though; it always appears too small when I start, and way too big once I sew the final stitches.

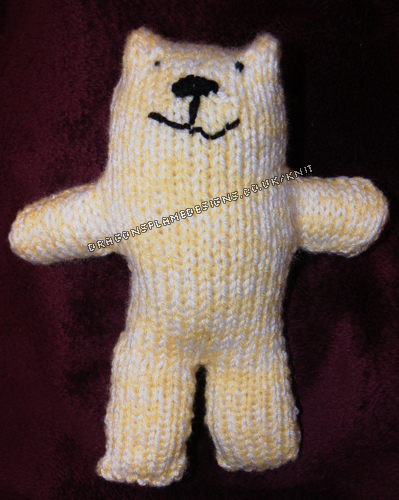
But I couldn’t make something for the parents and not make something for the baby, could I? Using my favourite bear pattern, I knitted Cheshire the Cat-Bear in white and cream yarn which gives him a nice mottled effect. He’s meant to be a bear, but I think his face looks more cat like, so he’s a Cat-Bear 😉

Cheshire the Cat-Bear

Cheshire the Cat-Bear

He should be just the right size for little hands to grab!