Tag Archives: wallet

Criss Cross Card Holder Wallet

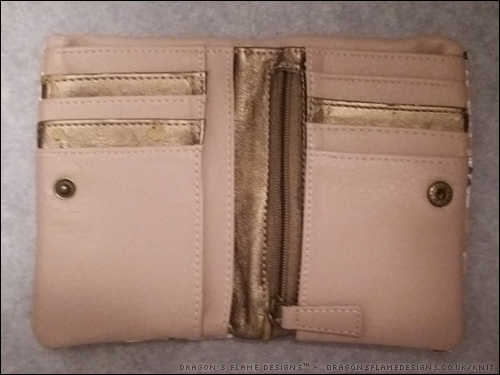
I’ve made several card holders before, but they’ve either not had a closure, or relied on either velcro or a button and hair elastic to hold them closed. After a friend mentioned how easy she was finding poppers to install into sewn items, I thought it was time I tried them out; and as luck would have it, I also came across the pattern for these Criss Cross Card Holders.

Although I haven’t made any ‘real’ new year’s resolutions, I do want to try and use up some of my fabric offcuts, so the triangular sections on these card holders might be the ideal use for some smaller offcuts. As a first attempt at the pattern, I used some of the ‘Skyline’ canvas-type fabric I had previously made a bag and notebook holder from.

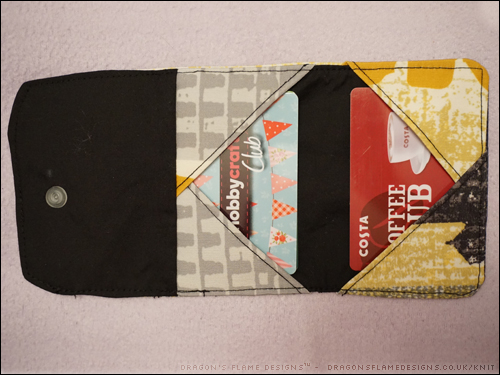
It took a little while to get the placement right to make sure the skyscraper was visible…. then I realised that once the card holder was folded, the top of the skyscraper would actually be upside down (whoops!).


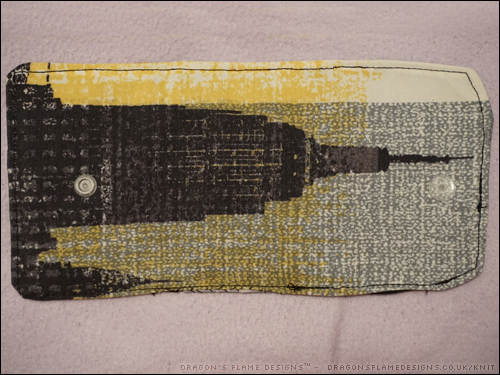
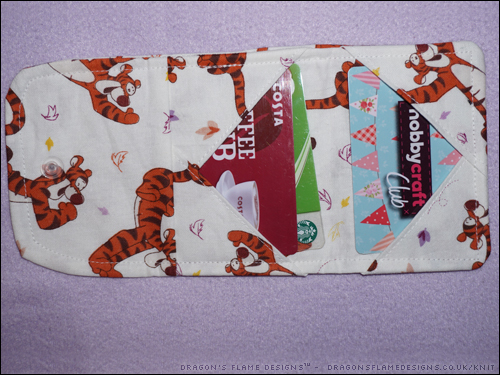
But it is perfectly functional as a card holder. The only thing I found which I wanted to change, was the card sections being a little too wide. I had a feeling that the cards might slide out a little too easily from that, so I decided to try making a second card holder that might be a little more suitable.

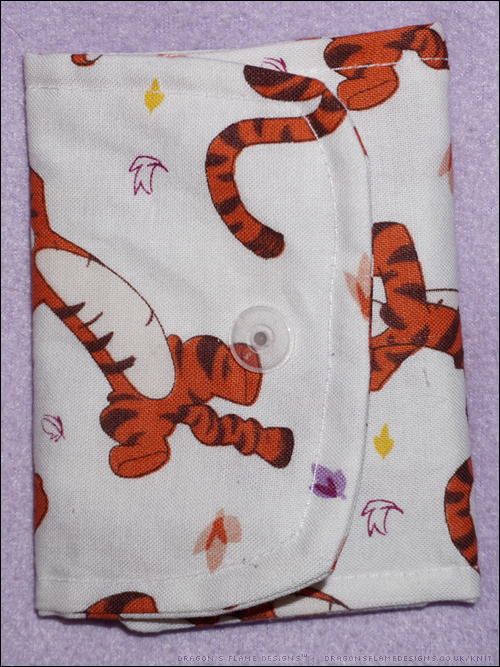
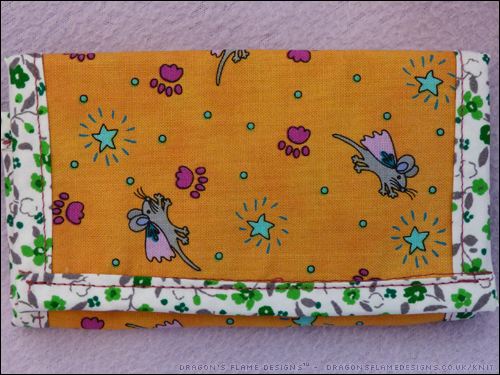
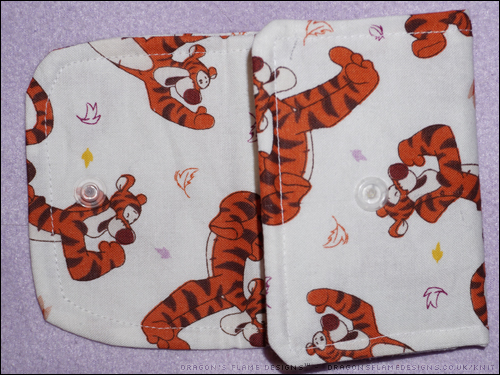
This fabric came from Hobbycraft last year – I’ve been waiting for the ‘perfect’ project to use it, and what better than a little card holder? I didn’t quite line up the popper perfectly, hence the slightly wonky front, but it’s still usable.

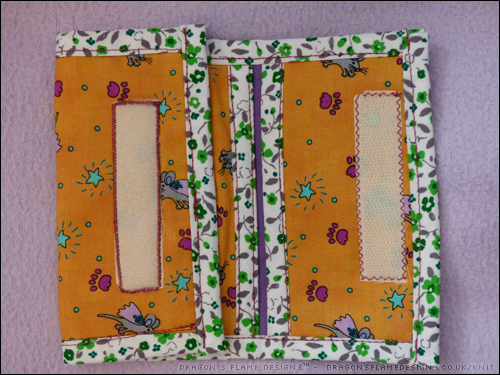
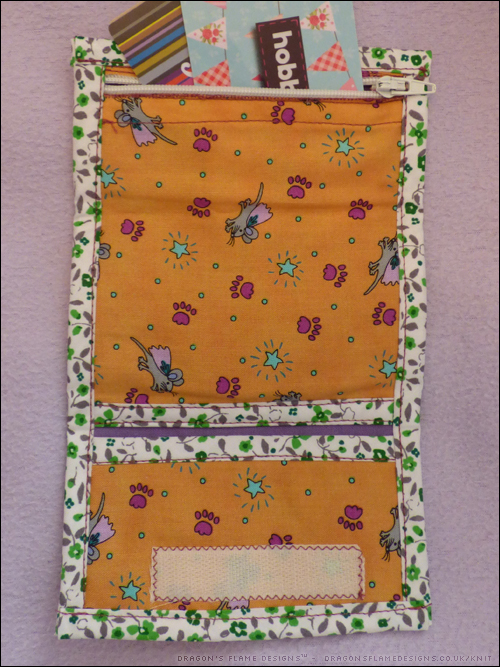
I increased the seam allowance when sewing the front and back together, and also increased the top stitching to 1/4″ which holds the cards in much tighter.

I’ve made some notes on the pattern so I know what alterations I need to make for future card holders.


Pattern: Craftsy
Skyscraper Fabric: Local fabric shop
Tigger fat quarters: Hobbycraft

A New Wallet

Mum had asked for me to buy her a new wallet for her birthday; it had to match the look of her old wallet, complete with a zipped pocket, and velcro closure, but that was easier said than done, as nowhere seems to stock a wallet that style now!

So instead, I decided to be reckless and have a go at making my own from scratch. After a rummage through my fabric scraps bag, I came across some suitable fabric, a zip I’d unpicked from a failed bag attempt, a small amount of velcro that Mum had let me have, and some bias binding that I think was originally earmarked for binding the seams on a bag.

With some measurements taken from the original wallet, and a little planning on paper to ensure I was able to put the zip in without too much trouble, I ended up with a passable wallet that looks almost the same in style as the original! The original wallet did use a more sporty fabric than the polycotton I’ve used, but this way Mum can have a unique wallet rather than something mass produced that everyone else might also have.

The only disadvantage of making Mum a wallet, is that now she has plans for a wallet for every season! But at least it means I’ve already got an idea what I can make her for Christmas.


Wallet Knockoff Attempt (WIP)

A true WIP (Work in Progress) today, rather than another UFO (Unfinished Object). I was given this wallet a few years ago, but the material has started to break up and it’s not looking all that startling now. So given that I like the style of this particular wallet, I wanted to try and make my own ‘knockoff’ version of it. Only trouble is, I’ve never attempted anything like that before, so where on earth do you start?

Dragon's Flame Designs - Knockoff wallet attempt

The original wallet

I began unpicking the topstitching, gradually making my way through the various layers, taking photos as I went so I know where each piece was attached. When the wallet was made, they cheated and glued down the seam on the inside before topstitching it, which was an experience to try unpicking the stitches from!

So far I have almost all the pieces unpicked and my next aim will be to trace around them to make a paper pattern. Given how complex it looks, I’ll probably then make a rough version in some cheap polycotton to ensure I’m happy with how it all should go together. And then with a bit of luck I can make the ‘proper’ wallet!

Wish me luck!