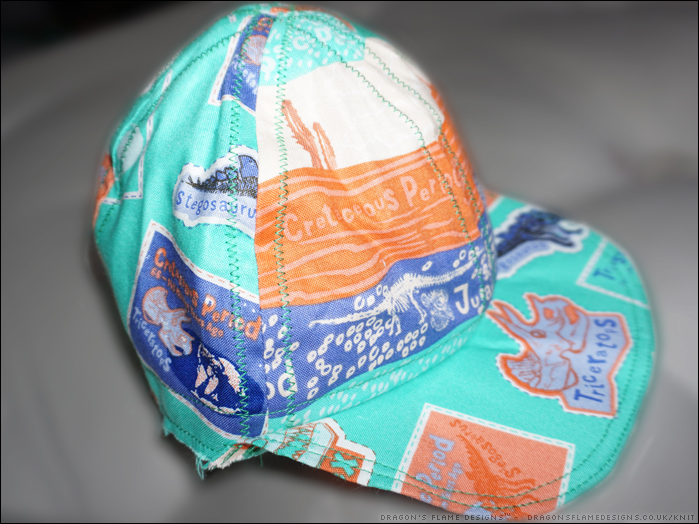
I wasn’t too sure if the Clovelly Cap would work for a child – the pattern is designed for adults after all. But after checking the head sizing against the pattern, I realised I could just grade down to make an XS size which in theory would work for a child.
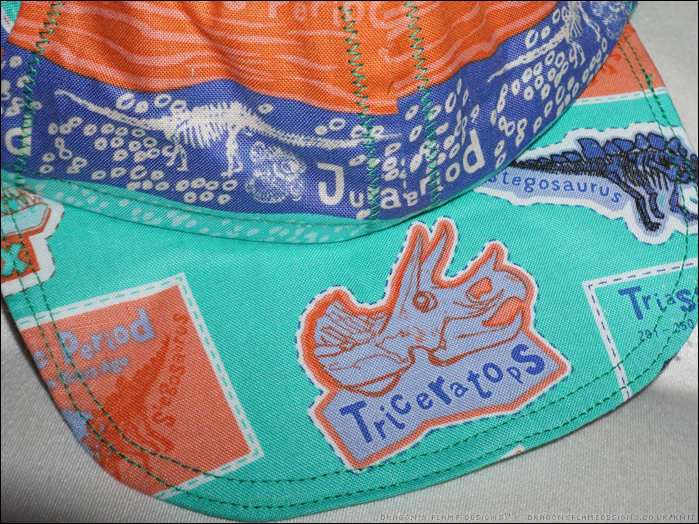

I was pleasantly surprised that I could fit the pattern onto one and a half fat quarters – I used one for the front two panels, and another for the rest of the cap. The underside of the peak is also patterned, while the inside of the cap is a plain black polycotton.
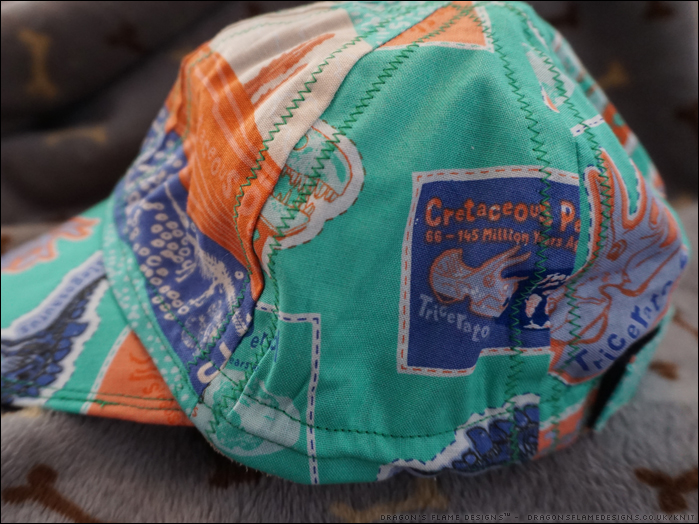
I cheated with the topstitching, using a zigzag stitch to ensure the biasbinding was caught with the stitches on the inside. I found it too fiddly to manipulate the layers to get my stitches accurate enough for a straight stitch.
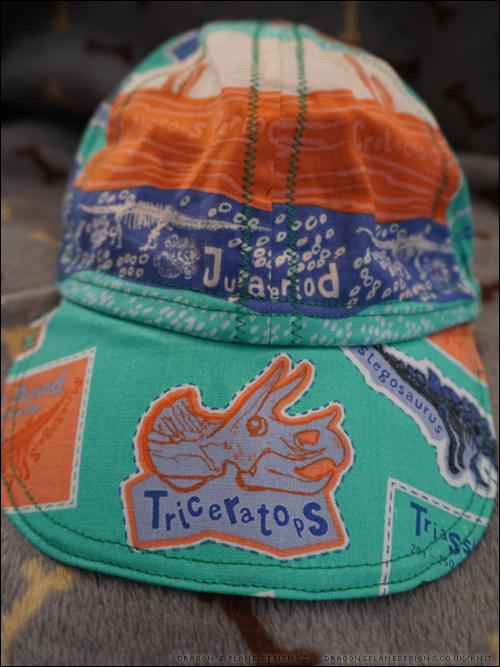
Unlike the caps I made for myself, this one has buckram fused on the inside of the peak for stiffness. It actually gives a much better feel to the peak, so I think I’ll be using that for any hats I make in the future too!
Pattern: Clovelly Cap by From the Studio (Jamie Kemp) graded to a XS size
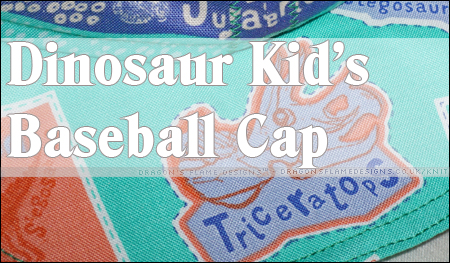
Fabric: Dinosaur fat quarters from Hobbycraft