Happy Bear (now with ears!)

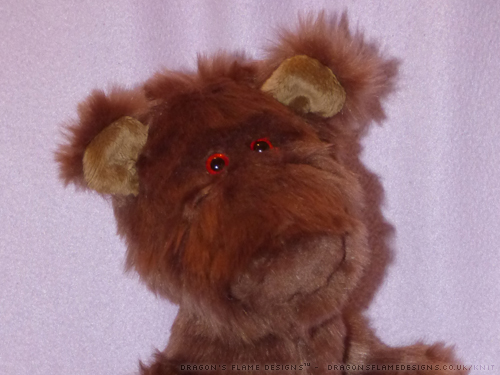
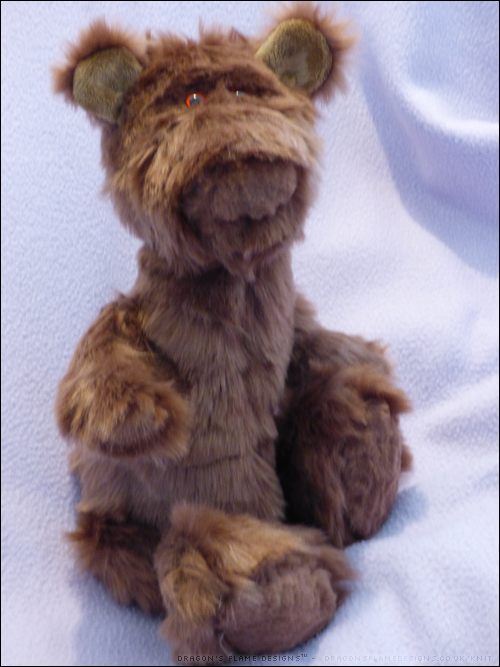
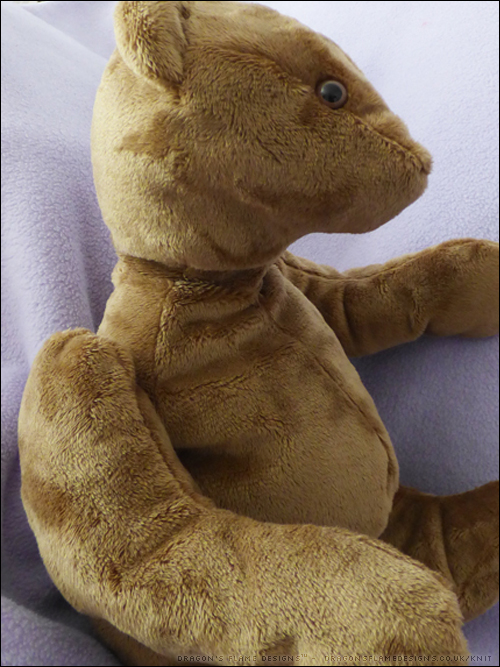
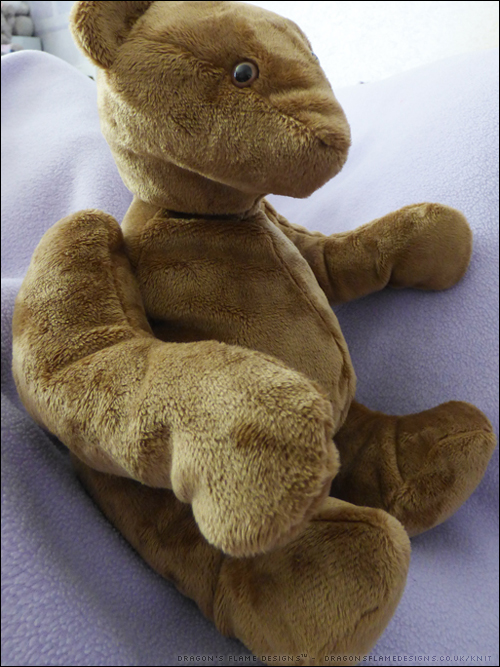
It’s amazing how different a bear looks once it has ears! Instead of looking like some strange furry alien, you suddenly realise it’s actually a cute and cuddly bear.

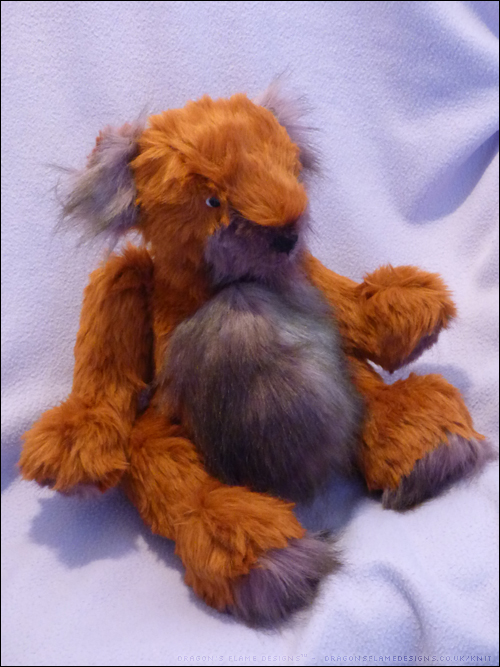
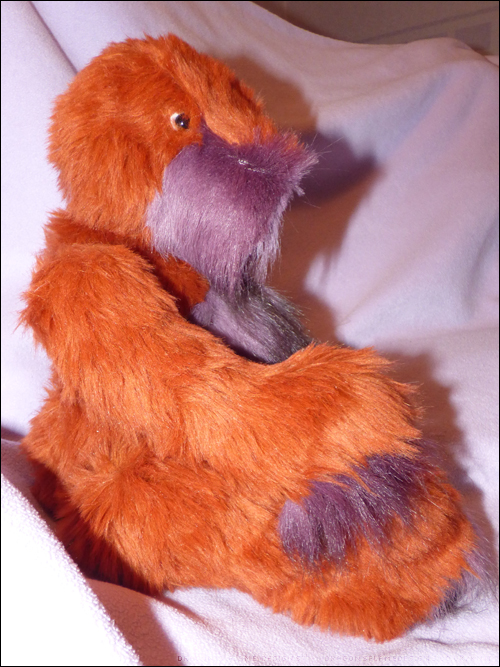
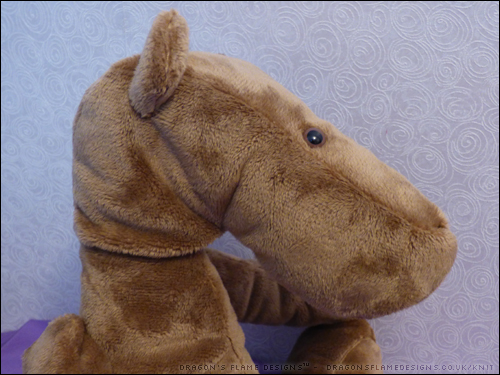
The long purple fur made the nose and mouth embroidery a little more challenging than I’d anticipated, but it did help to hide any mistakes.

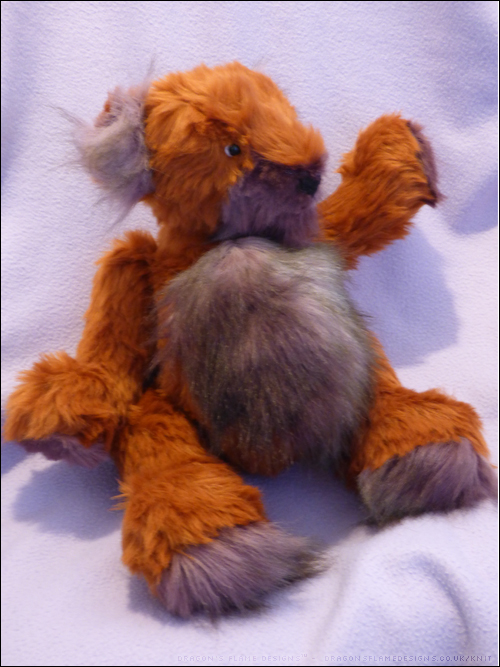
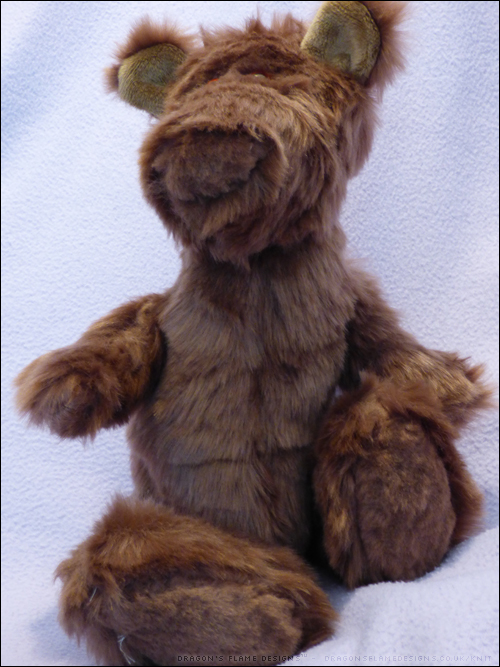
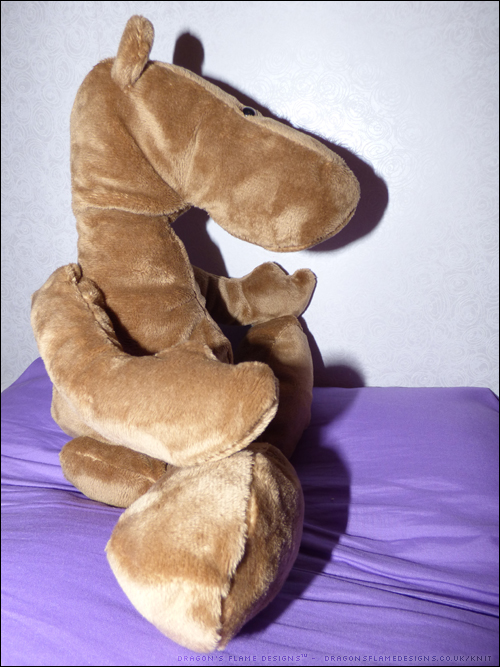
I trimmed Happy bear’s paw pads on the arms, just to make them look a little tidier, although I left the foot paw pads long, just for a bit of variety. This is the first bear that I’ve added eye whites to (that was just a small piece of white felt positioned underneath the eye before I added the safety backing), but I think it gives him some extra character.

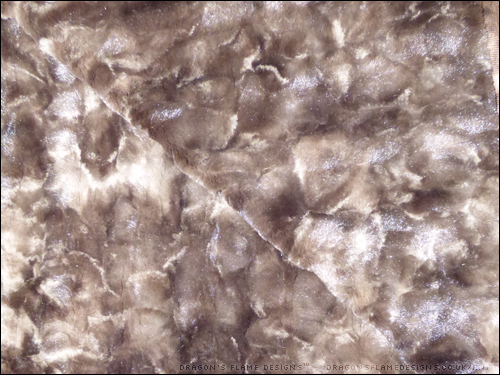
Happy Bear (who will be getting a new name soon), was made from an Emma’s Bears pattern, using fake fur from my local fabric shop.

Happy bear (UFO)

I was struggling to find any free “real” teddy bear patterns – there are lots of free patterns out there, but none that look like a true collector’s style teddy bear, so I decided to buy a pattern from Emma’s Bears. I picked Happy Bear, as I liked the idea of being able to make a two-tone bear.

I already had the rusty red and purple fake fur left over from previous projects, and knowing how the fake fur tends to slide around while machine sewing, I decided to be reckless and hand sew all the seams!

My hand sewing skills are somewhat limited – they tend to be a source of humour in the family, as I seem to have inherited my Great Gran’s skills…. the stitches don’t tend to be overly neat, and I always use a contrasting colour so they’re more visible against the fabric.

I used two strands of sewing thread to hopefully give enough strength, and backstitched every seam. I will admit I used a contrasting coloured thread, simply so I could see the stitches if I needed to unpick any! But with the stitches being on the inside, nobody would be any the wiser for which colour thread I actually used.

“Happy” is jointed to allow him to pose better, but I think he will look even cuter once he has ears, nose and a mouth.

Funky Furry Bear

After a couple of recent attempts at making bears from other people’s patterns, I decided it was time I tried making a pattern of my own. I wanted to use furry fabric, as that gives the muzzle a better shape, and can also help conceal any lumps in the seams, but fake fur can be expensive and I didn’t want to spend too much on something that might not even work.

Luckily, Abakhan had a sale which included some brown fake fur for just £3.99 a metre, so that made the perfect fabric choice.

The fur is shorter than the purple I used before, and is also trimmed at certain points, so it isn’t all the same length. The small size of this bear doesn’t really show off this multi-length fur to its best, as it does look like I’d just trimmed it myself and made a pretty bad job of it….

But considering this is a first draft of a self-made pattern, I’m pleased with how it came out. I think I would lengthen the arms on the next one, and possibly shorten the body, as he does seem quite thin and lanky.

The inner ears are made from scraps of minky left over from the previous bears, and so far I’m undecided if I should embroider a nose, or if he looks ok with a brown furry nose.

The round muzzle is a particular favourite feature, as most of the patterns I’ve seen have a pointy muzzle with the head gusset reaching all the way to the nose. This bear doesn’t actually have a head gusset at all!


A New Wallet

Mum had asked for me to buy her a new wallet for her birthday; it had to match the look of her old wallet, complete with a zipped pocket, and velcro closure, but that was easier said than done, as nowhere seems to stock a wallet that style now!

So instead, I decided to be reckless and have a go at making my own from scratch. After a rummage through my fabric scraps bag, I came across some suitable fabric, a zip I’d unpicked from a failed bag attempt, a small amount of velcro that Mum had let me have, and some bias binding that I think was originally earmarked for binding the seams on a bag.

With some measurements taken from the original wallet, and a little planning on paper to ensure I was able to put the zip in without too much trouble, I ended up with a passable wallet that looks almost the same in style as the original! The original wallet did use a more sporty fabric than the polycotton I’ve used, but this way Mum can have a unique wallet rather than something mass produced that everyone else might also have.

The only disadvantage of making Mum a wallet, is that now she has plans for a wallet for every season! But at least it means I’ve already got an idea what I can make her for Christmas.


Notebook Folder the Third

In the run up to my Mum’s birthday, I was trying to think of something I could make as a present. I’m not confident enough to make clothing for her, and she didn’t need a new bag – so what could I possibly make her? I did notice, however, that she was using a reporter’s notebook, which gave me the idea of a new notebook folder for her. The original one I made was on Mum’s sewing machine, and proved a struggle to sew through all the layers of fabric. The second one was easier, although I still used non fusible wadding, so I had to quilt the inside cover.

This time, I was determined to follow the pattern (almost) exactly! I used two fat quarters, a small amount of dress lining fabric, and some fusible fleece, so there was no need to quilt the inside cover.

I ensured the button and strap were the right way around this time, as the first attempt had the strap on the inside of the cover, with the seam allowance sticking out… rookie mistake!

I left out the pen and card holders, as Mum prefers to keep her pen separate to the folder, in case the pen leaks.

I cheated on the inside of the notepad pocket, as it seemed a waste to use a fat quarter when you weren’t going to see the pattern. So I used some cream dress lining fabric instead.

The angled pocket was slightly wider than the fabric I had left over, hence the small piece of the second fat quarter in the right corner. But rather than that looking like a mistake, I think it just adds to the quirky appeal of the folder.


Pattern: Notebook Folder Tutorial from Riley Blake Designs
Fat quarters: Hobbycraft


Ping Panda

Meet Ping the Panda! Although he doesn’t really look like a panda, because I used the same fabric throughout. Ping the Panda’s pattern came from a back copy of Sew Magazine. It was designed for mohair fabric, so like the long neck bear, Ping does look a little different to the picture in the pattern.

Ping’s neck doesn’t seem to be elongated which is a bonus, although his paws look like they aren’t quite attached at the right angle. I think his arms are positioned a little too far back, which makes them splay out at the front, rather than being held straight down by his side.

Taking out my never ending quest for perfectionism, Ping is perfectly cuddly and would make a great bed time buddy for someone.

Long Neck Bear

It’s taken a while to get this bear finished, but here’s my first “minky” bear! I can’t remember where I got the pattern from, but I think it’s the same one I used for my purple furry bear a while ago.

The lack of fur length gives this bear a totally different look – his muzzle seems much longer than the purple bear’s. The only real difference other than the fabric is this bear is unjointed, whereas the purple bear has movable joints.

I think I need to improve my sewing skills when it comes to the neck of unjointed bears though, they always seem to have an elongated neck, which does give them a rather unusual appearance. Maybe this one just needs a scarf to hide that a little….

Oceanside Shorts – take one

I’ve always been wary of the thought of sewing shorts or trousers. There’s something about the potential alterations that seemed even more scary than sewing neat buttonholes on the front of a shirt! I had attempted some pyjama shorts last year, but never anything that would be suitable to wear outside. But when I spotted the Blank Slate Patterns Oceanside Shorts pattern I decided it was worth a try.

The back is elasticated with drawstrings attached, which gives the shorts a relaxed comfortable fit. I used part of a duvet cover as a trial run, just in case I needed to do any alterations. Much to my amazement, however, there were absolutely no alterations needed!

My finished Oceanside Shorts

The pockets have a neat feature, with the top corner folded over. They are meant to have a decorative button to hold down the corner flap, but I’m still trying to find a couple of buttons shaped liked butterflies which would match the pattern on the fabric.

Shorts pocket - there's a folded corner detail to the pockets

I did make the shorts marginally longer than the pattern stated, but when I make my next pair, I’ll probably just stick to the length in the pattern.

Just to prove the shorts fit, here's a photo of them being worn

I will admit I’ve worn these shorts so much, that the fabric has actually worn through into a hole! Considering the fabric was just part of a cheap duvet cover, I’m not too annoyed – I’ve got a pattern than I know works, and I have plenty of fabric left over, so I can easily make myself another pair the same again.

Working on product testing

There’s no “work in progress” photos this week, as I’m working my way through some product testing fabric for Minerva Crafts. The biggest challenge at the moment, is picking out a pattern to make from the fabric selection – I never realised how tricky that part could be!

Minky Fleece

Lots of patterns for plushies use what they describe as Minky fabric. I found several American companies that sell it, but nowhere in the UK. I even asked in my local fabric shop, and had a confused look from the salesperson who had obviously never heard of it.

Browsing through one shop online, I discovered that UK stores actually call minky fabric “Cuddle Fleece” or “plush” fabric – no wonder I couldn’t find it anywhere!

I placed an order for a small amount of Soft Cuddle in Cappuccino, which is quite a neat shade of brown, and also some “Rabbit Cuddle” which has more of a random texture to the fabric rather than being totally soft and sleek.

I’ve not yet finished making anything from these, but I have got as far as marking out the pattern on the reverse. I wasn’t too sure what would be the best way of marking the pattern – chalk wouldn’t be that easy to use on the fabric, so in the end I used a biro.