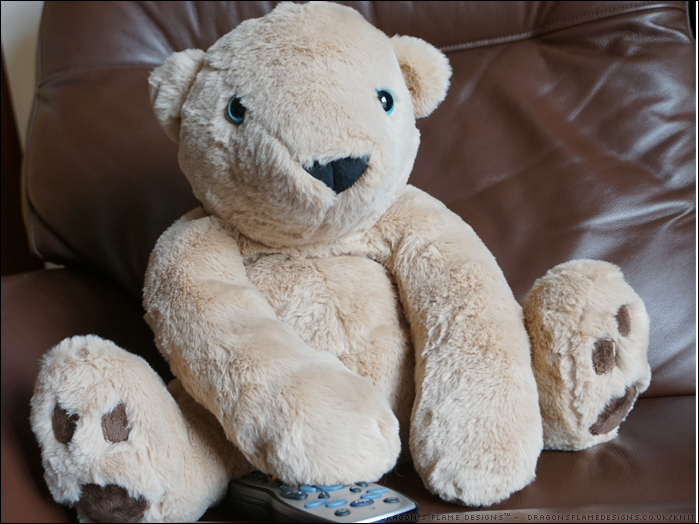
Ok, so I will admit that this pattern was for a Polar Bear…. and wasn’t actually quite so large either – but when has that ever stopped me?? I printed the pattern off at 200%, pieced the pages together and made myself a brown bear who is the perfect size to cuddle while watching tv.
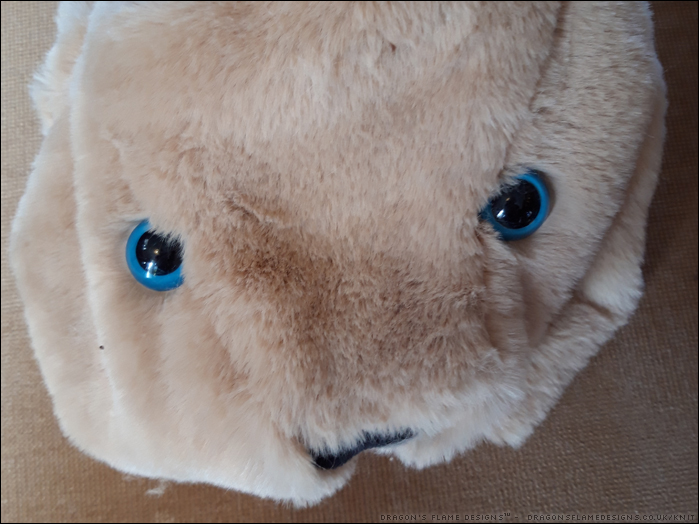
I found the blue eyes at Hobbycraft and couldn’t resist making a blue-eyed bear for a change… hence the name Frank after Frank Sinatra (Ol’ Blue Eyes). This pattern is completely different in its style to the previous bears I’ve sewn, so this was an interesting challenge using quite sleek faux fur on a pattern I’d never tried before!
His nose is made from black plush (minky) fabric which made a nice change from needing to embroider a nose on a bear… although it was quite hard to get the stuffing to stay in his muzzle for some reason.
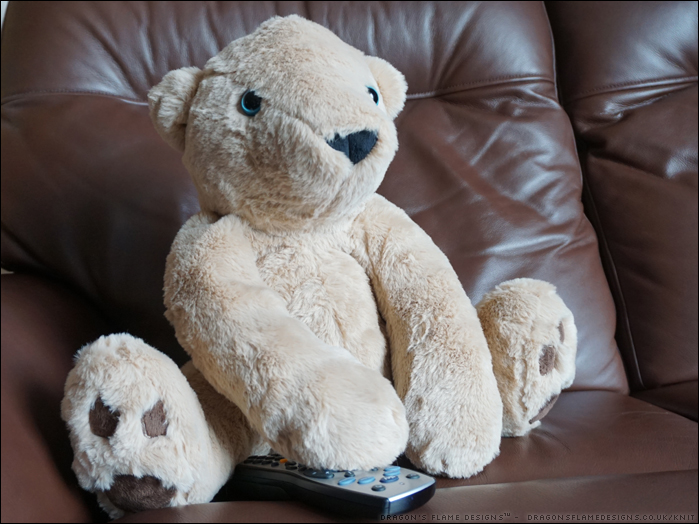
I deviated from the pattern to add in some paw pads made from some oddments of plush fabric I had lying around. I think this livens up his paws a little, and makes him look even cuter – what do you think?
Frank seems to have made himself at home already, and claimed the tv remote for his own!
….with a lightweight Eden Jacket, made from this awesome Memory Raincoat fabric! I’ve been able to put this jacket through its paces in rain, and as long as it’s not torrential rain I’ve kept dry – torrential rain is another matter entirely, but my walking companion was wearing a purchased waterproof coat and that let more water through than my Eden jacket did!
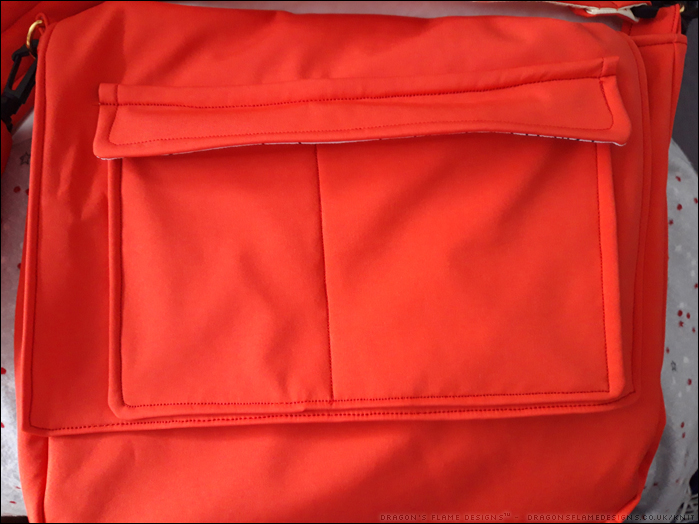
Remember the Magic Softshell Bag I shared last month? I finally finished it, and it’s turned out exactly as I hoped!
I skipped the poppers on the front flap pocket, but so far it looks like the combination of soft shell, poly cotton and a clear piece of vinyl (for extra waterproofing) is doing a good job of holding the pocket flap down.
I could’ve added some vinyl to the back of the front panel where the pockets are, just to ensure nothing could soak through, but I’m hoping the soft shell will be waterproof enough to not need that.
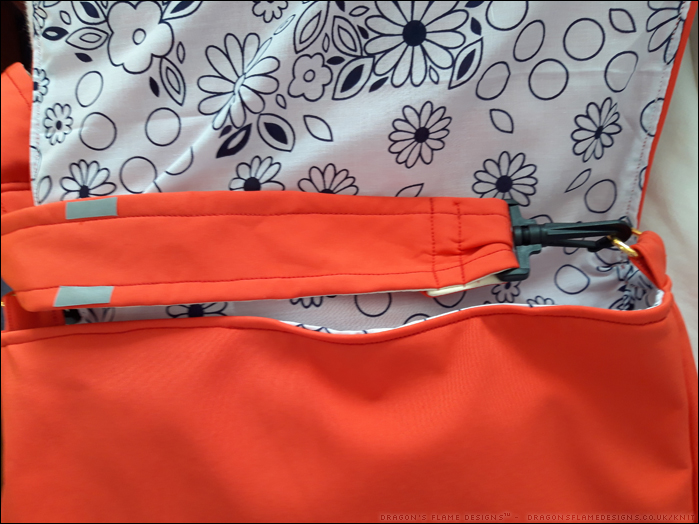
Because most of my winter walks result in me walking home in the dark, I’ve added a couple of reflective strips to the strap. I’ve never tried using this reflective tape before, and found it a challenge to sew into the softshell. So, I fused some no-sew Heat ‘n’ Bond to the back and ironed it in place instead. I’m not sure how well that will hold up to being washed, but at the moment it’s working well.
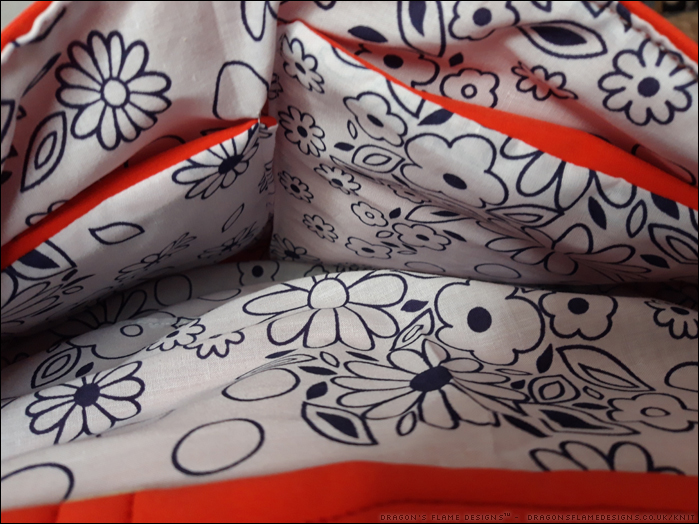
The pockets were originally going to be soft shell with a polycotton lining, but I decided the polycotton looked better as the outer, leaving the softshell to be the lining. The bit of red softshell at the top of the pockets make them easier to spot.
Hopefully if I get caught in torrential rain again, this bag will actually keep the contents dry! All I need is to make myself equally waterproof!
Pattern: Messenger Bag by Crazy Little Projects Fabric: Magic Softshell by Mibs Fabrics (now closed)
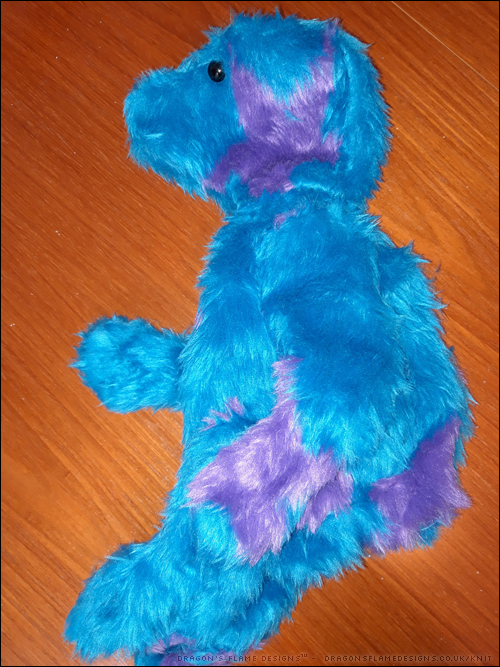
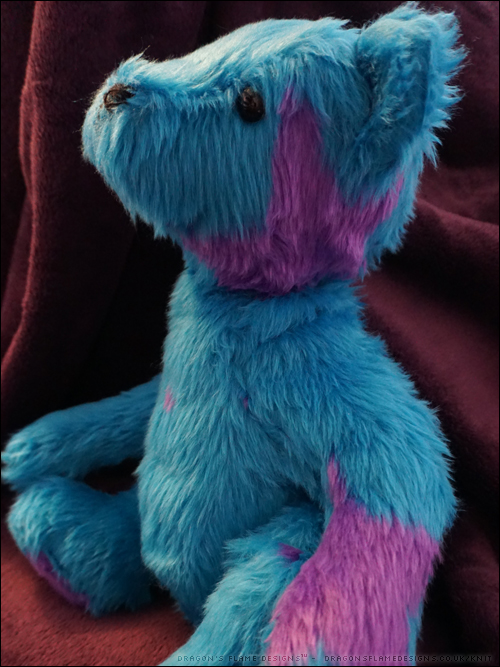
Remember Bella Bear from earlier in the year? Well she’s been patiently waiting for me to show her finished look, so here she is!
I stitched her arms and legs into place rather than using toy joints, as I prefer the softer feel. I was aiming for more of a Gund style feel to Bella – understuffed and cuddly. I think I might have gone a little too far in the understuffed line though, as she does feel rather lightweight!
I fussy cut a couple of the purple stars for her paw pads. I was originally going to make them as ‘tickle toes’ hence the trimmed fur at the top, but I didn’t have the confidence in my hand sewing ability to make a decent job of them.
I think maybe I could’ve made her neck a little shorter. That’s one disadvantage of not jointing the head, as it does tend to lead to a very long looking neck. Maybe next time I will add a joint on the head even if I omit them for the limbs.
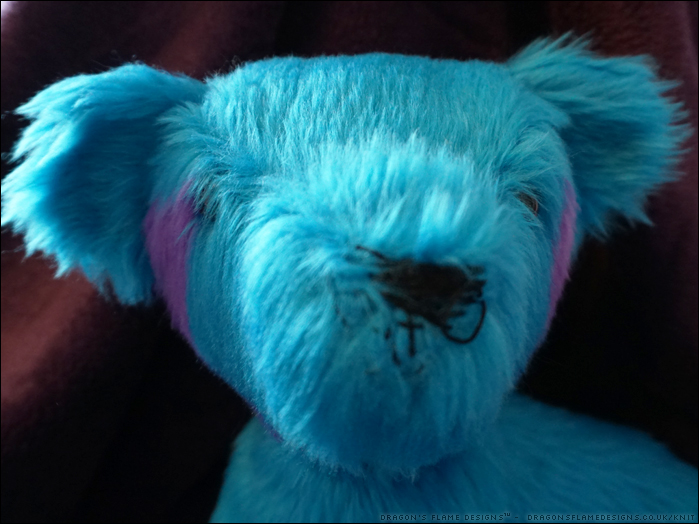
Ok, I admit it – she’s only 98% finished in this photo. I ran out of black thread for her nose, so she was waiting for me to finish…. then the stitches just started looking worse and worse, so in the end I cut a piece of black acrylic felt and stitched that in place as a nose instead.
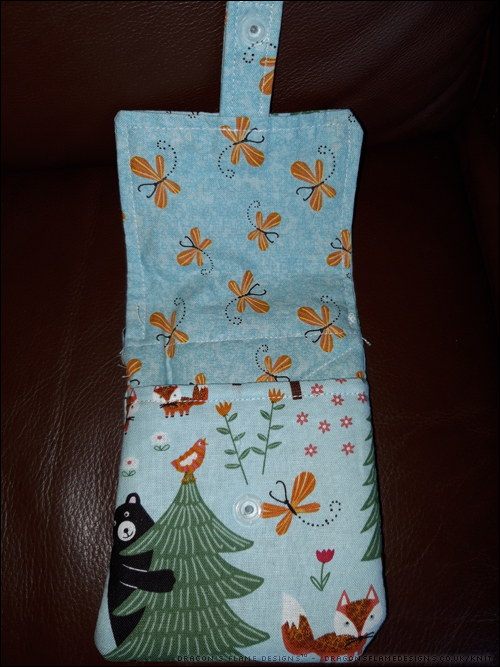
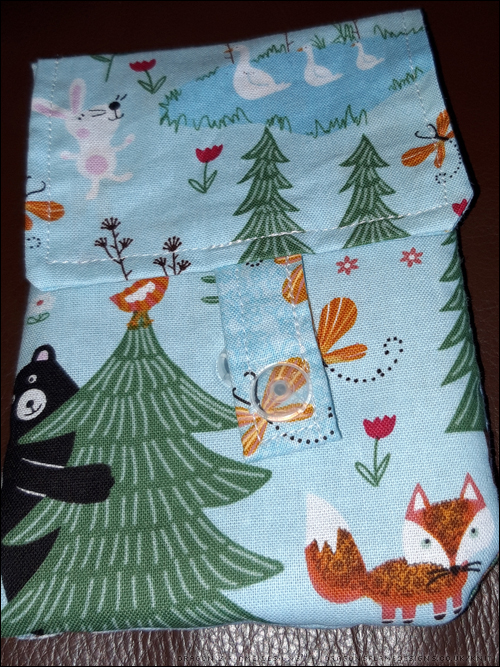
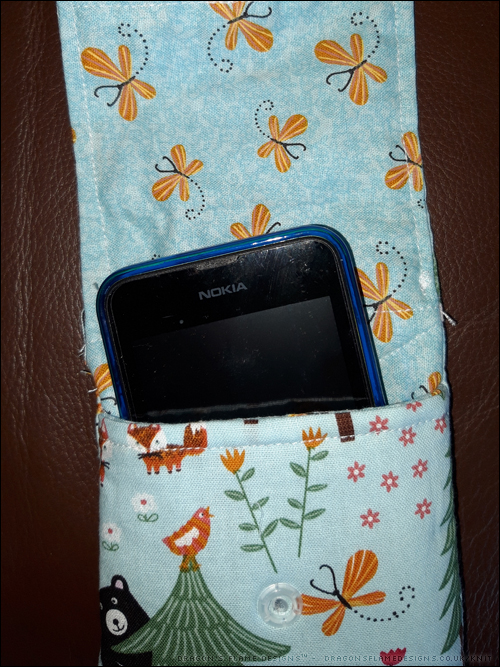
I couldn’t decide on the fabric to make Mum’s phone case – so I made her two! This one is made from the same fat quarter design as her baseball cap, in case you’re wondering where you’ve seen it before!
Thankfully Mum’s phone is quite small, as when I tried testing the case for size with my phone, the strap wouldn’t meet the front section so there’d be no way to close it.
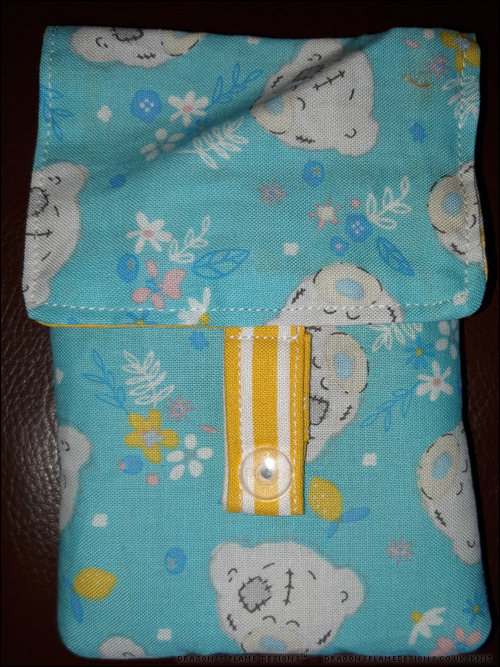
I never know what to make my Mum for her birthday, so it is always helpful when she puts in a request! This year one of the things she asked for was a new phone case… so of course I need to go one better and make her two.
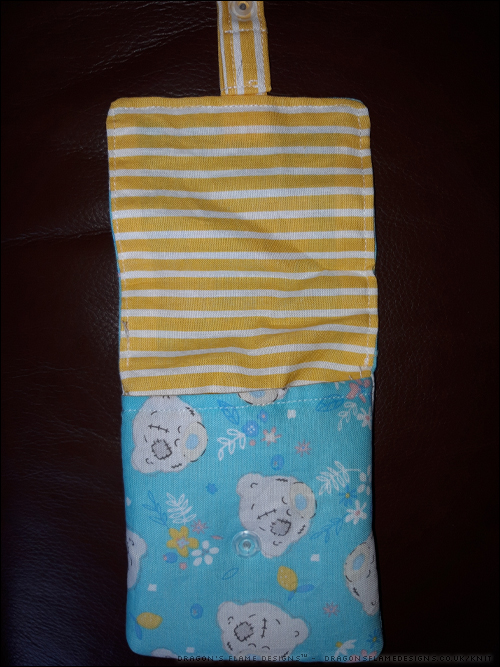
This is made from my Phone Case Tutorial, although due to user error in marking out the pattern pieces, this is a little shorter than the original. As luck would have it, Mum’s phone is quite small, so it still fits perfectly!
Because it was a little shorter than it should be, I added in a popper and strap to close the case just to give a little ‘wiggle room’ in sizing. I do need to redo the popper though, as it has actually fallen off since then (oops).