Tag Archives: sewing

Sympathy Bears

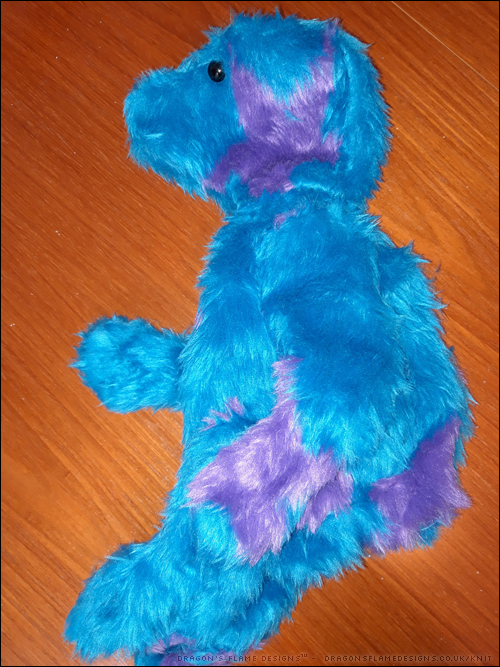
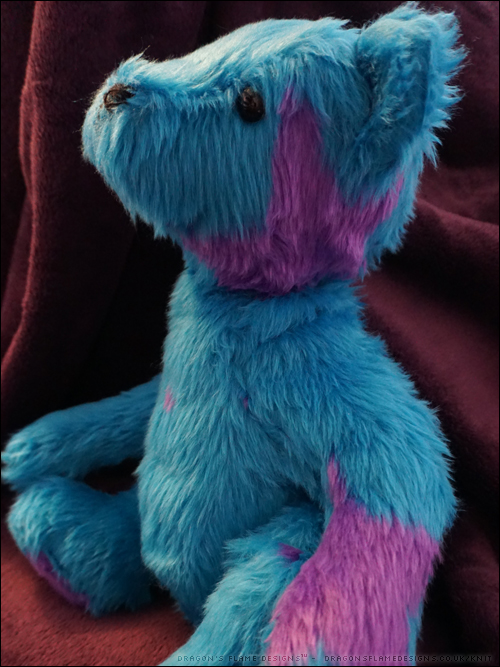
Sympathy bears weren’t something I had originally set out to make. But after I made Caramel, I heard that a friend’s cat had died. That’s the kind of time when you would give that friend a sympathetic hug. However, said friend lives in a different country, which made it impossible to give a hug in person!

What better way could there be of sending a hug, than posting Caramel as a hug through the post?
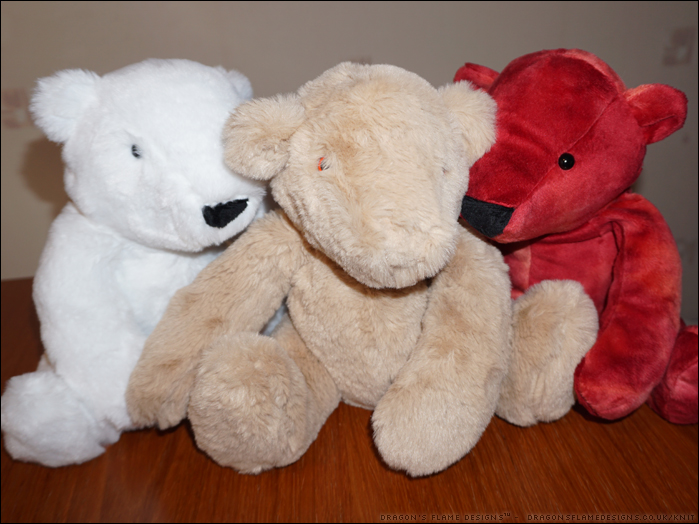
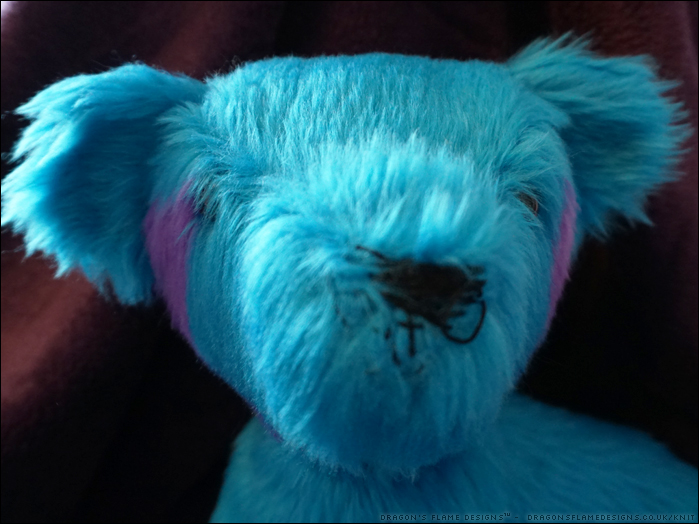
You can probably tell that Caramel was the first bear I made from this pattern, as he’s not entirely accurate compared to my later makes. But despite his lack of visible nose (I didn’t have any suitable black fabric to hand when I made him), he gives a lovely hug, and that’s what matters.
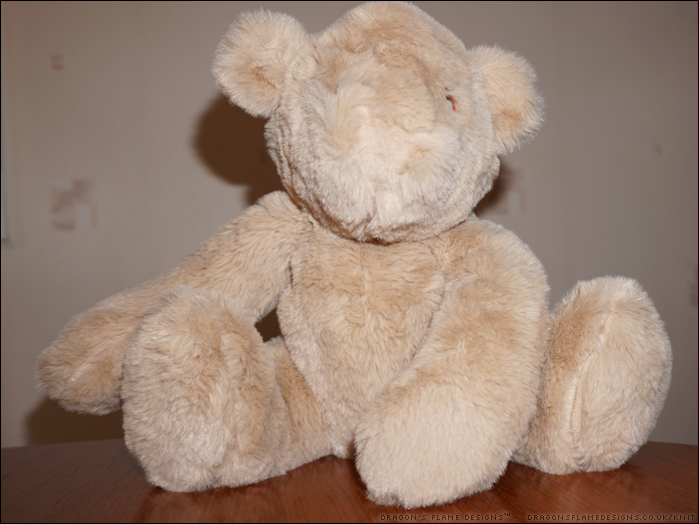
I’d purchased the fabric online which doesn’t always make for a success with faux fur. But I was pleasantly surprised how tactile this fake fur is! There’s the usual shedding when you’re cutting and sewing, but once the bear is made there doesn’t seem to be any further shedding of fur.
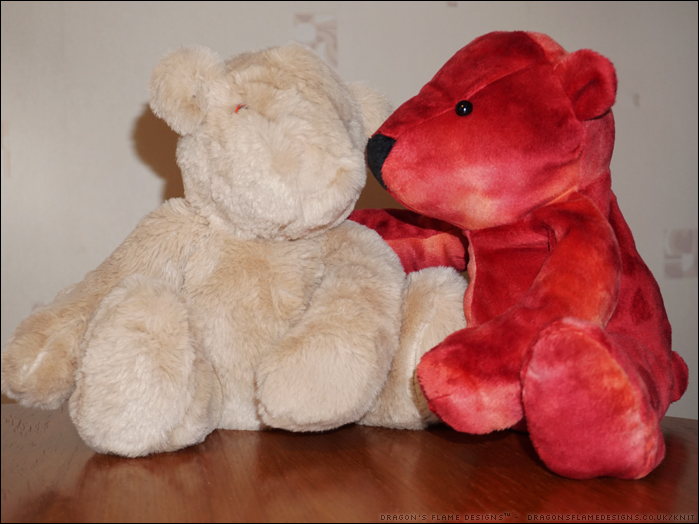
Caramel and Rusty bears

I made Rusty from the same pattern, but using a tie-dye effect Cuddle Plush fabric (also known as Minky), which has a much shorter pile. So although both bears are made from the same pattern, Caramel’s facial features aren’t as defined – even with his body-coloured nose!
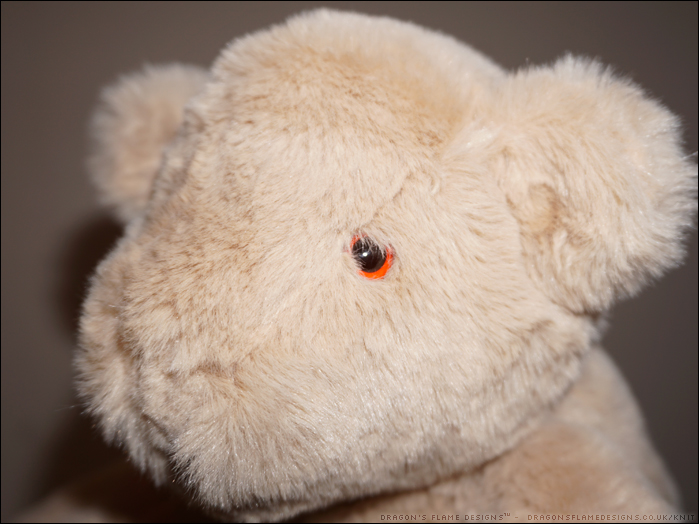
Caramel Bear

Fast forward to 2020 and even for friends living closer to home, it’s obviously not suitable to give them a hug when they need one. So when a local friend’s dog passed away, I knew just the thing to make.
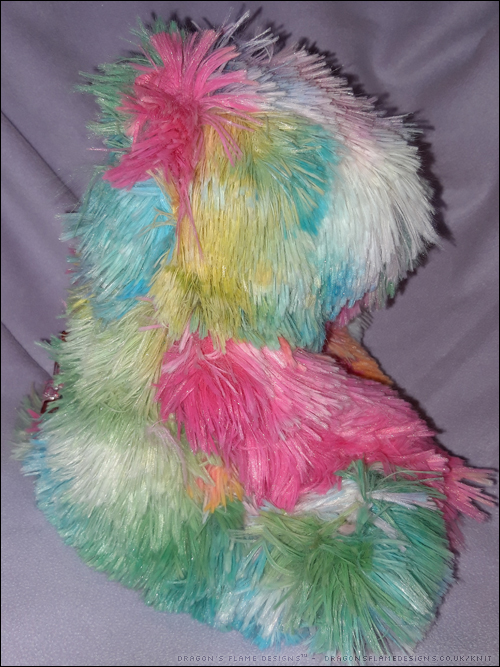
Duster Bear (with clips holding his back seam as I was testing how much stuffing he’d need to enable him to sit upright)

Meet Duster, who was made from a long pile rainbow fake fur. This had a much thinner backing fabric and wouldn’t be something I was happy using for a child’s toy, but for a sympathy bear it worked really well.
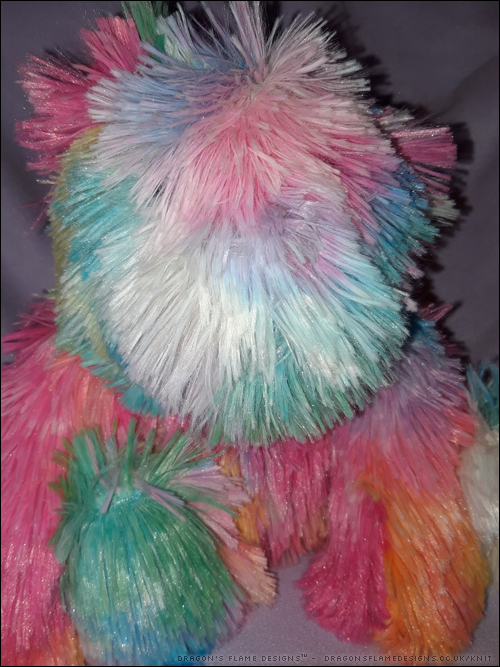
My friend’s dog was long-haired, so I thought the long pile of this fake fur would work well to run her hands through in the absence of her faithful companion.
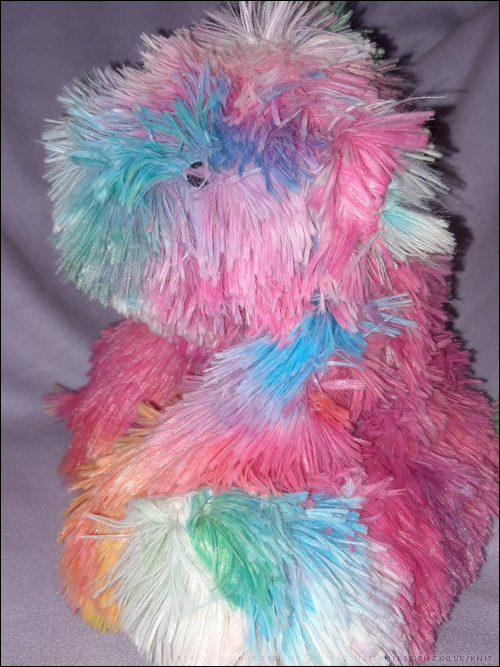
It’s the kind of project where you strongly hope you’ll have no need to make any more soon, but if you do then they aren’t too challenging to make!

The pattern is from Simply Sewing issue 24, but unfortunately it’s not available as a back issue. You can, however, download the pattern templates from their website – gathered.how. One important thing to note, is that templates downloaded from a magazine’s website do not include instructions, so if you don’t have issue 24 then you would need to have some toy making knowledge to know how everything should fit together!

I’ve also made some larger versions of these bears, but for sympathy bears I think this is the perfect size.


Pattern: Simply Sewing issue 24
Fabric: Premier Plush from FabricLand
Rainbow Faux Fur from Mibs Fabrics (now closed)
Tie-dye Cuddle Plush from Plush Addict
Nine for 2021

Ok, I will admit it’s been a looooooong time since I posted anything on my blog! 2020 was a strange year in more ways than one – I didn’t get as much opportunity to work on sewing projects as I’d planned, and I struggled to get into the swing of blogging about them too!

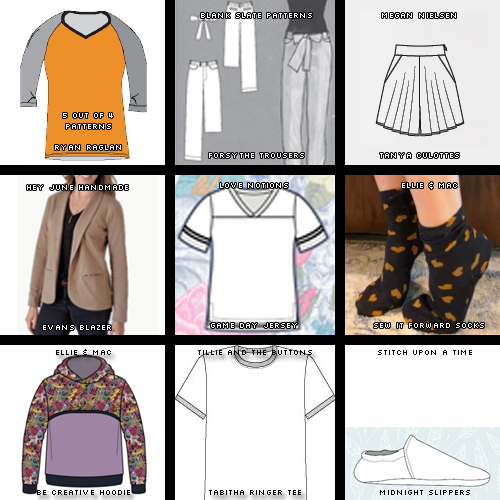
But I thought I’d start 2021 properly and actually get sorted with a Make Nine post of what I’m hoping to make this year. I wanted to pick patterns I’d already bought but not yet made anything from, and also a couple of ones that help me use up some oddments & offcuts of fabric – those pieces that are too big to just throw away, but too small to make a whole item from.

Image of my Nine things I want to make in 2021 (listed below the image itself)

So from the top row we have:

5oo4 Ryan Raglan *
Who says a Make Nine has to be solely for me to wear? I’ve wanted to make my Dad a Raglan sweater for a while, and I think this pattern might just be the one that works!

Blank Slate Patterns Forsythe Trousers
I’ve had the pattern for what feels like an eternity, but still haven’t made an Forsythe Trousers. These look comfy and suitable to sit in all day (no high waist that’s going to dig in after a few minutes) so I’m hoping these will work well.

Megan Neilsen Tania Culottes
I had some culottes when I was a child, but the Tania pattern golds appeal as looks like a skirt from a distance… just without the risk of flashing anything on a windy day!

Second row, left to right:

Hey June Handmade Evans Blazer *
I bought the pattern not long after the Evans Blazer was released, but it’s a more complex jacket pattern than any I’ve made before. However, if I can find the ‘right’ fabric and be brave enough to actually cut the pieces out(!) then I think this could work.

Love Notions Game Day Jersey
You can never have too many t-shirts, right?

Ellie & Mac Sew It Forward Socks
As the name suggests, this is another one that’s destined to be a gift for someone rather than making just for me. I’m hoping to make my Dad some slipper socks (regular socks just with a grip on the base), and also to make some funky socks for a friend.

And third row, from the left:

Ellie & Mac Be Creative Hoodie
Although I’ve made quite a few hoodies, I’ve never made myself a Be Creative one – it looks like a great way to use up some of those offcuts that aren’t quite big enough to make a complete garment from.

Tillie and the Buttons Tabitha Ringer Tee from Make it Simple
I bought Tilly’s Make It Simple book when it was released, and I think it’s about time I made something from there, don’t you? The Tabitha Ringer Tee caught my eye when I was flicking through, and I think that would be a good one to start with, especially as my t-shirt neck bindings never seem to work out all that neatly!

Stitch Upon A Time Midnight Slippers
I’ve never tried making slippers for myself… but if the product I’ve ordered to make the grip for slipper socks works, then I’m hoping to use that on the soles of Midnight Slippers so I can use up some of my fabric oddments and make myself something useful at the same time!

Embroidered Cord over at Minerva

I can’t believe I haven’t posted these here yet! I made these jeans last year, with some embroidered cord from Minerva. To make it fit on their new website (I had too many photos for a single post!), the blog post is split into three:

OneTwoThree

I’d never sewn with cord before, let alone embroidered cord, so this was an interesting experience!

As usual, I was gifted the fabric in exchange for the blog post as part of their Minerva Makers team 😁

Unseasonal, but finally finished!

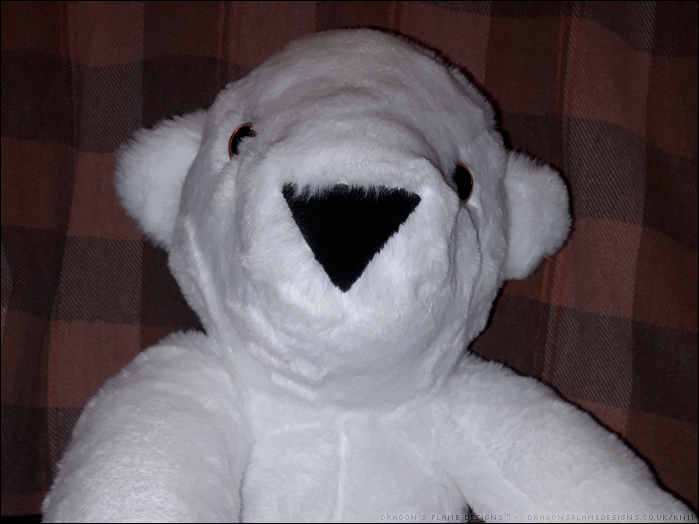
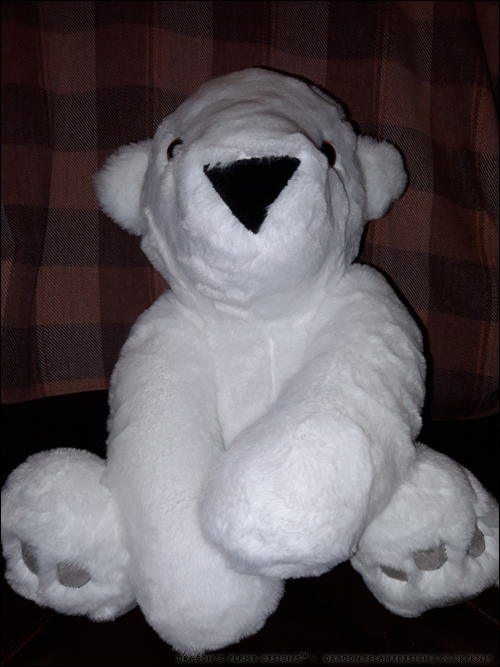
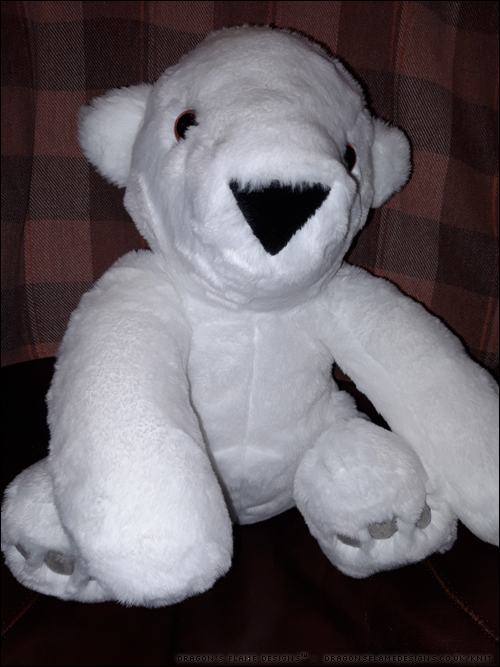
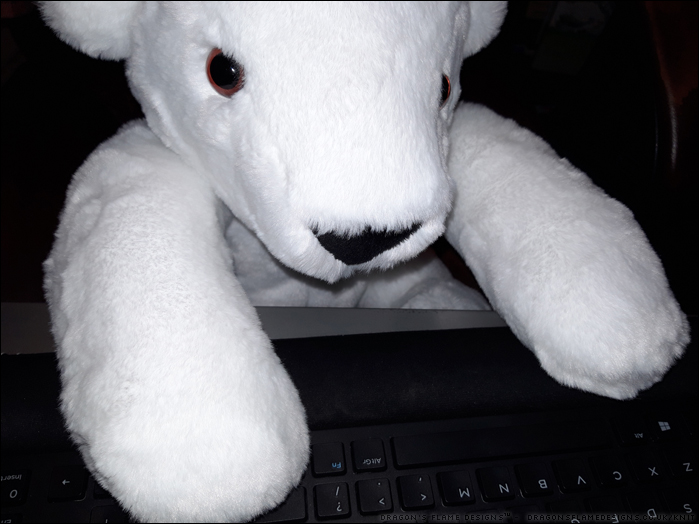
When you think of polar bears, you probably think of snow, ice, and generally cold weather. But this particular polar bear wanted to enjoy a hot summer – or at least as hot as the weather gets here in England! So here is Martin the Polar Bear, who has taken a liking to watching cookery shows on tv.

Usually when sewing with faux fur, it’s recommended to trim the fur in the seam allowance. This makes the seams easier to sew as the fur isn’t sliding about all over the place, but also it means it’s easier to stop the fur getting caught in the seams.

I didn’t bother with trimming the fur, as I didn’t feel the pile on this faux fur was long enough to need that. I got on fine, apart from one point on Martin’s neck where I’d not actually caught the backing fabric in the seam. If I make another polar bear from this fabric, I think I would just trim down the fur in the seam allowance on both sides of the neck seam, and leave the other seams untrimmed.

As you can tell, Martin made himself at home quite quickly – I hadn’t realised he could reach the computer keyboard from the chair… think he was trying to find some recipes he could cook.


Pattern: Polar Bear from issue 24 of Simply Sewing magazine
Fabric: White Premier Faux Fur from Fabric Land
Brown Safety Eyes from Hobbycraft

A (not-quite-so) Seasonal Bear UFO

I will admit I started making the Polar Bear last year, with the aim of him featuring on my blog before Christmas. Unfortunately ‘real life’ got in the way, as it has a tendency to do, and although I finished the bear, I never got as far as the blog post! So here we have the not-quite-so-seasonal Polar Bear UFO.


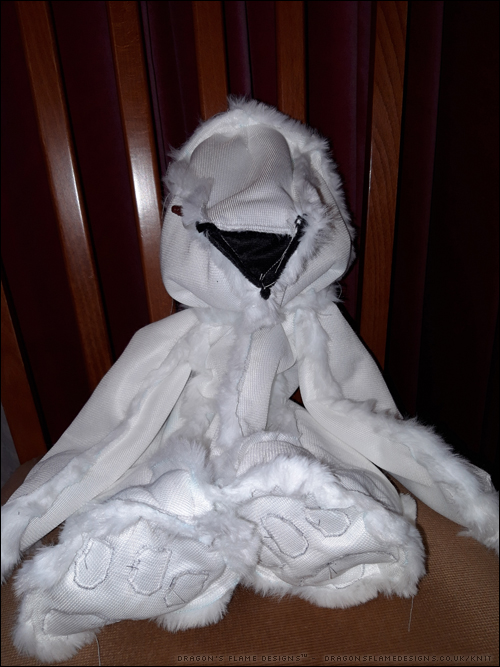
Having made Frank the Not Quite a Polar Bear, I couldn’t resist making a seasonal looking bear to go with him! I used the same applique idea for the Polar Bear’s paws, but picked out some silvery plush fabric instead of the brown. I also trimmed down the white faux fur underneath the applique sections just to try and get my zigzag stitches to lie a little neater. I could’ve brought the applique in a little more from the edges though, as once I finished sewing the Polar Bear there’s not a particularly noticeable gap between the paw pad and the side seam in places!

Rather than the blue eyes I used for Frank, I thought it was better to stick with a more traditional brown for the Polar Bear. I can’t say the bear looked overly pleased at having to wait for me to take his photo while he was still inside-out though! I get the idea he’d rather I hurried up so he could be stuffed!


Pattern: Polar Bear from issue 24 of Simply Sewing magazine
Fabric: White Premier Faux Fur from Fabric Land
Brown Safety Eyes from Hobbycraft

Frank the Not Quite a Polar Bear

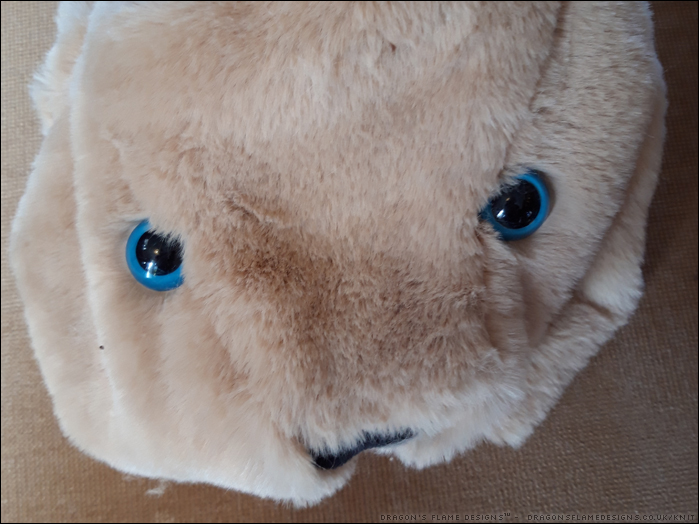
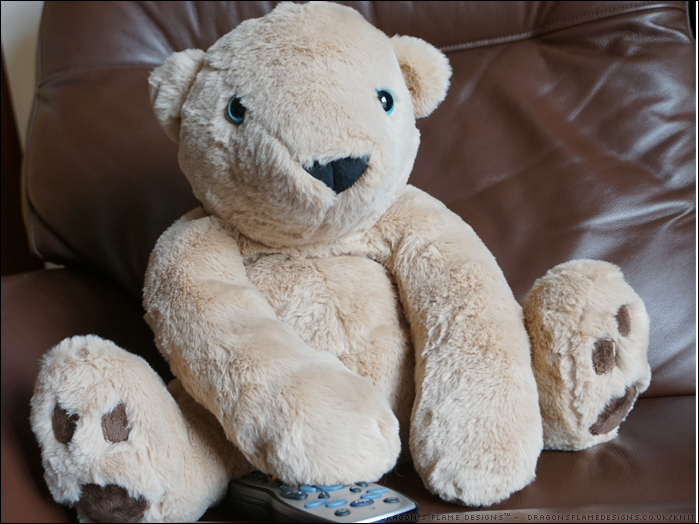
Ok, so I will admit that this pattern was for a Polar Bear…. and wasn’t actually quite so large either – but when has that ever stopped me?? I printed the pattern off at 200%, pieced the pages together and made myself a brown bear who is the perfect size to cuddle while watching tv.

I found the blue eyes at Hobbycraft and couldn’t resist making a blue-eyed bear for a change… hence the name Frank after Frank Sinatra (Ol’ Blue Eyes). This pattern is completely different in its style to the previous bears I’ve sewn, so this was an interesting challenge using quite sleek faux fur on a pattern I’d never tried before!

His nose is made from black plush (minky) fabric which made a nice change from needing to embroider a nose on a bear… although it was quite hard to get the stuffing to stay in his muzzle for some reason.

I deviated from the pattern to add in some paw pads made from some oddments of plush fabric I had lying around. I think this livens up his paws a little, and makes him look even cuter – what do you think?

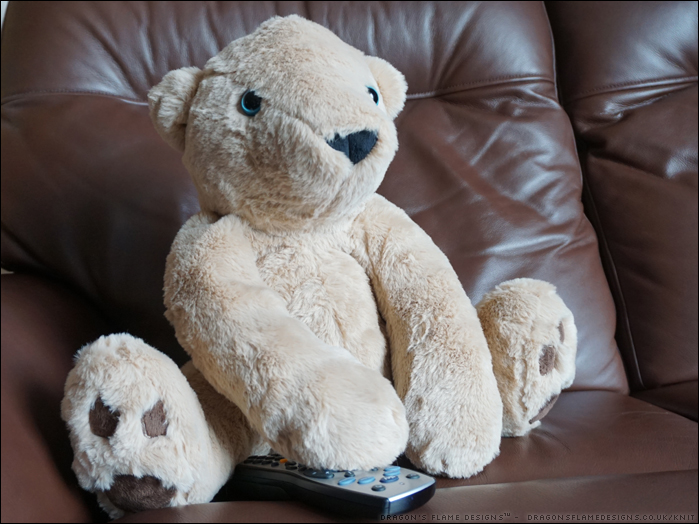
Frank seems to have made himself at home already, and claimed the tv remote for his own!


Pattern: Polar Bear from issue 24 of Simply Sewing magazine
Fabric: Premier Faux Fur from Fabric Land
Blue Safety Eyes from Hobbycraft

Back to Minerva Crafts today….

….with a lightweight Eden Jacket, made from this awesome Memory Raincoat fabric! I’ve been able to put this jacket through its paces in rain, and as long as it’s not torrential rain I’ve kept dry – torrential rain is another matter entirely, but my walking companion was wearing a purchased waterproof coat and that let more water through than my Eden jacket did!


Pattern: Eden Jacket by Tilly and the Buttons
Fabric: Memory Raincoat supplied by Minerva

The Magic Softshell Bag is finished!

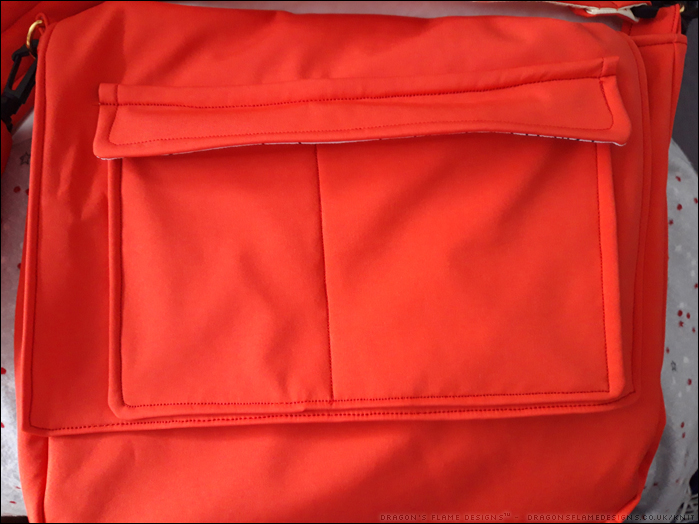
Remember the Magic Softshell Bag I shared last month? I finally finished it, and it’s turned out exactly as I hoped!

I skipped the poppers on the front flap pocket, but so far it looks like the combination of soft shell, poly cotton and a clear piece of vinyl (for extra waterproofing) is doing a good job of holding the pocket flap down.

I could’ve added some vinyl to the back of the front panel where the pockets are, just to ensure nothing could soak through, but I’m hoping the soft shell will be waterproof enough to not need that.

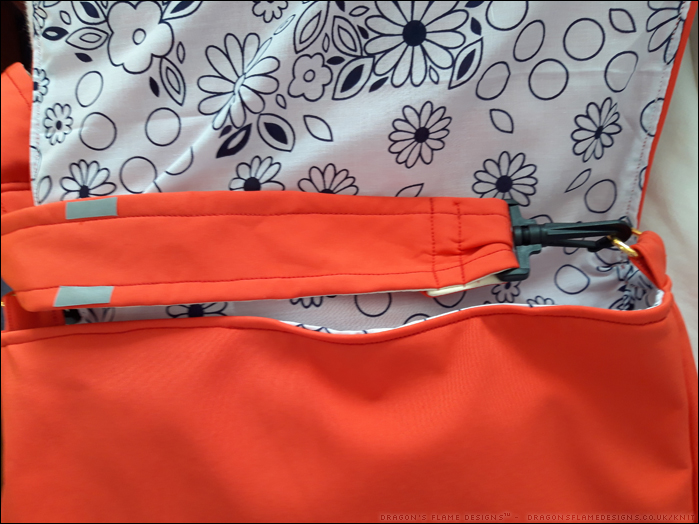
Because most of my winter walks result in me walking home in the dark, I’ve added a couple of reflective strips to the strap. I’ve never tried using this reflective tape before, and found it a challenge to sew into the softshell. So, I fused some no-sew Heat ‘n’ Bond to the back and ironed it in place instead. I’m not sure how well that will hold up to being washed, but at the moment it’s working well.

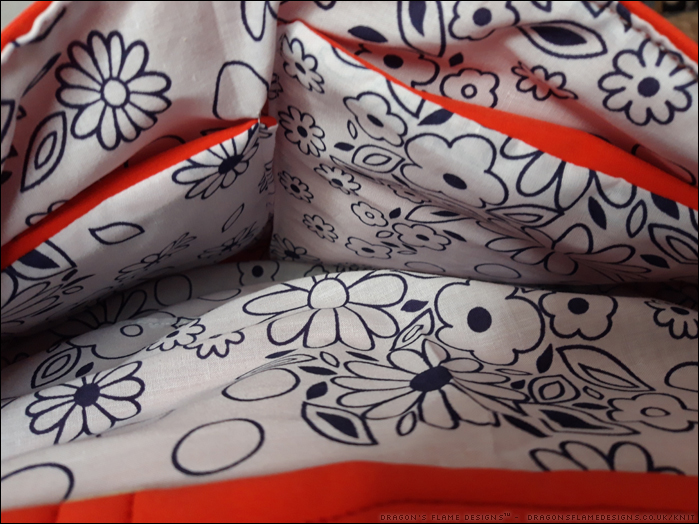
The pockets were originally going to be soft shell with a polycotton lining, but I decided the polycotton looked better as the outer, leaving the softshell to be the lining. The bit of red softshell at the top of the pockets make them easier to spot.

Hopefully if I get caught in torrential rain again, this bag will actually keep the contents dry! All I need is to make myself equally waterproof!


Pattern: Messenger Bag by Crazy Little Projects
Fabric: Magic Softshell by Mibs Fabrics (now closed)

Bella Bear

Remember Bella Bear from earlier in the year? Well she’s been patiently waiting for me to show her finished look, so here she is!

I stitched her arms and legs into place rather than using toy joints, as I prefer the softer feel. I was aiming for more of a Gund style feel to Bella – understuffed and cuddly. I think I might have gone a little too far in the understuffed line though, as she does feel rather lightweight!

I fussy cut a couple of the purple stars for her paw pads. I was originally going to make them as ‘tickle toes’ hence the trimmed fur at the top, but I didn’t have the confidence in my hand sewing ability to make a decent job of them.

I think maybe I could’ve made her neck a little shorter. That’s one disadvantage of not jointing the head, as it does tend to lead to a very long looking neck. Maybe next time I will add a joint on the head even if I omit them for the limbs.

Ok, I admit it – she’s only 98% finished in this photo. I ran out of black thread for her nose, so she was waiting for me to finish…. then the stitches just started looking worse and worse, so in the end I cut a piece of black acrylic felt and stitched that in place as a nose instead.


Pattern: Belladonna Bear by Emma’s Bears
Fabric: Starry faux fur from Fabric Land

The Three Bears at Minerva

I’m back at the Minerva blog today, with four makes from a metre of Christmas cotton!

This was a really fun project to make and as you can probably tell, we had lots of fun taking the photos too!


Patterns: Delight by Emma’s Bears | Sketchbook by Buzzing and Bumbling
Fabric: Christmas cotton supplied by Minerva