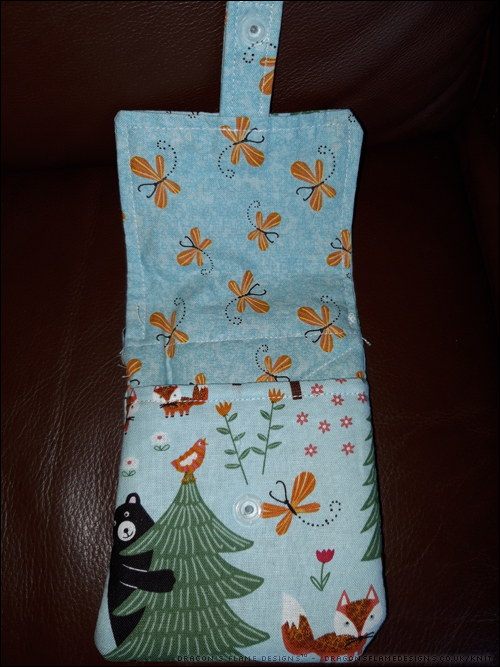
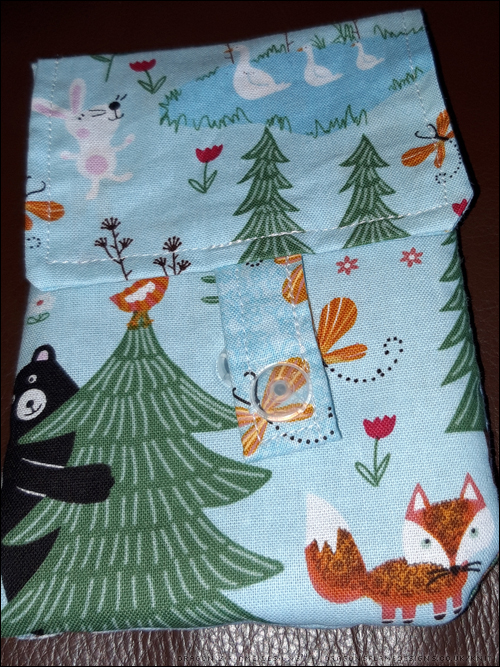
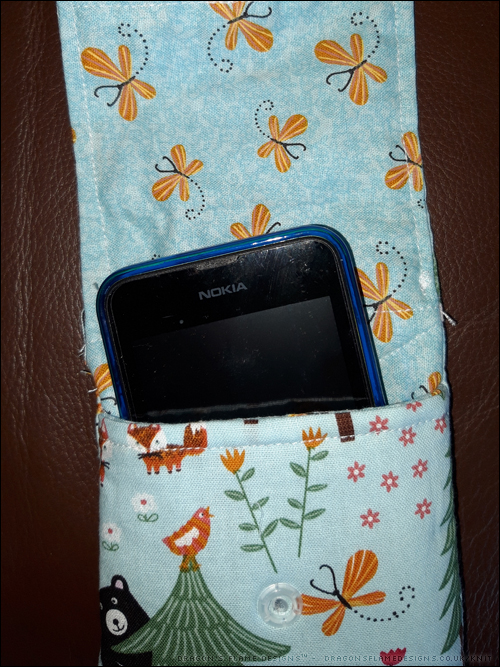
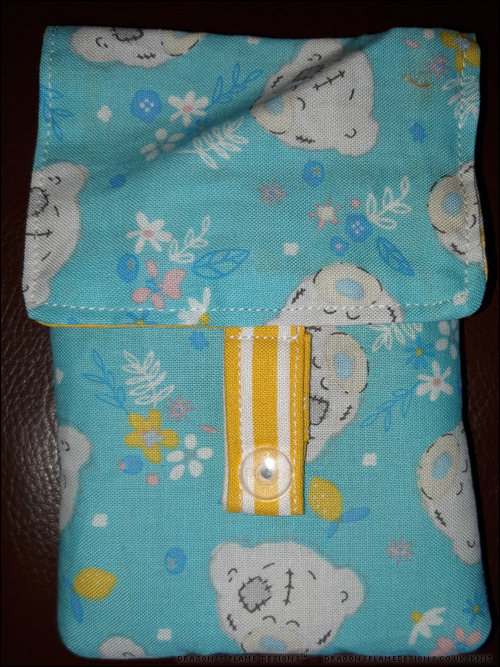
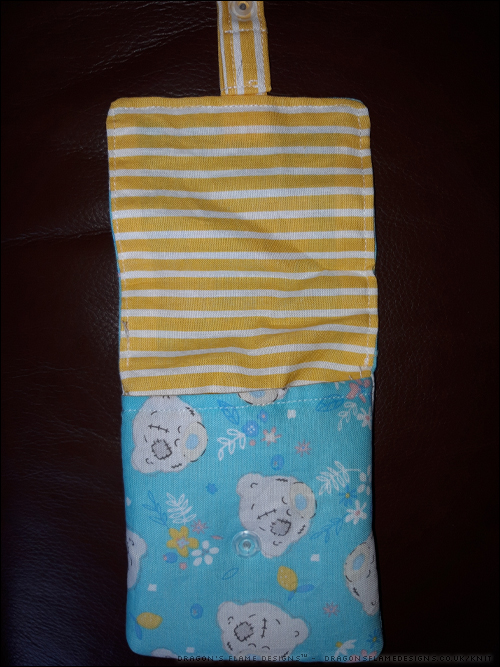
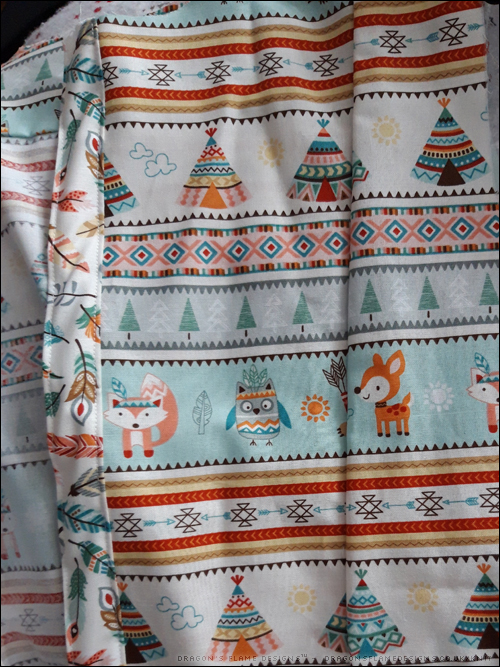
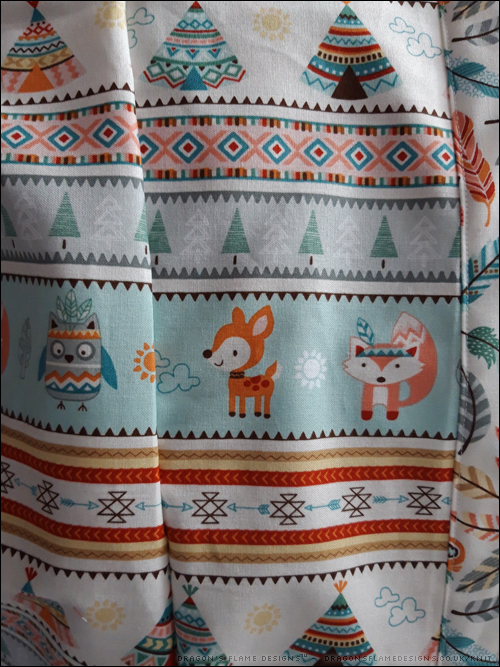
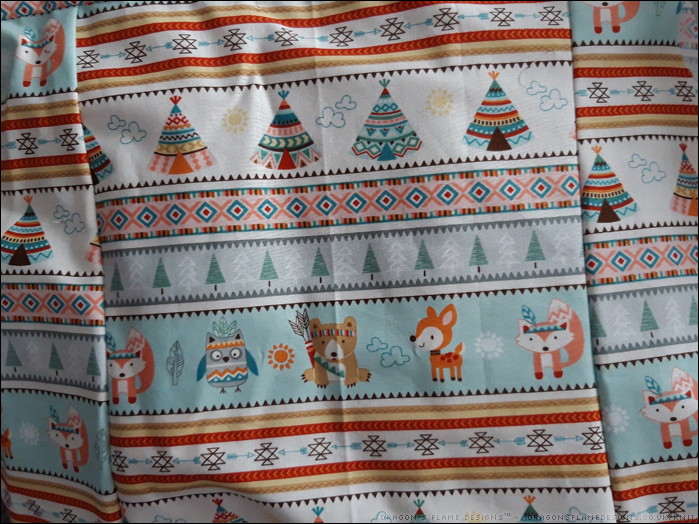
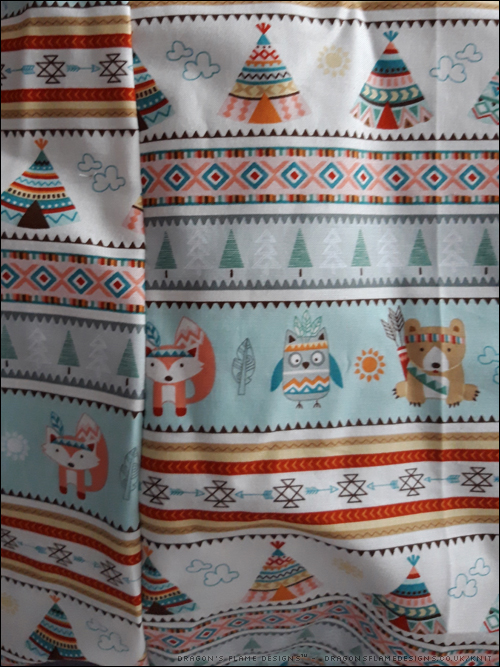
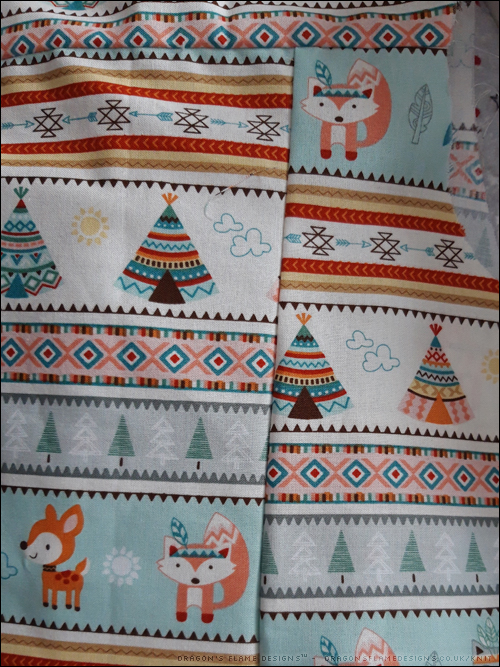
I couldn’t decide on the fabric to make Mum’s phone case – so I made her two! This one is made from the same fat quarter design as her baseball cap, in case you’re wondering where you’ve seen it before!
Thankfully Mum’s phone is quite small, as when I tried testing the case for size with my phone, the strap wouldn’t meet the front section so there’d be no way to close it.
I never know what to make my Mum for her birthday, so it is always helpful when she puts in a request! This year one of the things she asked for was a new phone case… so of course I need to go one better and make her two.
This is made from my Phone Case Tutorial, although due to user error in marking out the pattern pieces, this is a little shorter than the original. As luck would have it, Mum’s phone is quite small, so it still fits perfectly!
Because it was a little shorter than it should be, I added in a popper and strap to close the case just to give a little ‘wiggle room’ in sizing. I do need to redo the popper though, as it has actually fallen off since then (oops).
Ok, I admit I’m not exactly sewing seasonal projects right now! But I have managed to get the Softshell Eden Jacket finished…. and my Mum has already claimed it for herself!
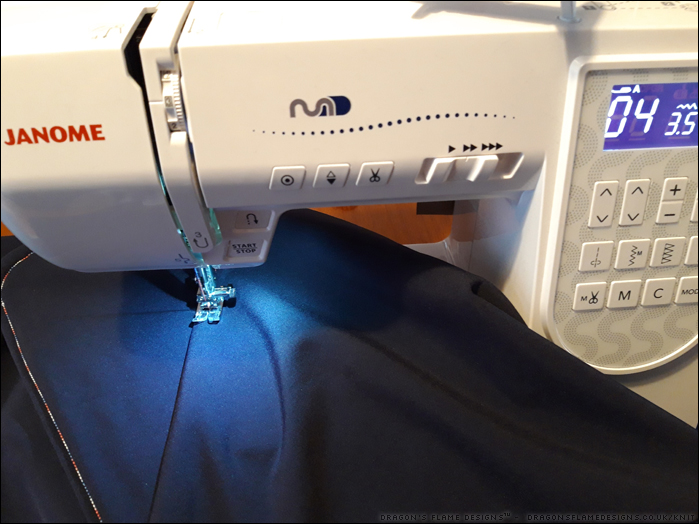
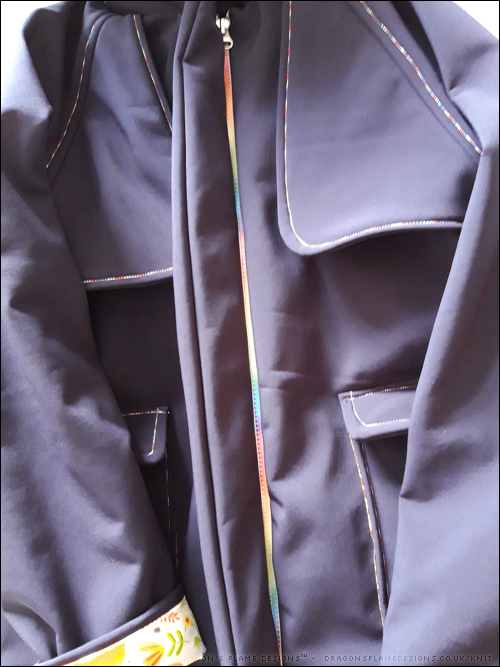
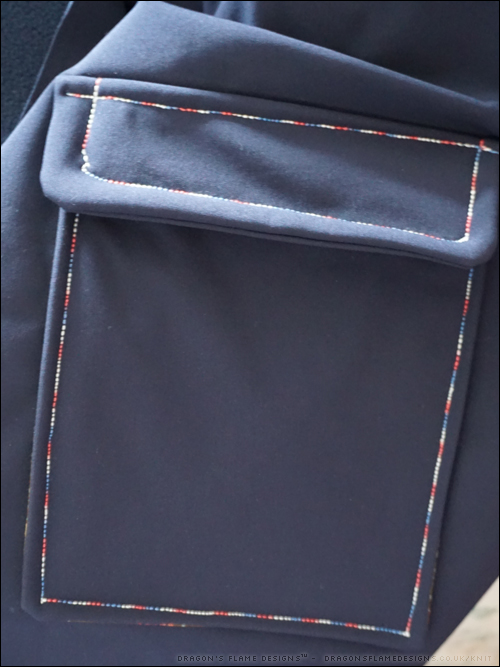
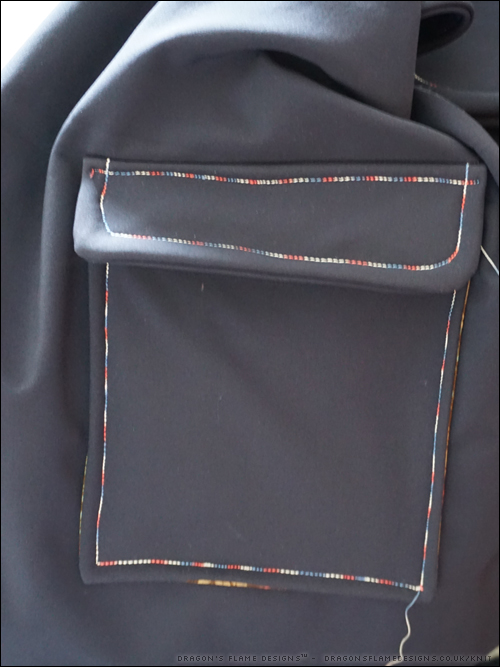
I wanted to make the topstitching quite noticeable, so I used some multicoloured Guttermann thread just to liven up the plain navy fabric. Unfortunately my sewing machine decided to skip stitches at times, so it’s not quite as evenly stitched as I’d hoped. I discovered on a later project that if I used a regular needle rather than a sharps needle, it actually sews an even stitch – just don’t ask me why!
I did purchase some poppers, but I haven’t yet tried adding them – Mum seemed quite happy with the jacket not having popped pocket flaps, and she never uses the poppers on her bought waterproof coat anyway.
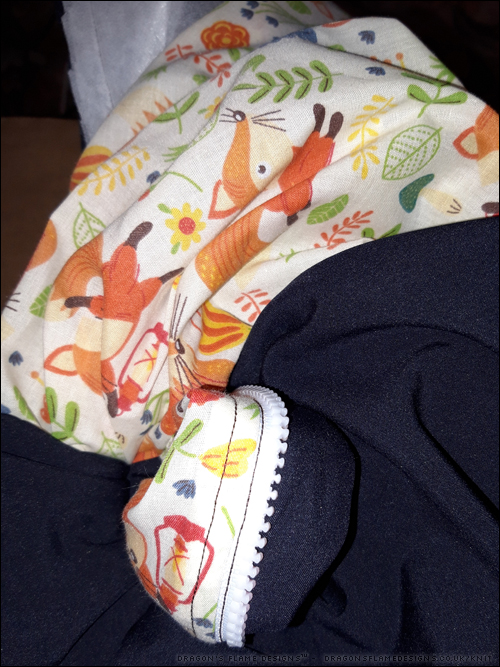
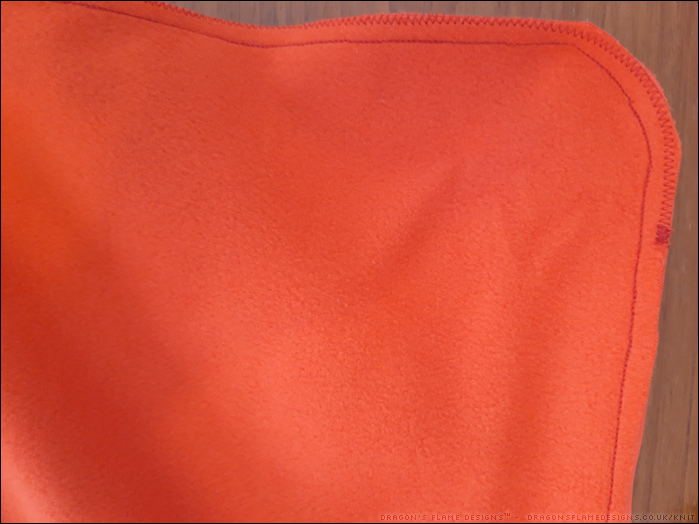
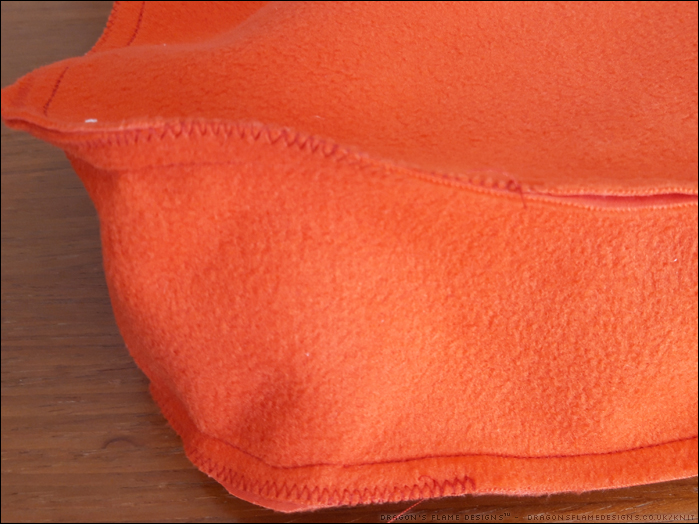
The “alien” stage of turning the Eden jacket out – not the easiest of things to do with such thick fabric!
I’d never sewn a “proper” coat before, and certainly hadn’t even considered bagging out a lining… but it all went surprisingly smoothly, even down to the thread chain to finish it all off.
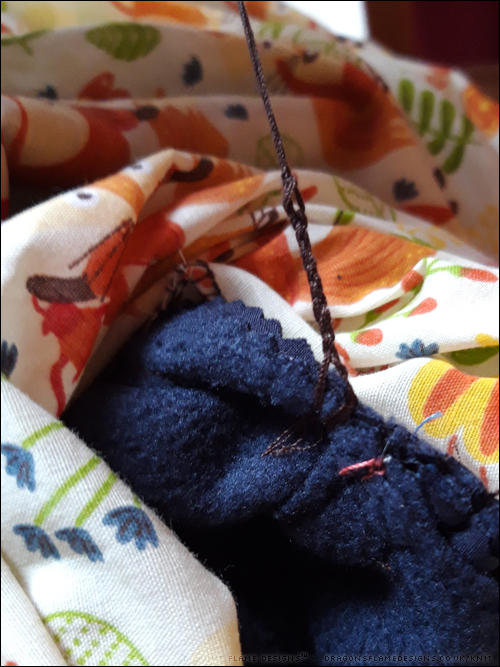
The finishing touch – a thread chain to hold the lining and outer fabric together under the arms (never done one of these before)
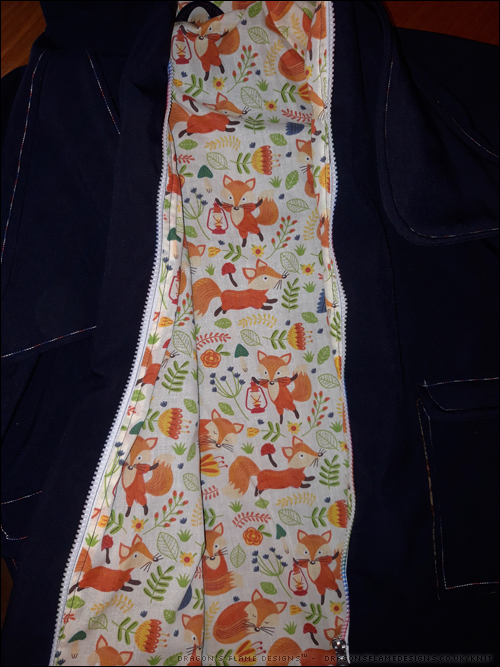
I couldn’t resist using a rainbow zip on the front of the jacket – the front placket does cover it, but it does give a flash of colour when you go to zip it up / unzip it.
And of course a colourful lining, to make up for the very understated plain dark blue outer.
All we need now, is some suitably cold weather so Mum can test it out!
I started a Magic Softshell messenger bag earlier in the year. I almost finished it, then discovered that the dimensions I had used for the pocket weren’t right. After some unwise unpicking where I accidentally made a small hole in the lining, I added the bag to the depths of “UFO Mountain”.
A while later, I made the mistake of being on a 3 mile walk while it was raining – the rain came through the waterproof bag I had taken with me. So I realised it would be wise to have a properly waterproof bag before the winter.
Luckily I had enough of this Magic Softshell left over to cut another bag, and armed with some printed poly cotton left over from another project, I set to worry cutting out a new bag from my favourite Crazy Little Projects pattern.
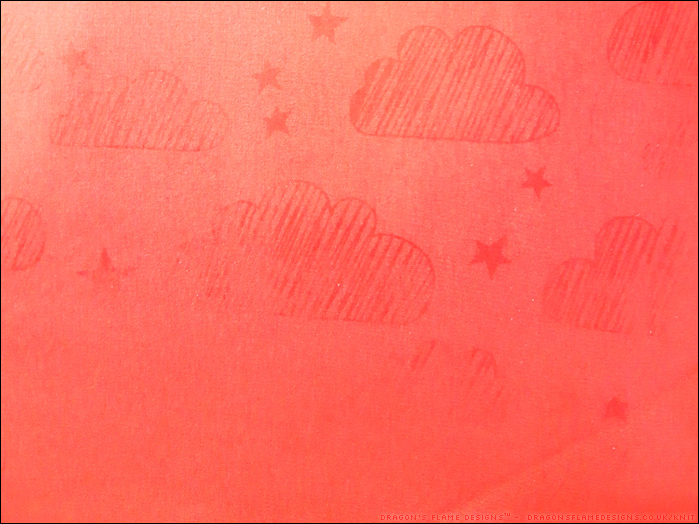
It’s not the easiest fabric to get a decent photo of. The original fabric I was aiming on buying didn’t get enough preorders, so I had to change to the red soft shell. When the fabric is wet the magic happens, and clouds & rain appear.
I’m sticking with my previous amendment to this pattern, of including a patch pocket with a flap on the front flap instead of a zipped pocket. This actually makes it a lot easier to open, and there’s less things that can go wrong (like the zipper pull coming off when I unzip the pocket!).
All the seams are sewn with a triple straight stretch stitch for strength, and I also zigzagged the curved corners just for ease of mind if I put anything heavy int he bag. The main seam stitches should be fine without that, but I like to err on the side of caution.
Just the lining to sew, then I can start putting it all together!
Pattern: Messenger Bag by Crazy Little Projects Fabric: Magic Softshell by Mibs Fabrics (now closed)
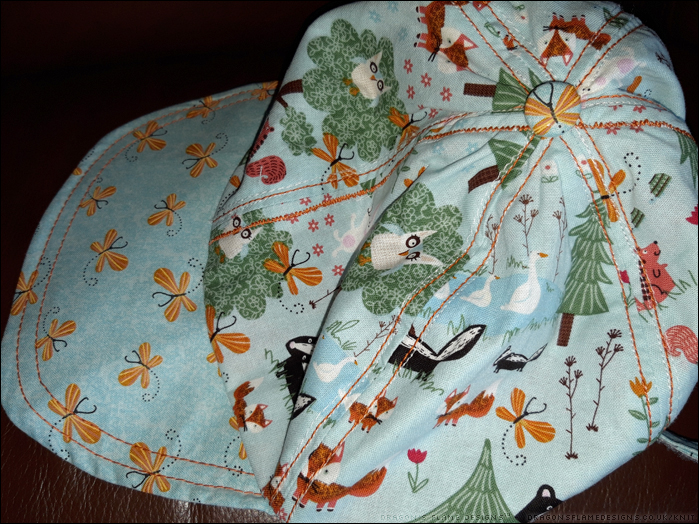
Having made a baseball cap for myself, one for my Dad and one for K, I couldn’t very well leave out making one for my Mum, could I? I spotted this woodland themed fabric at Hobbycraft, and realised it would make a great Clovelly Cap.
This is the first time I’ve tried using topstitching thread, and the first line I made was clearly the wrong stitch to use! I stuck with a regular straight stitch for the other topstitching, and that worked a lot better.
The peak is stiffened with fusible buckram and a layer of clear pvc (vinyl) above that. My hope is that the pvc will stop the rain from soaking in too much, while the buckram gives the peak better shaping.
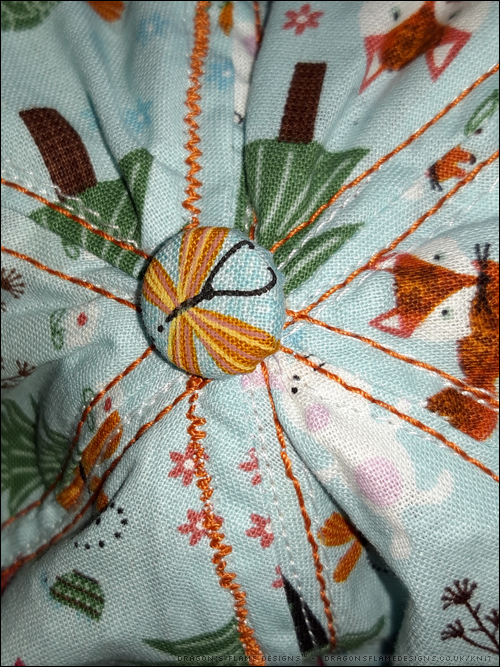
I also bought myself a self-cover button kit, and my fussy-cut dragonfly fitted the button perfectly! I was doubtful that the kit would be worthwhile, but it did make covering the button a great deal easier.
No modelled photos unfortunately, as Mum is a little camera shy! But in the two months since I gave Mum this cap, it’s had a lot of wear, so I think we can safely say she approves!
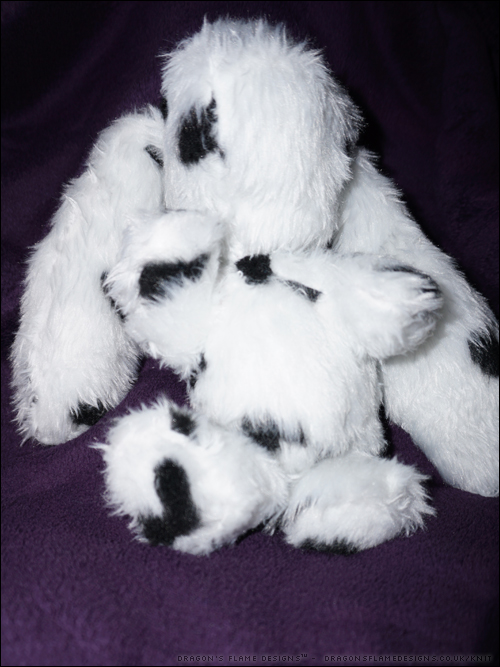
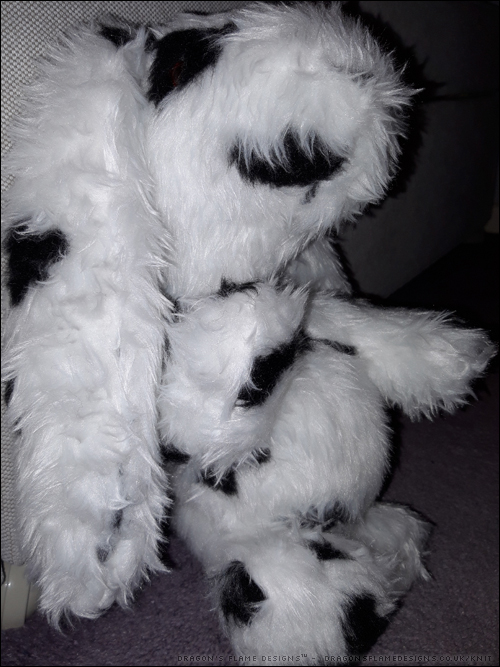
My original plan was to make a cuddly dog from this spotty faux fur fabric, but I didn’t have a suitable pattern, so I decided to make this a furry Atilla the Bun instead!
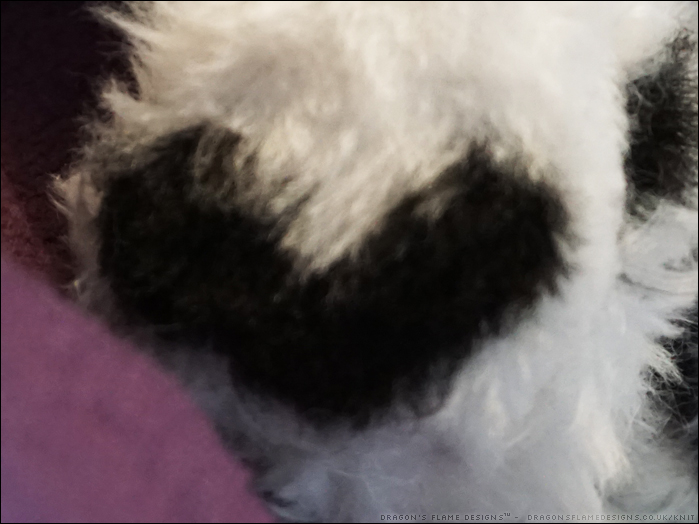
I tried to fussy cut the paw pads, as the spots looked more like hearts in places, and I thought it would be a neat idea to have a heart on each pad.
I wanted to practise making non-jointed toys, so Atilla’s arms and legs are stitched into place. I still haven’t quite got the hang of angling them correctly, as one leg faces down and the other is kicked out in front of him…. but he can still sit down properly.
Since I took these photos, I have added in a small piece of black felt for his nose – after all, you can’t have a bunny with no nose, can you?
I cut out this Button-Up Top* last year, then shelved it because I ran out of fabric for the sleeves. I managed to get some contrasting fabric in the autumn last year, then decided that it a summer-weight short sleeve shirt wasn’t a project I wanted to work on in the colder months, so it was shelved again.
So this week I started sewing the pieces together, and realised that my first attempt at pattern matching (albeit only the horizontal lines) actually worked surprisingly well!
Both front pieces line up really well, give or take a few millimetres, and I tried to line up the back yoke with one of the lines, so it gives a nice border to that piece. Unfortunately I wasn’t as careful in cutting out the back – I was more eager to use as much of the fabric as possible, than trying to match the lines.
I’m trying to ignore the back not being anywhere near lined up… after all, when I’m wearing it I won’t be able to see the back anyway! All I need to do now, is work on the sleeves and collar, then find some suitable buttons. Hopefully I can still get it finished during the summer!
I purchased some navy softshell fabric earlier in the year, with the view of making the Kelly coat. Since then, Tilly and the Buttons released the Eden jacket pattern, which looked like it would be more forgiving on the sizing. The sleeves on the Kelly look quite fitting, whereas the Eden has a much more boxy shape.
Decision made, I set about cutting out my pieces, and also decided to use the same topstitching thread I had picked out for my denim Fashionista jacket.
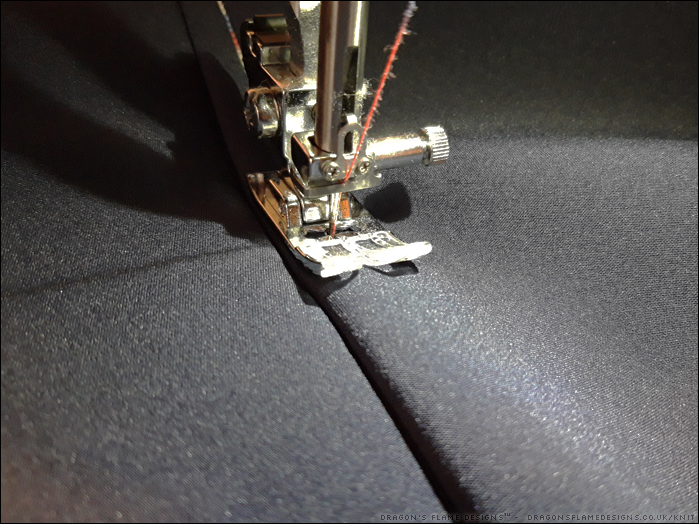
Sewing softshell is pretty easy, as long as you have a ‘sharps’ needle – a regular needle won’t have the right strength or sharpness to pierce the fabric cleanly.
So far I have the pockets and pocket flaps attached – eventually these should have poppers, if I can find some in the shop!
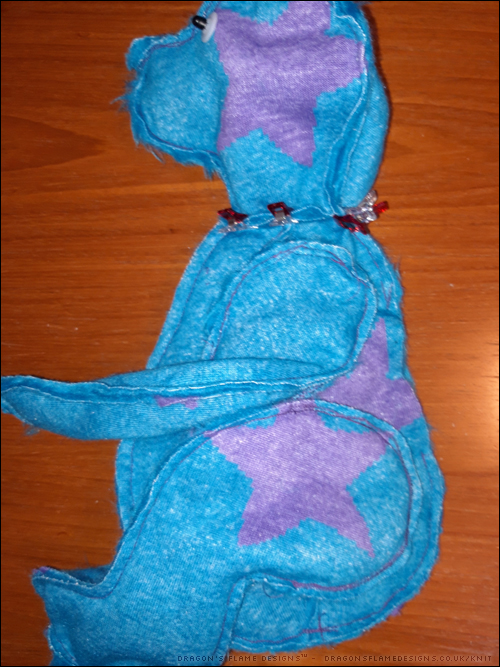
There’s always something odd about the look of a plush bear when it’s still in the UFO stage….
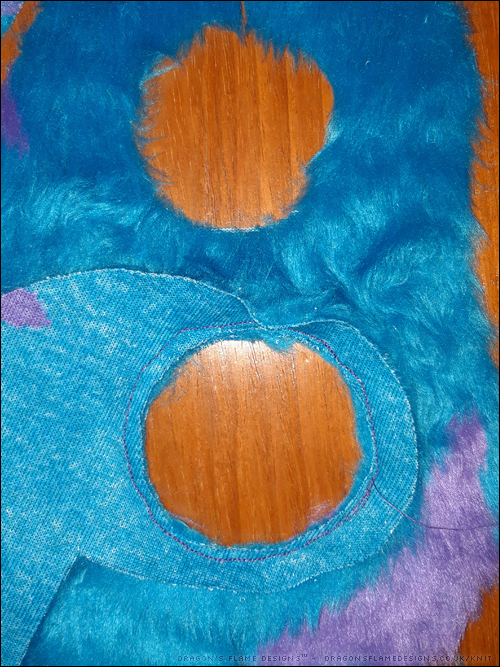
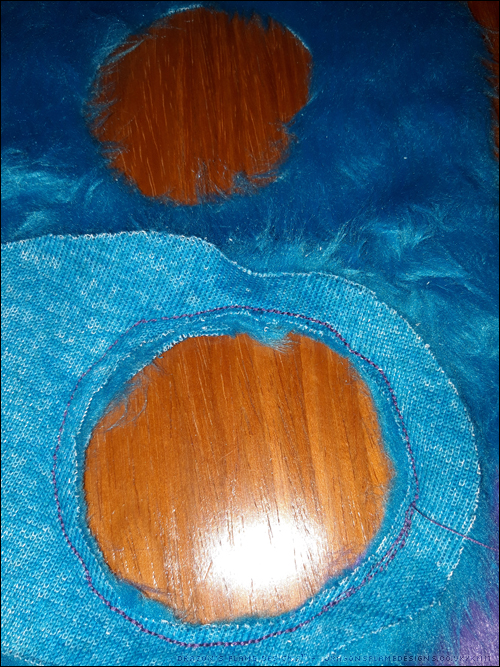
….especially when you’re modifying the pattern to make it an unjointed bear! I cut circles where the joints would normally go, then stitched the inner limb to the body right sides together. The limb then gets turned through the hole, and the other side of the limb is stitched to it as usual.
You then end up with the arms and legs attached and can stuff them through the gap in the back of the body. Also, this only gives that seam at the back of the body to hand sew at the end!
One inside-out bear just waiting for me to sew the head into place, before turning. They do look strange this way round! I thought the unusual blue would make a change from traditional teddy bear brown, and the purple stars stand out well too.